Natural Light Portraits: The Timber & Ink Field Guide
A repeatable process for sharper photos, calmer sessions, and portraits that feel like they belong in a frame.
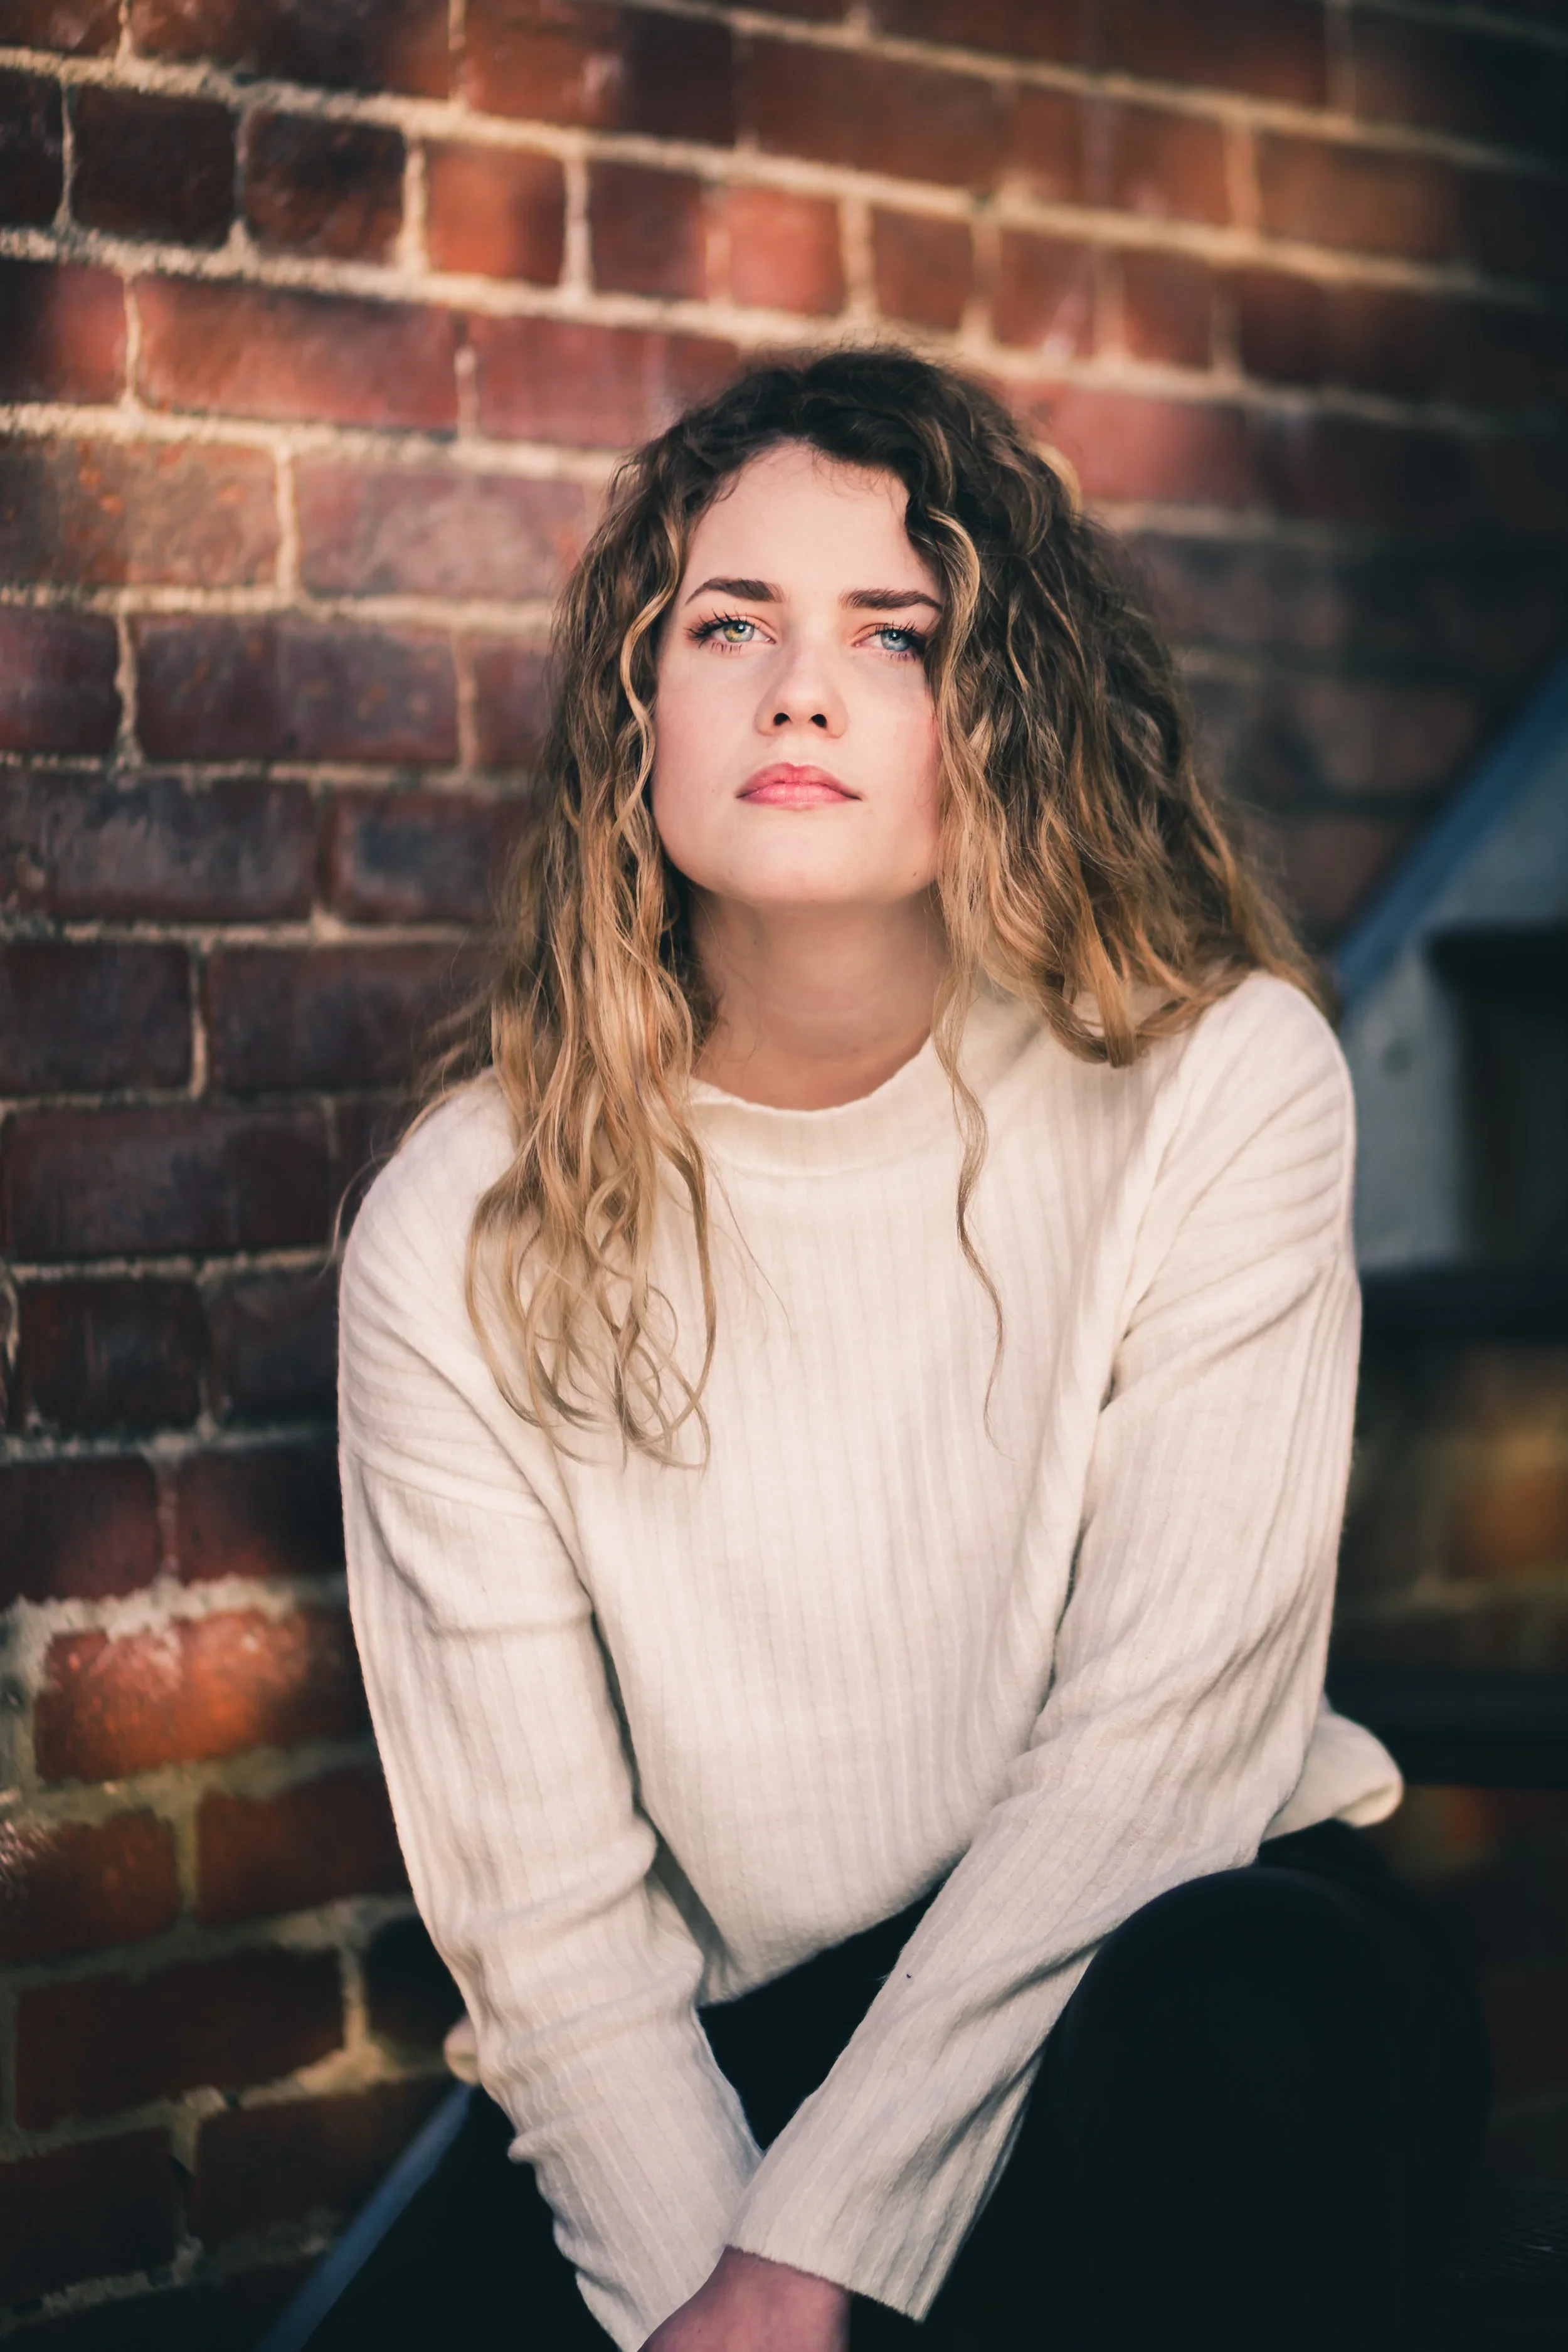
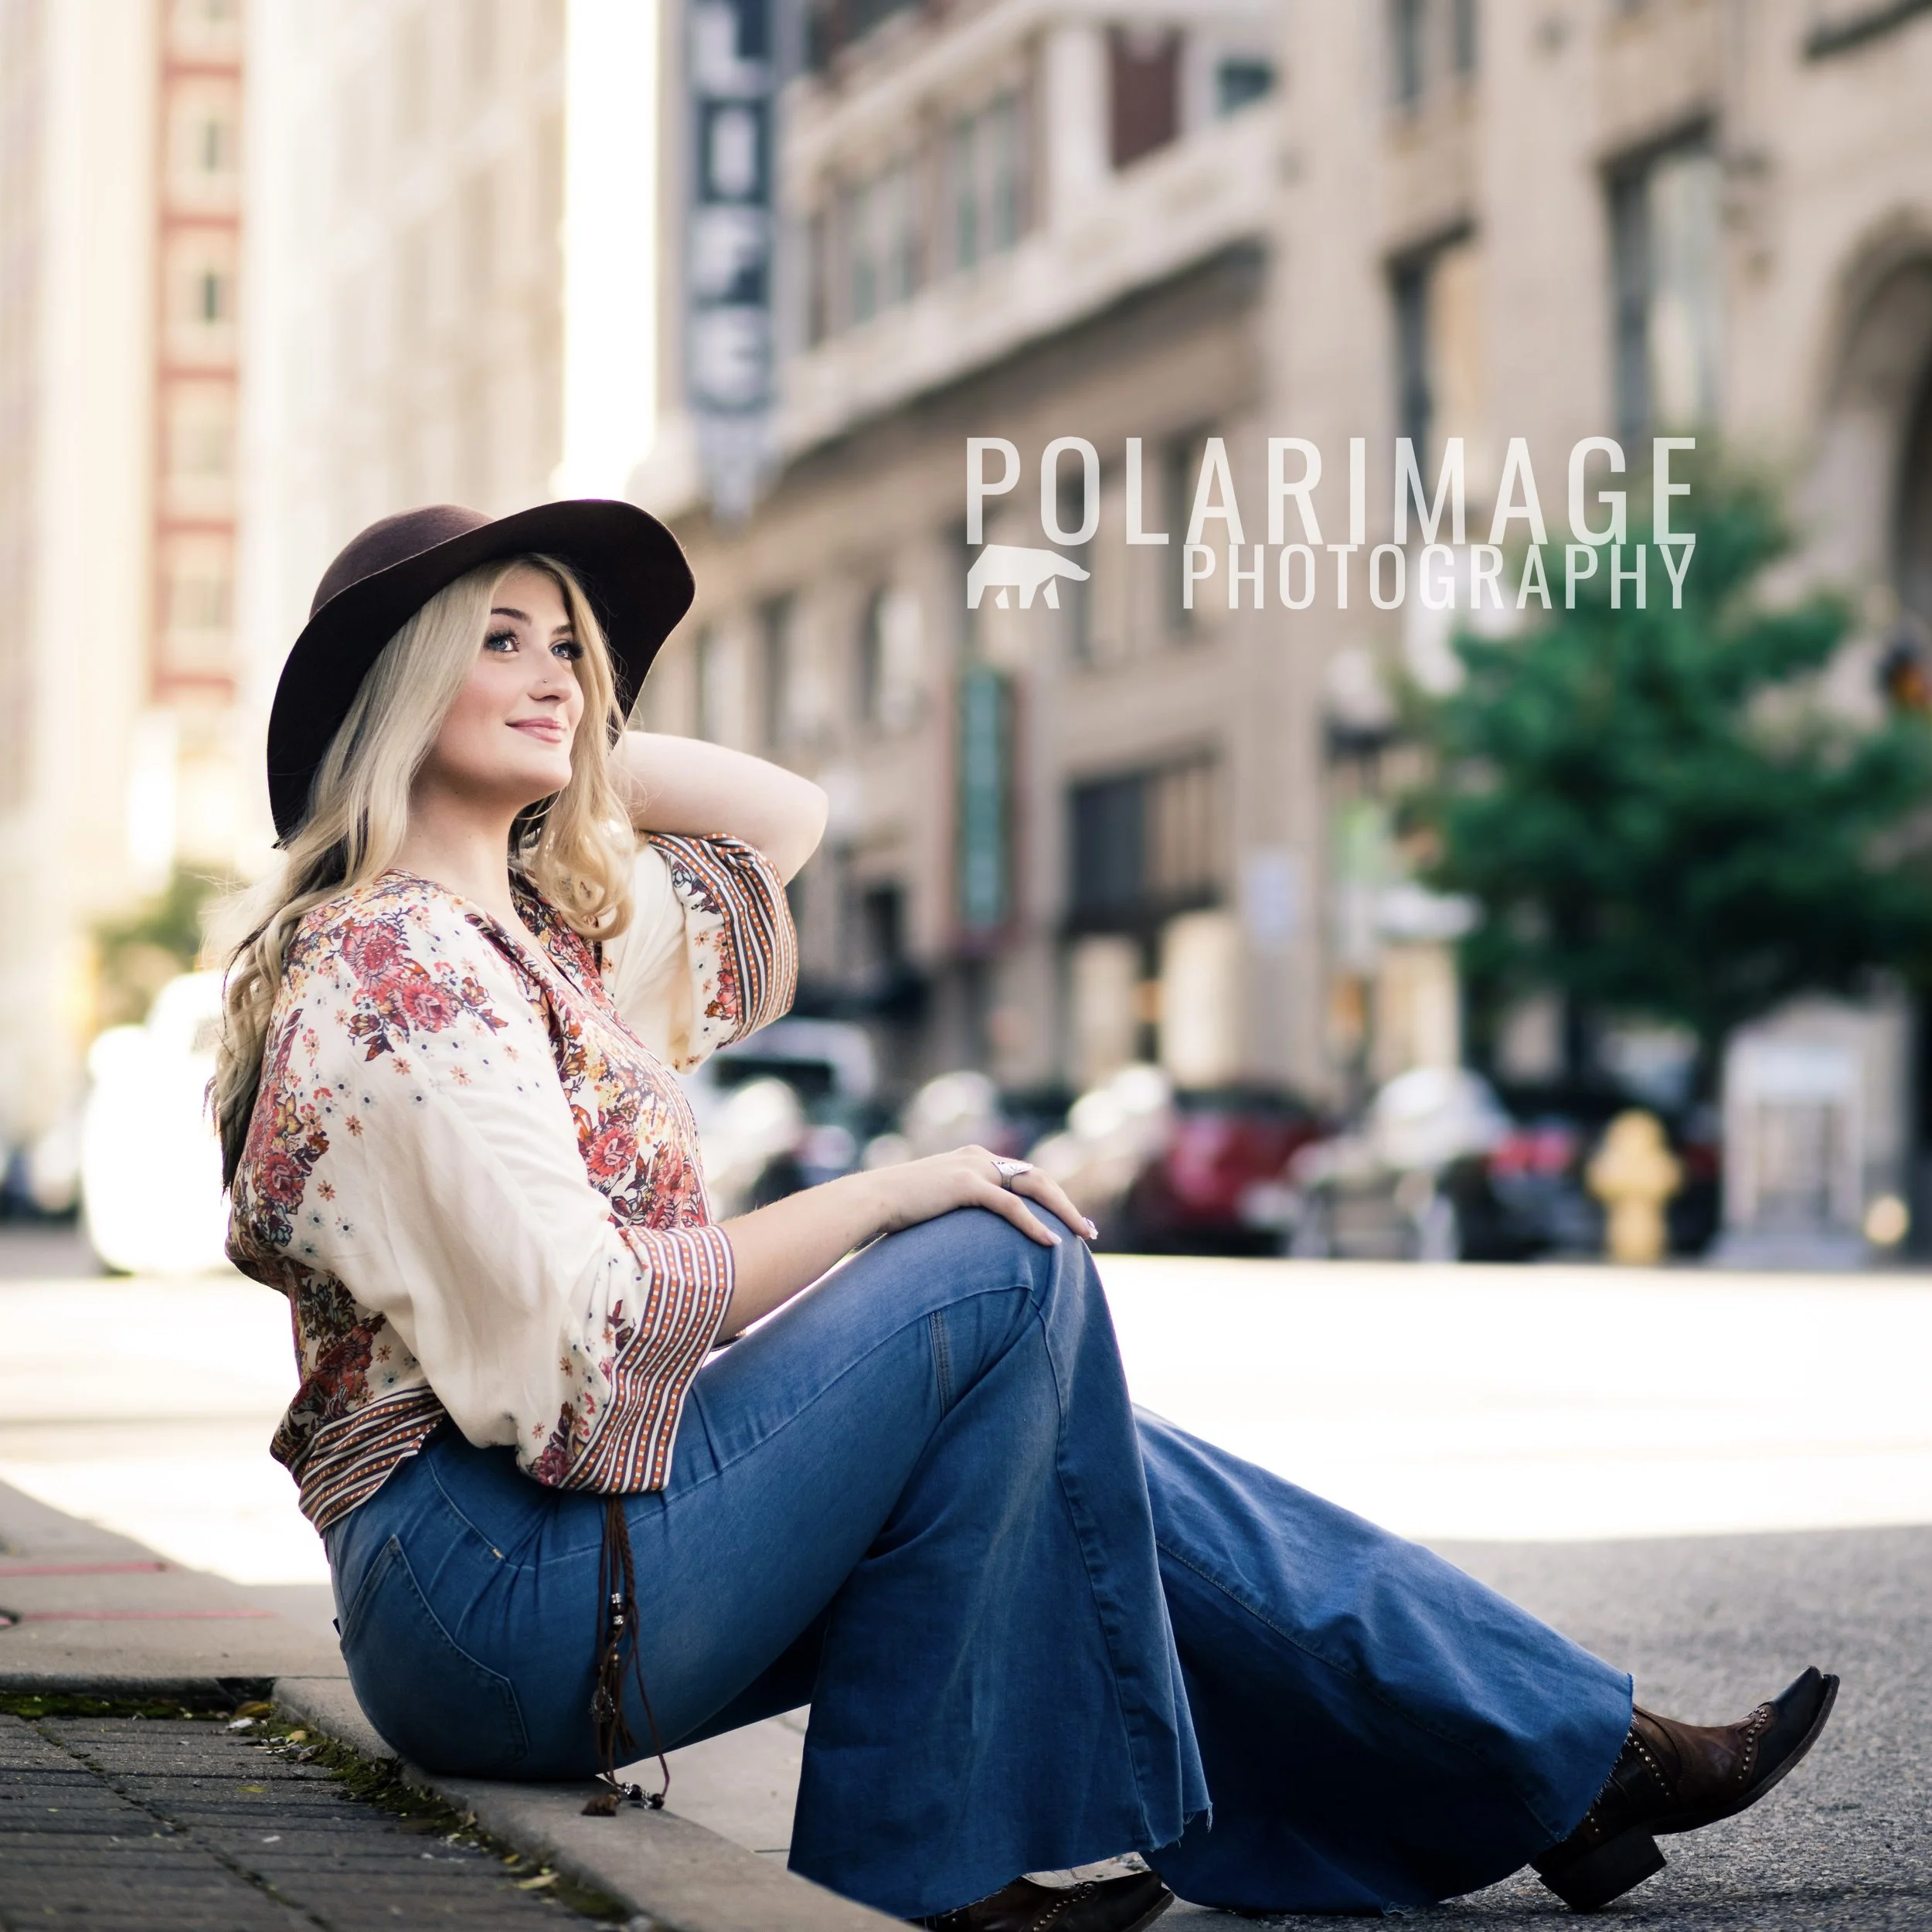
Some photos don’t feel like photos. They feel like proof. Proof that a season existed. Proof that a person was loved. Proof that the world—despite its speed and noise—still makes room for quiet moments of gold and grace. Natural light is like that. It doesn’t announce itself with studio stands and strobes. It just arrives—soft on a cheekbone, bright at the edge of hair, gentle in the eyes—if you know where to place someone and how to turn them toward it.
That’s what this guide is: not a list of rules, but a rhythm. A way to walk into any location and build a portrait that feels like memory—without losing your mind in the settings.
A word on advancing technology: We’re in a strange and beautiful era for photography. Phones and AI can make a clean, sharp image without you even thinking about shutter speed or ISO—the floor has been raised. But craft still raises the ceiling: technology can capture what happened; a photographer can shape what the image means.
And if you ever wonder what people are really “hiring” when they ask you to take their photo, it’s usually this:
Direction (helping nervous humans know what to do with hands, posture, and emotion)
Style (a thousand small decisions: light, lens, timing, composition, color)
Consistency (repeatable quality across people and locations)
Experience (comfort, confidence, trust in the process)
This post is the distilled version of my Natural Light Portrait Workshop—a practical field guide designed to give you something better than scattered tips: a repeatable process you can use every time.
The repeatable portrait process
1) Light → 2) Background → 3) Pose → 4) Settings → 5) Shoot → 6) Adjust
If you’re feeling overwhelmed, this order brings you back to center. Every time.
1) Manual mode for portraits: a calm decision order
Portraits have priorities. Use this order so you don’t get lost:
1) Aperture for the look & depth of field → 2) Shutter for sharpness → 3) ISO only as needed
What each setting really controls
Aperture (f/): depth of field + brightness
Lower f-number = more blur + more light
Higher f-number = more in focus
Shutter speed: motion blur + brightness
Faster = sharper motion
Slower = risk blur (hands/subject)
ISO: noise + brightness
Lower = cleaner image
Higher = brighter but noisier
Portrait starting points (quick references)
Scenario: 1 person — Aperture: f/1.8–f/2.8 — Shutter: 1/200 or faster — ISO: As low as you can, as high as you must
Scenario: 2–3 people — Aperture: f/2.8–f/4 — Shutter: 1/200 or faster — ISO: As low as you can, as high as you must
Scenario: Group — Aperture: f/4–f/5.6 — Shutter: 1/200–1/320 or faster — ISO: As low as you can, as high as you must
Tiny mantra: choose the look first (aperture), then protect sharpness (shutter), then let ISO do the rest.
2) Lenses: focal length changes more than zoom
Focal length isn’t just “how close.” It changes perspective—how faces render and how backgrounds behave.
Prime vs zoom (both are valid)
Prime: encourages movement and intention
Zoom: flexibility and speed
The portrait sweet spots
Focal length: 24–35mm — Best use: Environmental portraits — Notes: Don’t get too close to faces (can distort). Great for story + setting.
Focal length: 50mm — Best use: All-around portrait — Notes: Natural look. Great starter lens.
Focal length: 85–135mm — Best use: Classic portraits — Notes: Flattering compression, cleaner backgrounds, comfortable working distance.
3) Natural light: learn to see it before you set it
Before you touch settings, ask four questions:
Direction: where is the light coming from?
Quality: soft (cloud/open shade) or hard (direct sun)?
Distance: how close is your subject to the light source?
Background: is the background brighter or darker than the face?
Quick wins (the stuff that fixes 80% of portraits)
Look for catchlights in both eyes
Watch the nose shadow—small turns make big differences
Open shade is your best friend for consistency
If the background is too bright, move the subject so it’s darker—or blow it out on purpose
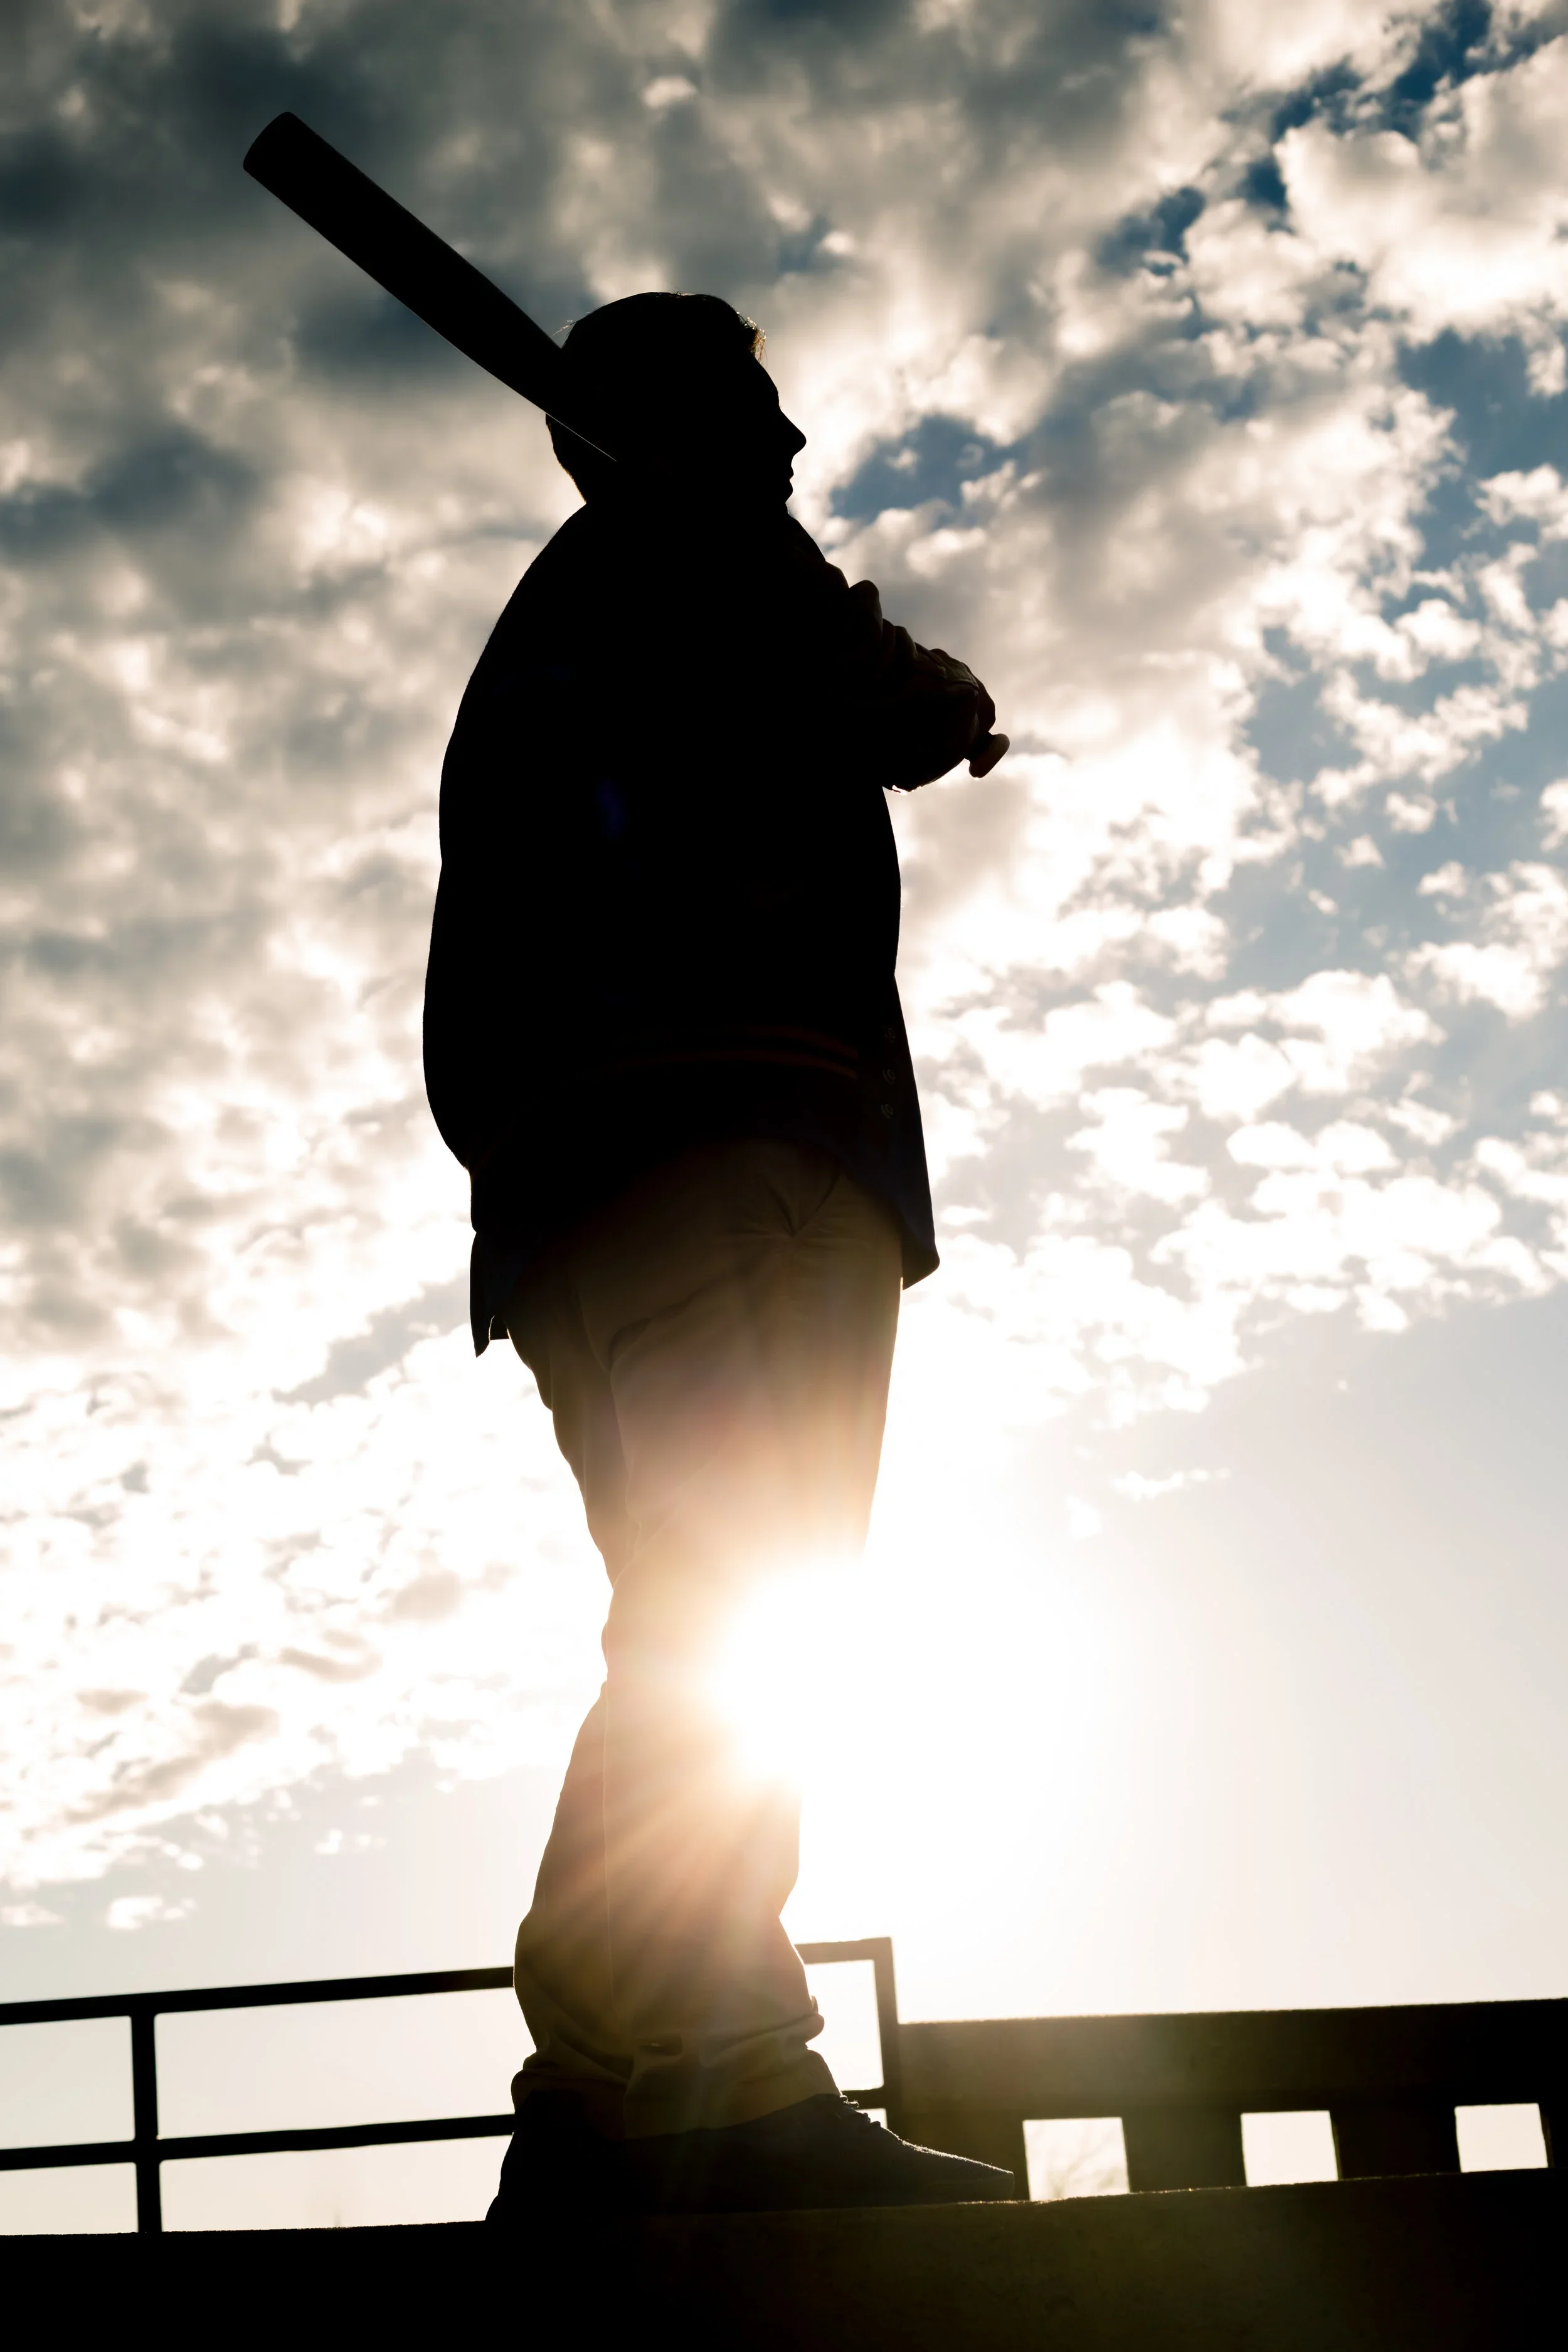
Avoid overhead noon sun; if you can’t, find shade or shift to side/back light and expose for the face
4) Working with your subject: you’re leading a small experience
This is the part that separates “camera person” from “portrait photographer”:
You’re not just taking pictures—you’re leading a small experience.
The 3-layer directing method
Body → Hands → Expression
Body: feet/hips/shoulders; shift weight; turn slightly away, face back to the light
Hands: give them a job (pocket, collar, jacket hem, hair, hold a prop)
Expression: give them a thought (“soft smile,” “breathe out,” “think of someone you love”)
Useful phrases (steal these)
“Turn your body slightly away—now bring your face back to the light.”
“Drop your shoulders. Breathe out. Great—hold that.”
“Chin slightly forward and down (not tucked).”
“Shift your weight to your back foot. Relax the front knee.”
5) Composition and angles: clean, separated, intentional
A portrait gets stronger when it stops competing with the background.
Background cleanliness: avoid bright distractions and “poles” behind heads
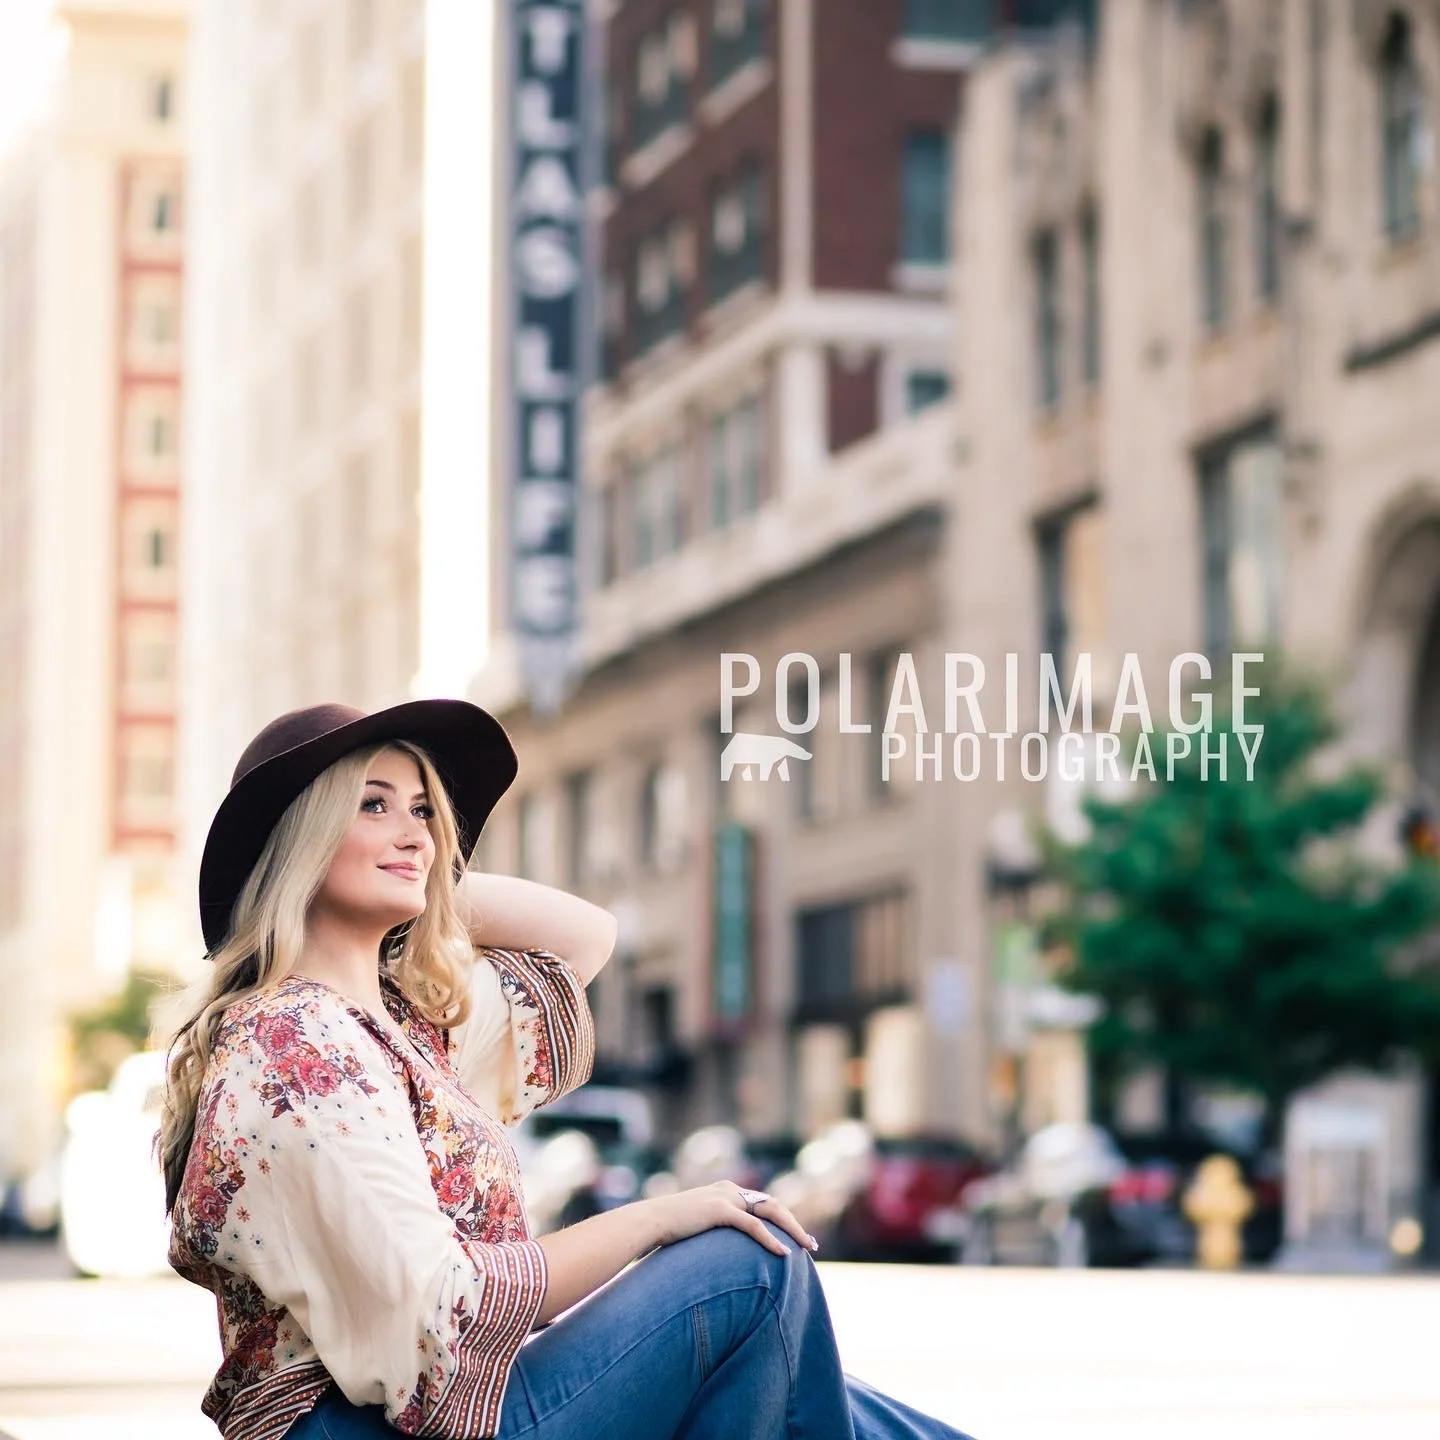
Separation: increase distance from background, use longer focal length, open aperture
Angles: eye-level = classic; slightly above eye-level = flattering; low angles = power (use carefully)
Cropping: crop between joints (avoid wrists/ankles/knees)
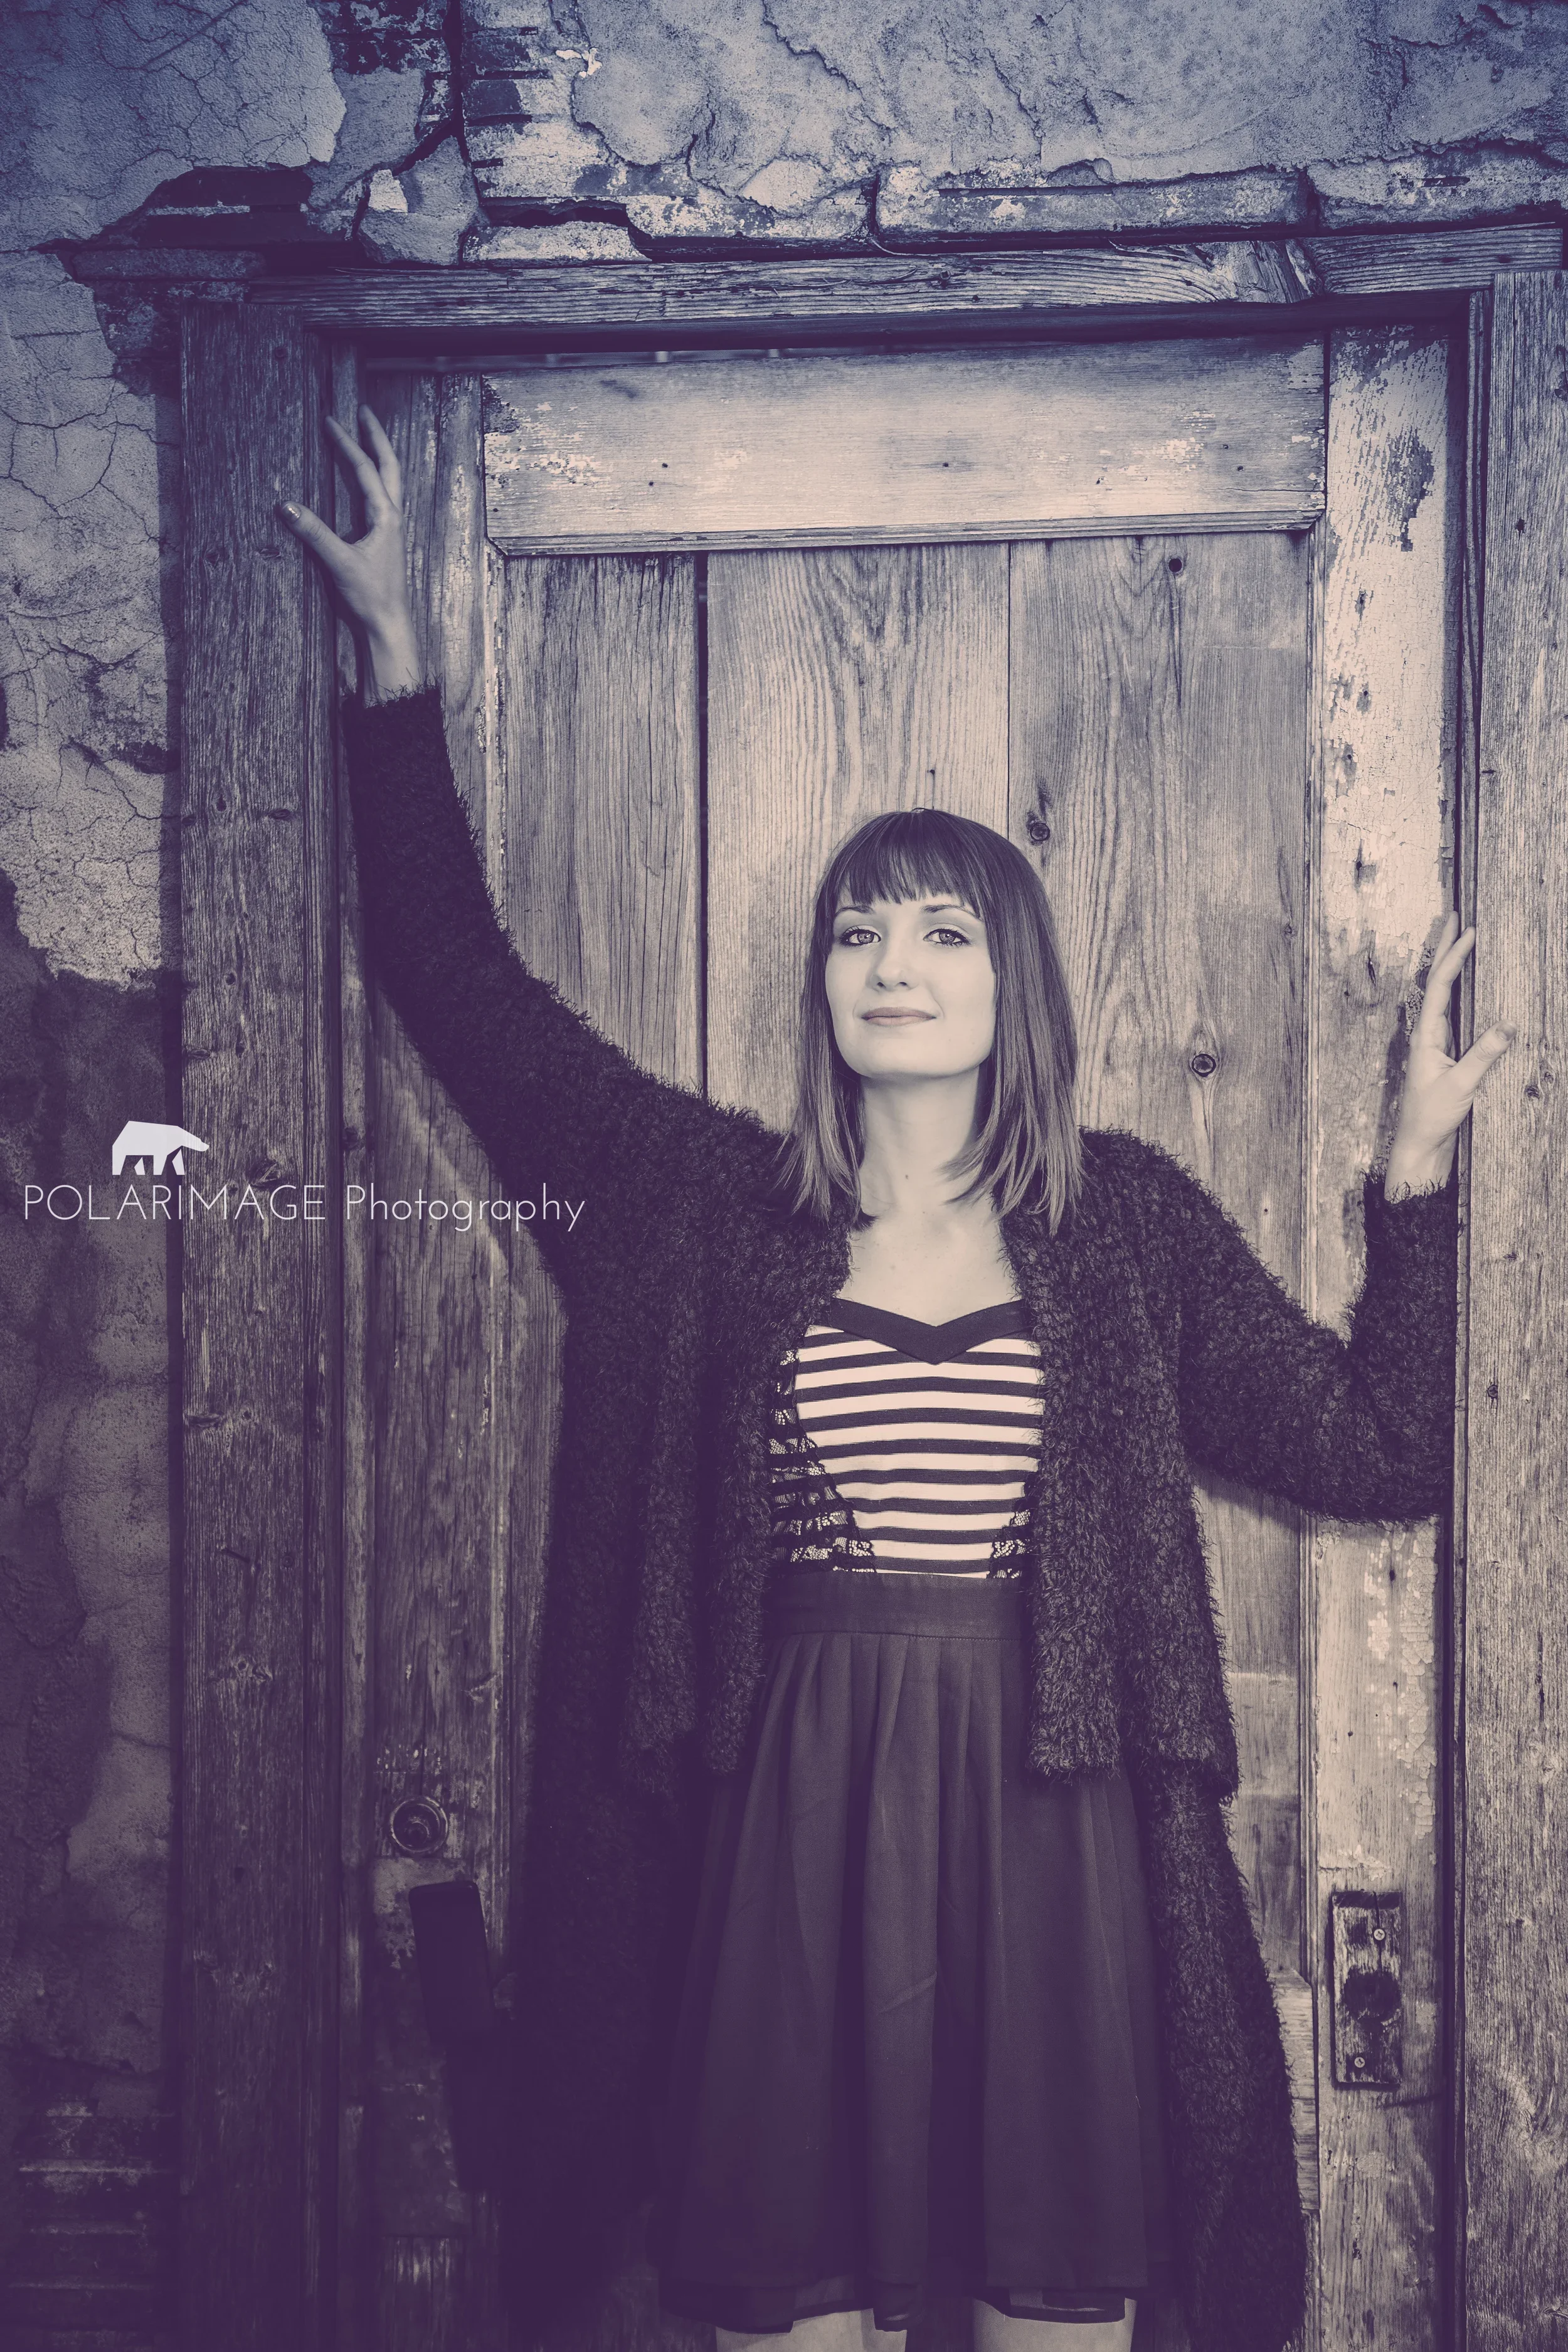
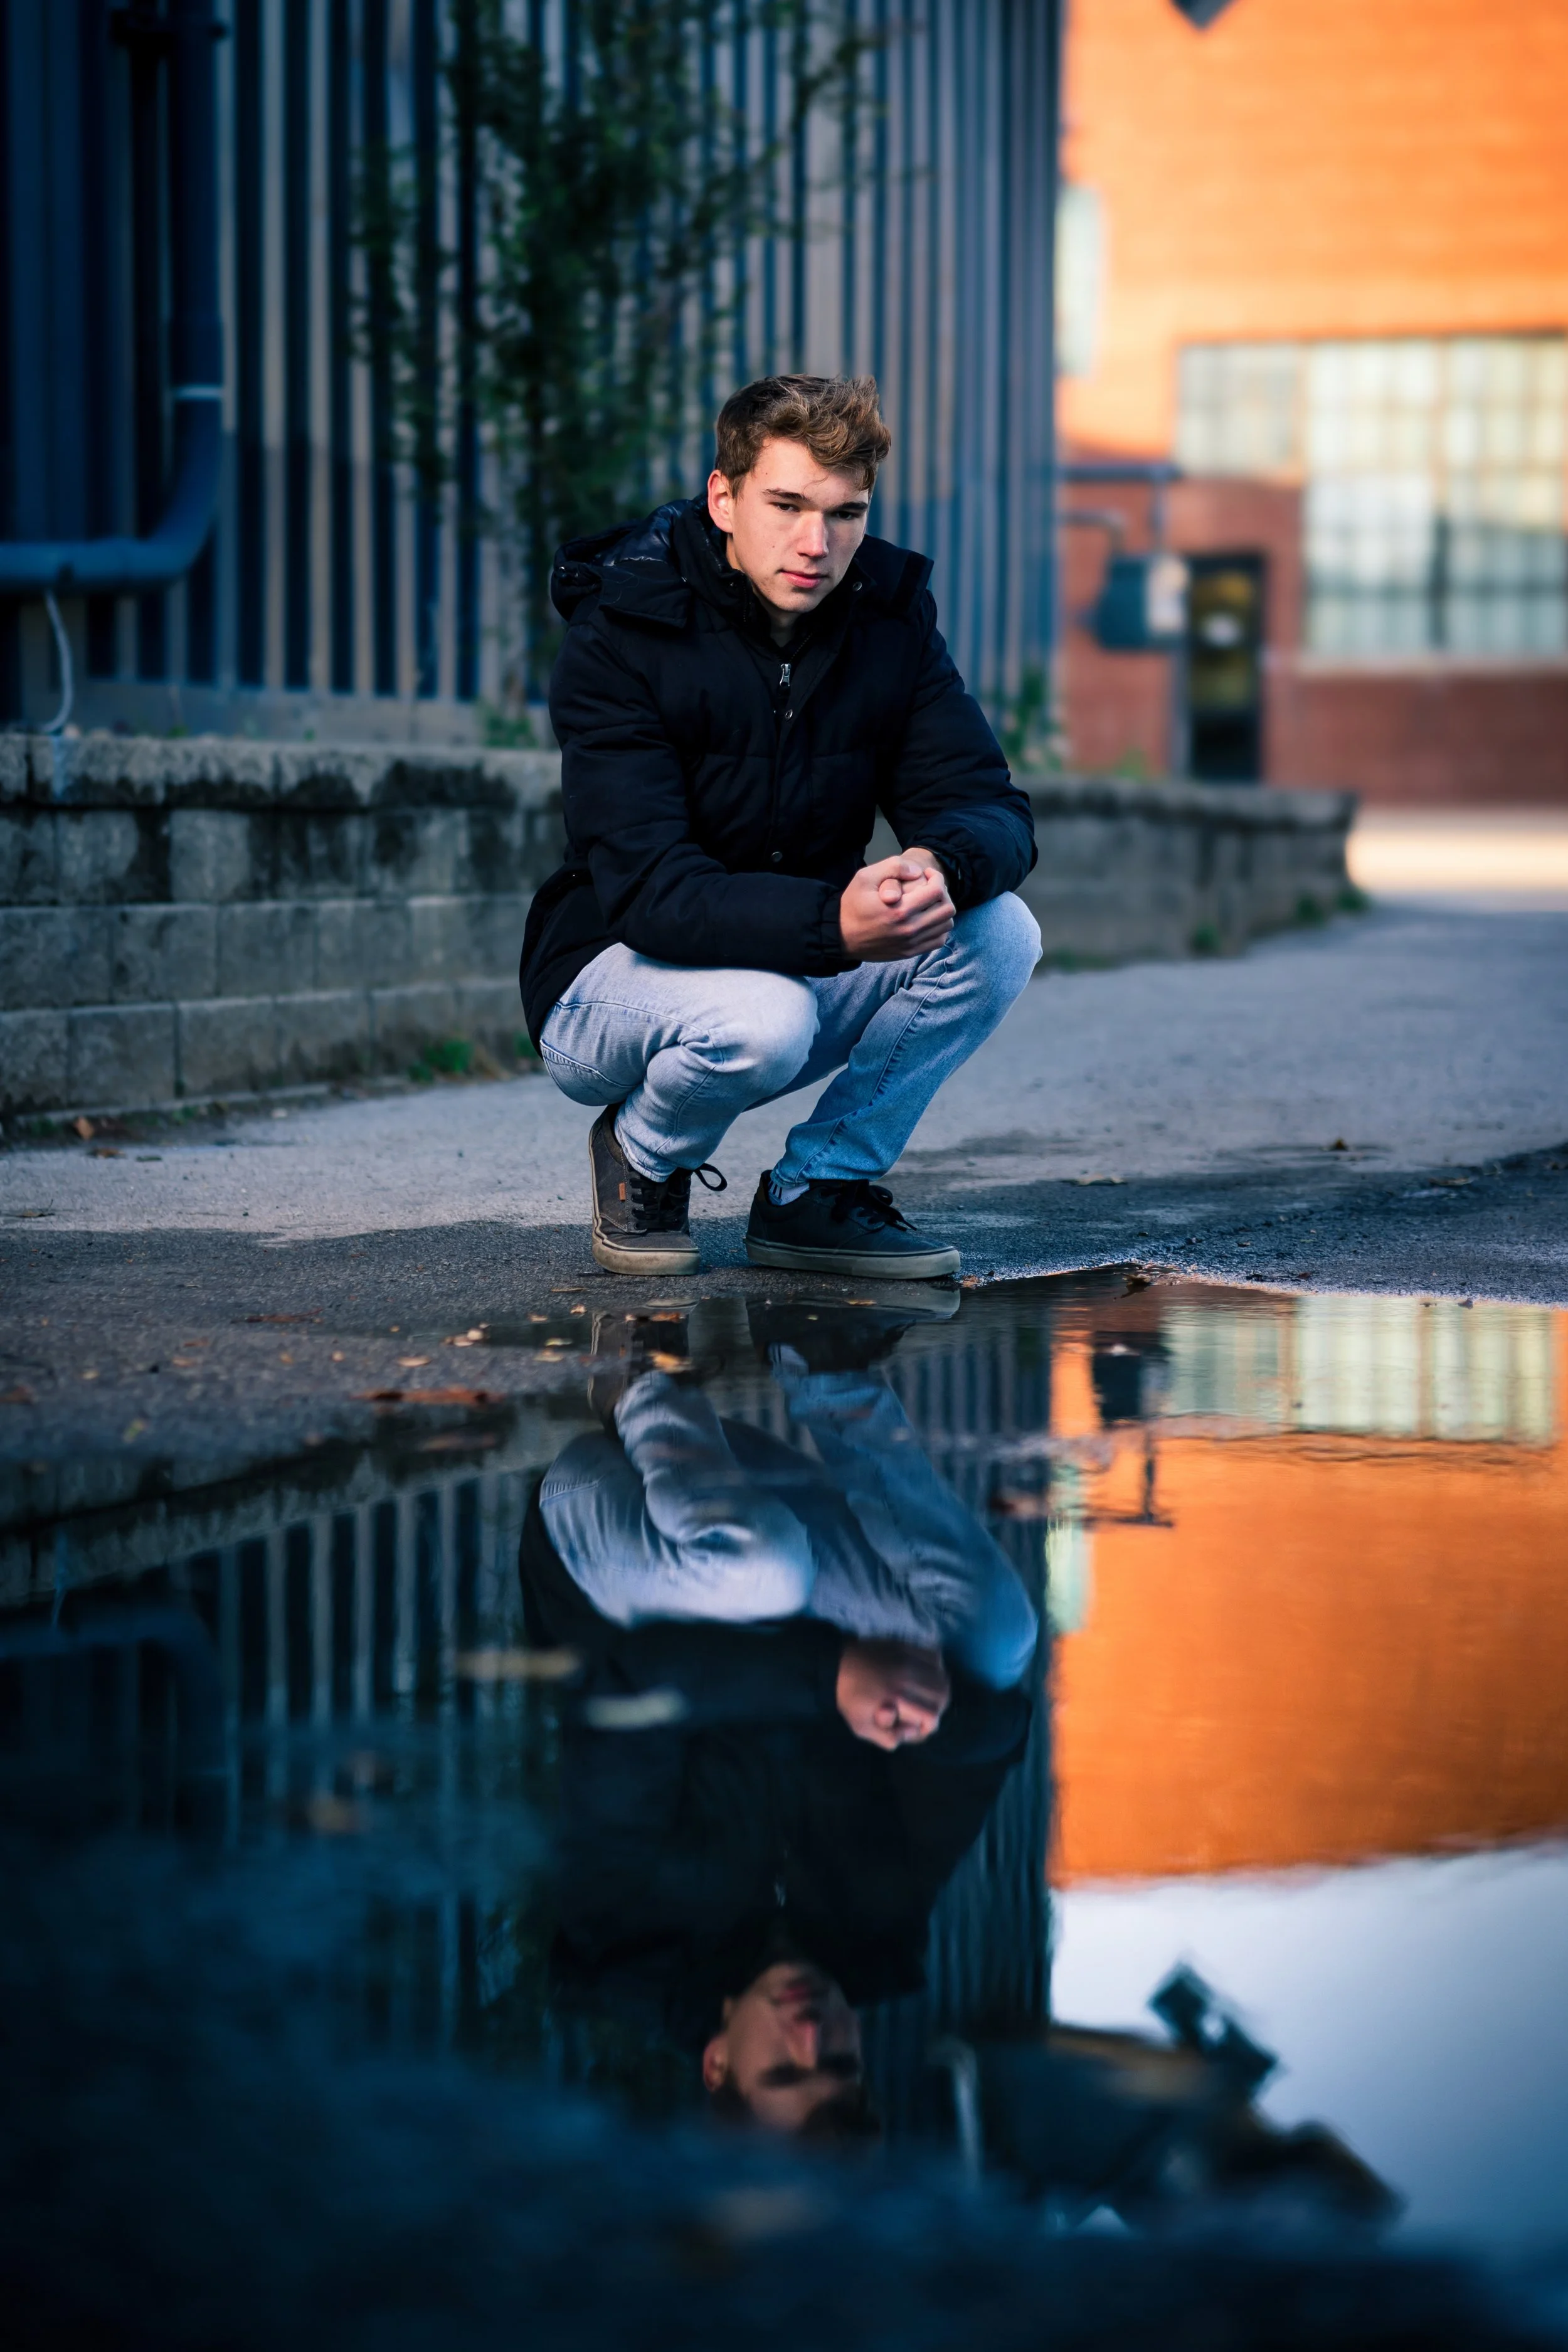
Foreground: use leaves/doorways for depth when it serves the story
6) The mock shoot “challenge card” (practice with purpose)
When you practice, don’t practice everything. Practice the essentials:
Find open shade or soft light
Get catchlights
Clean the background
Give one pose + one expression cue
And keep returning to the process: Light → Background → Pose → Settings → Shoot → Adjust.
Notes & next steps (make it yours)
If you want this to become second nature, write down three things:
your go-to starting settings
your favorite light locations
your posing prompts that actually work for you
That’s how you build consistency.
MBC Photographers
Click the link below to join the PhotoCircle!
About Me as a Photographer…
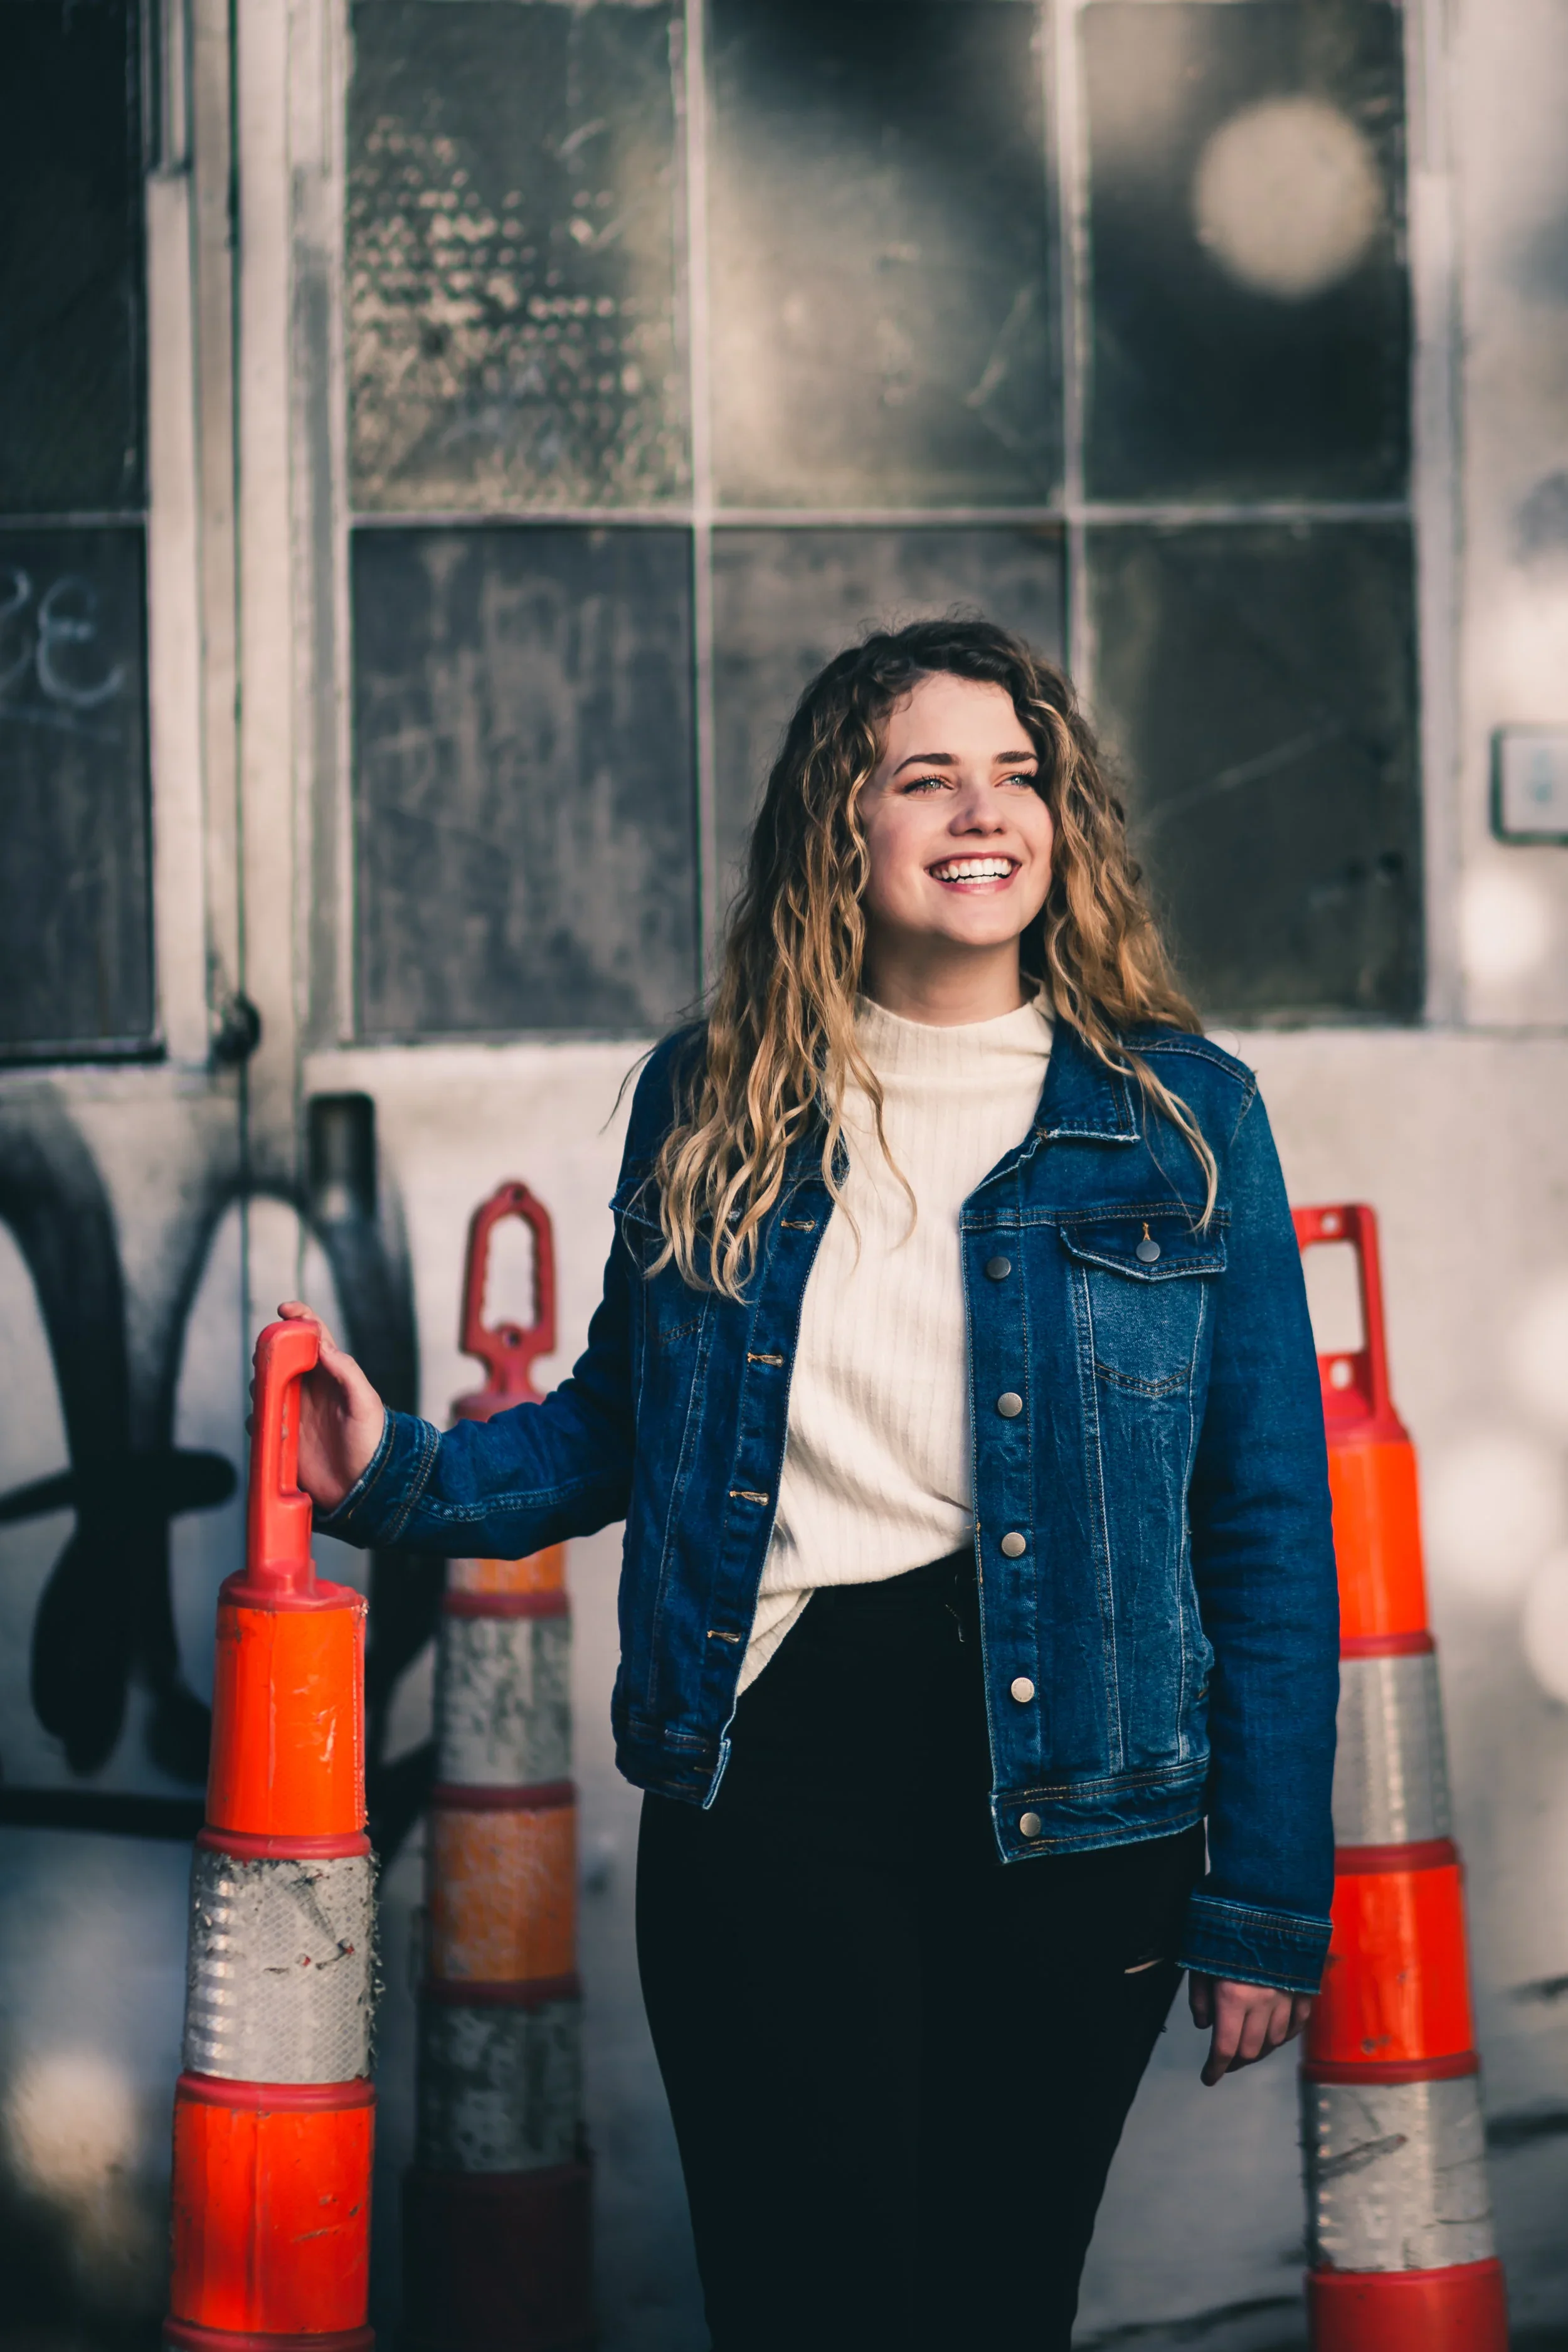
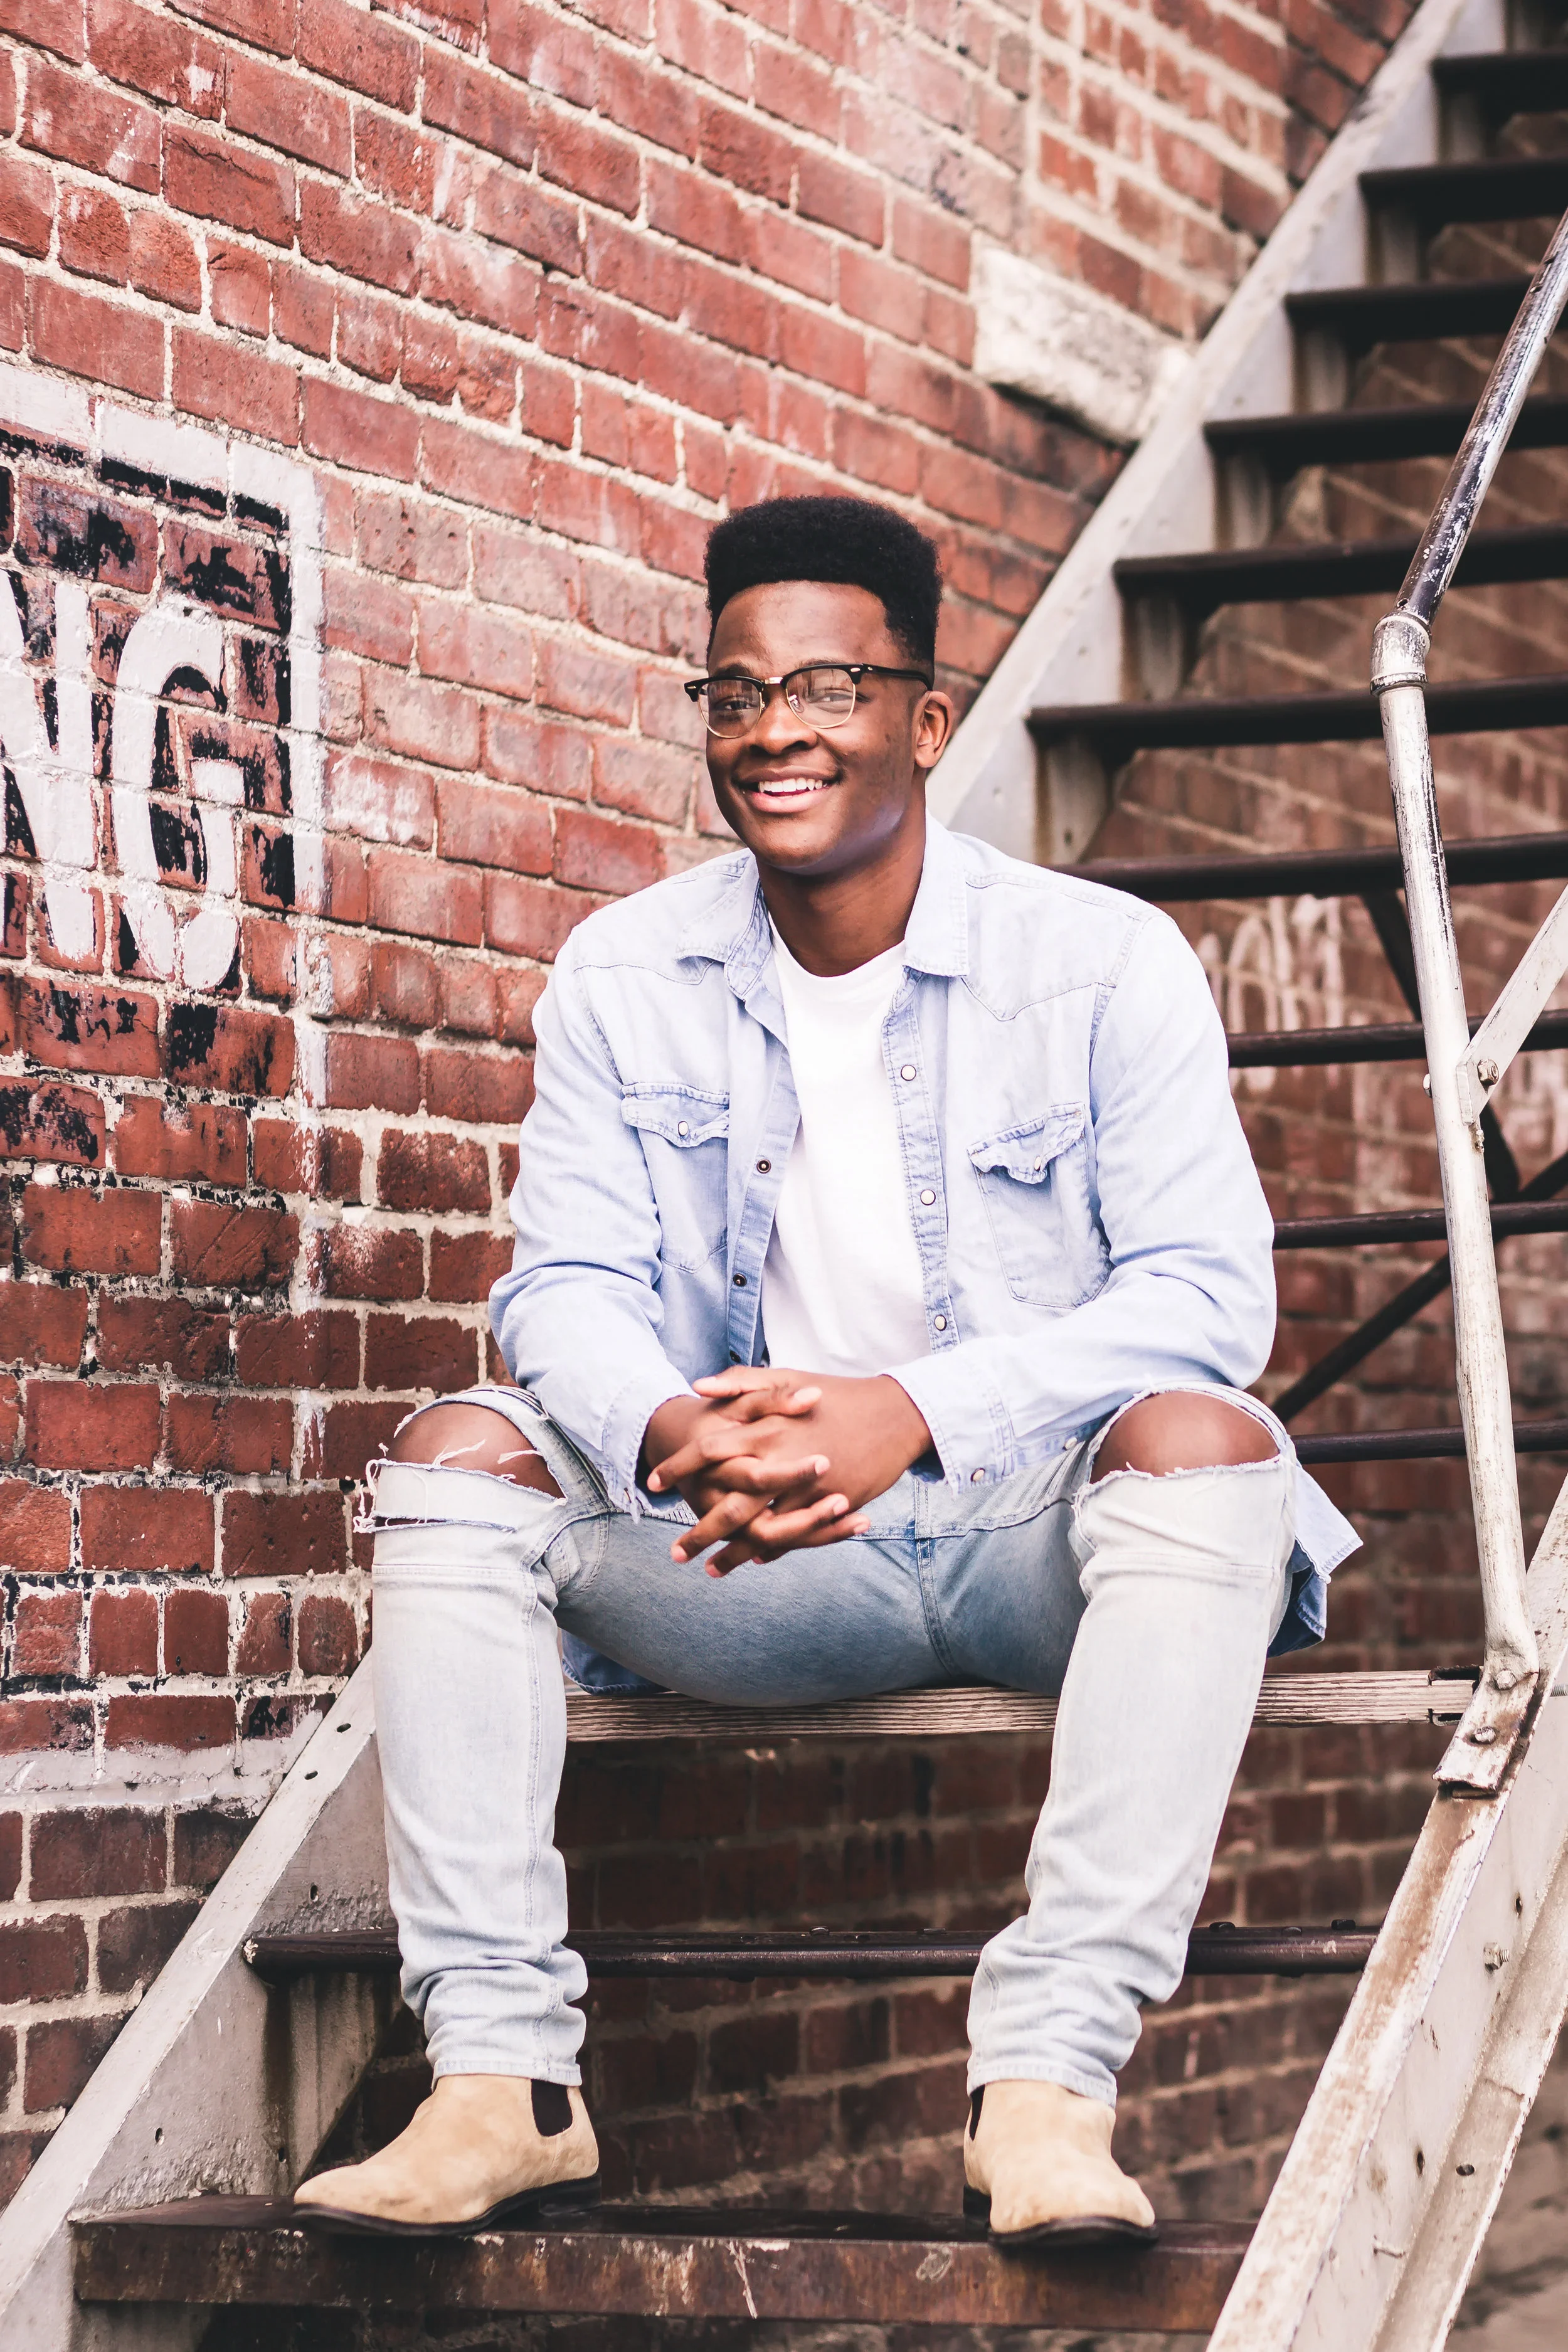
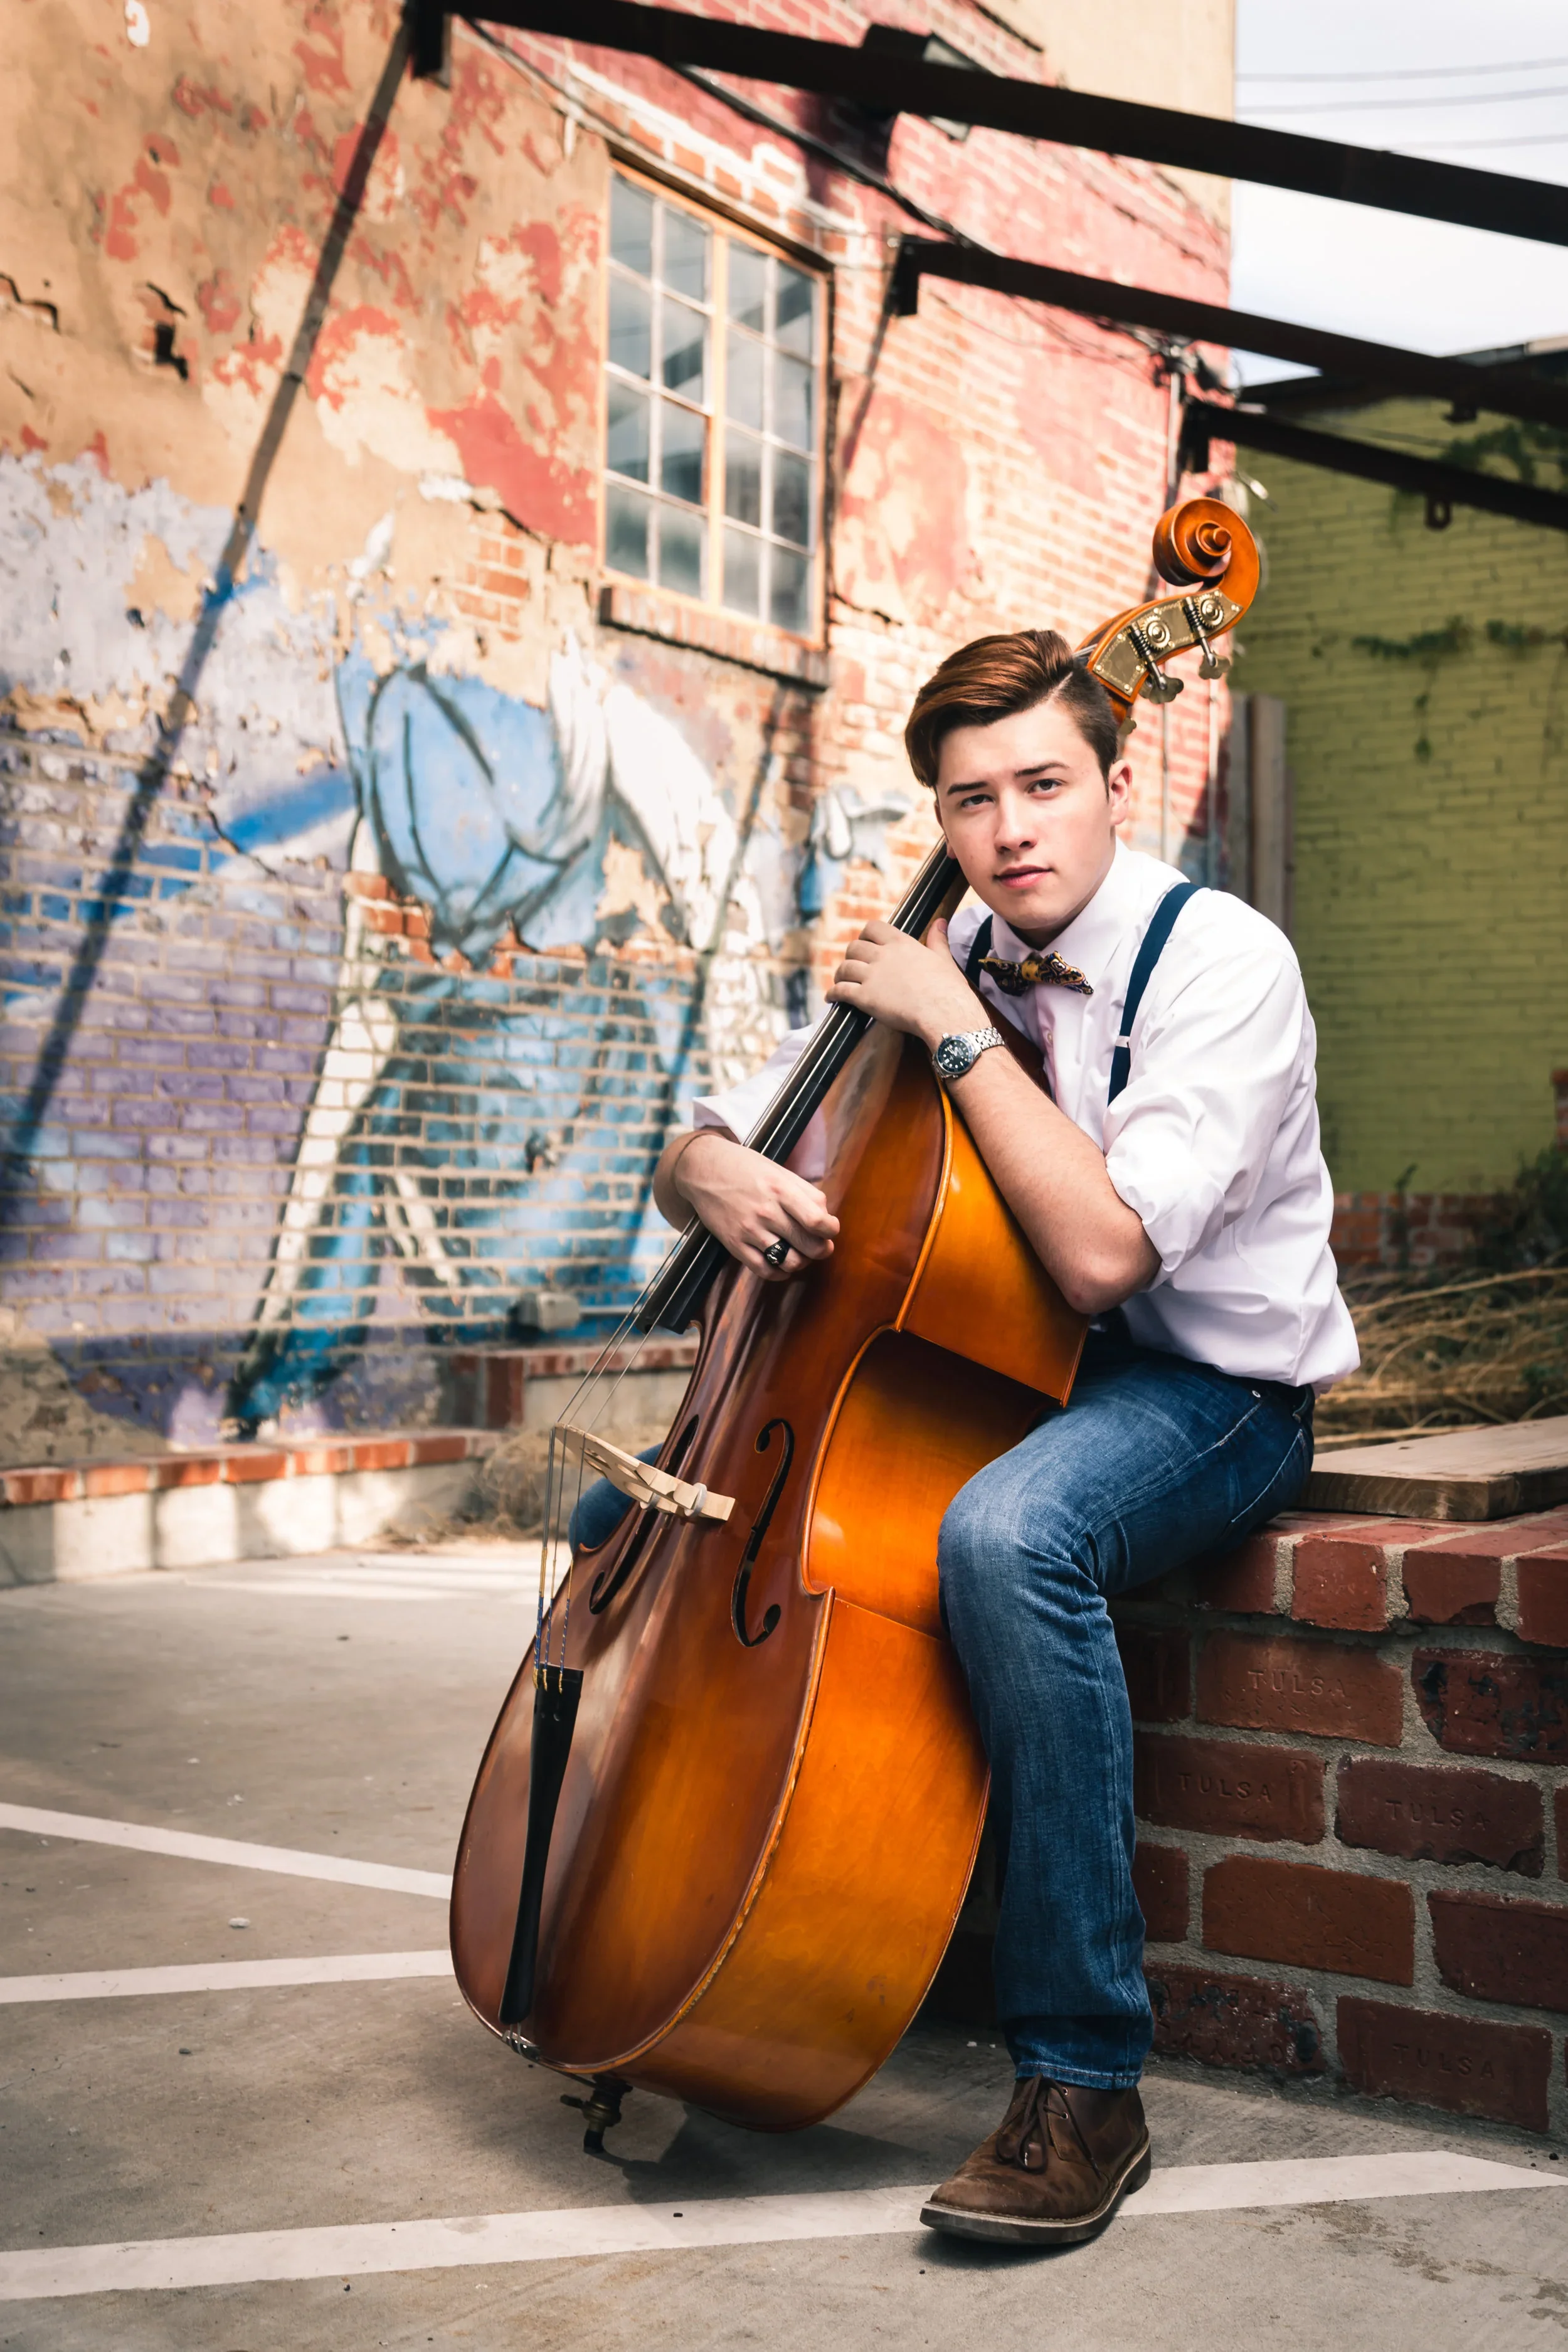
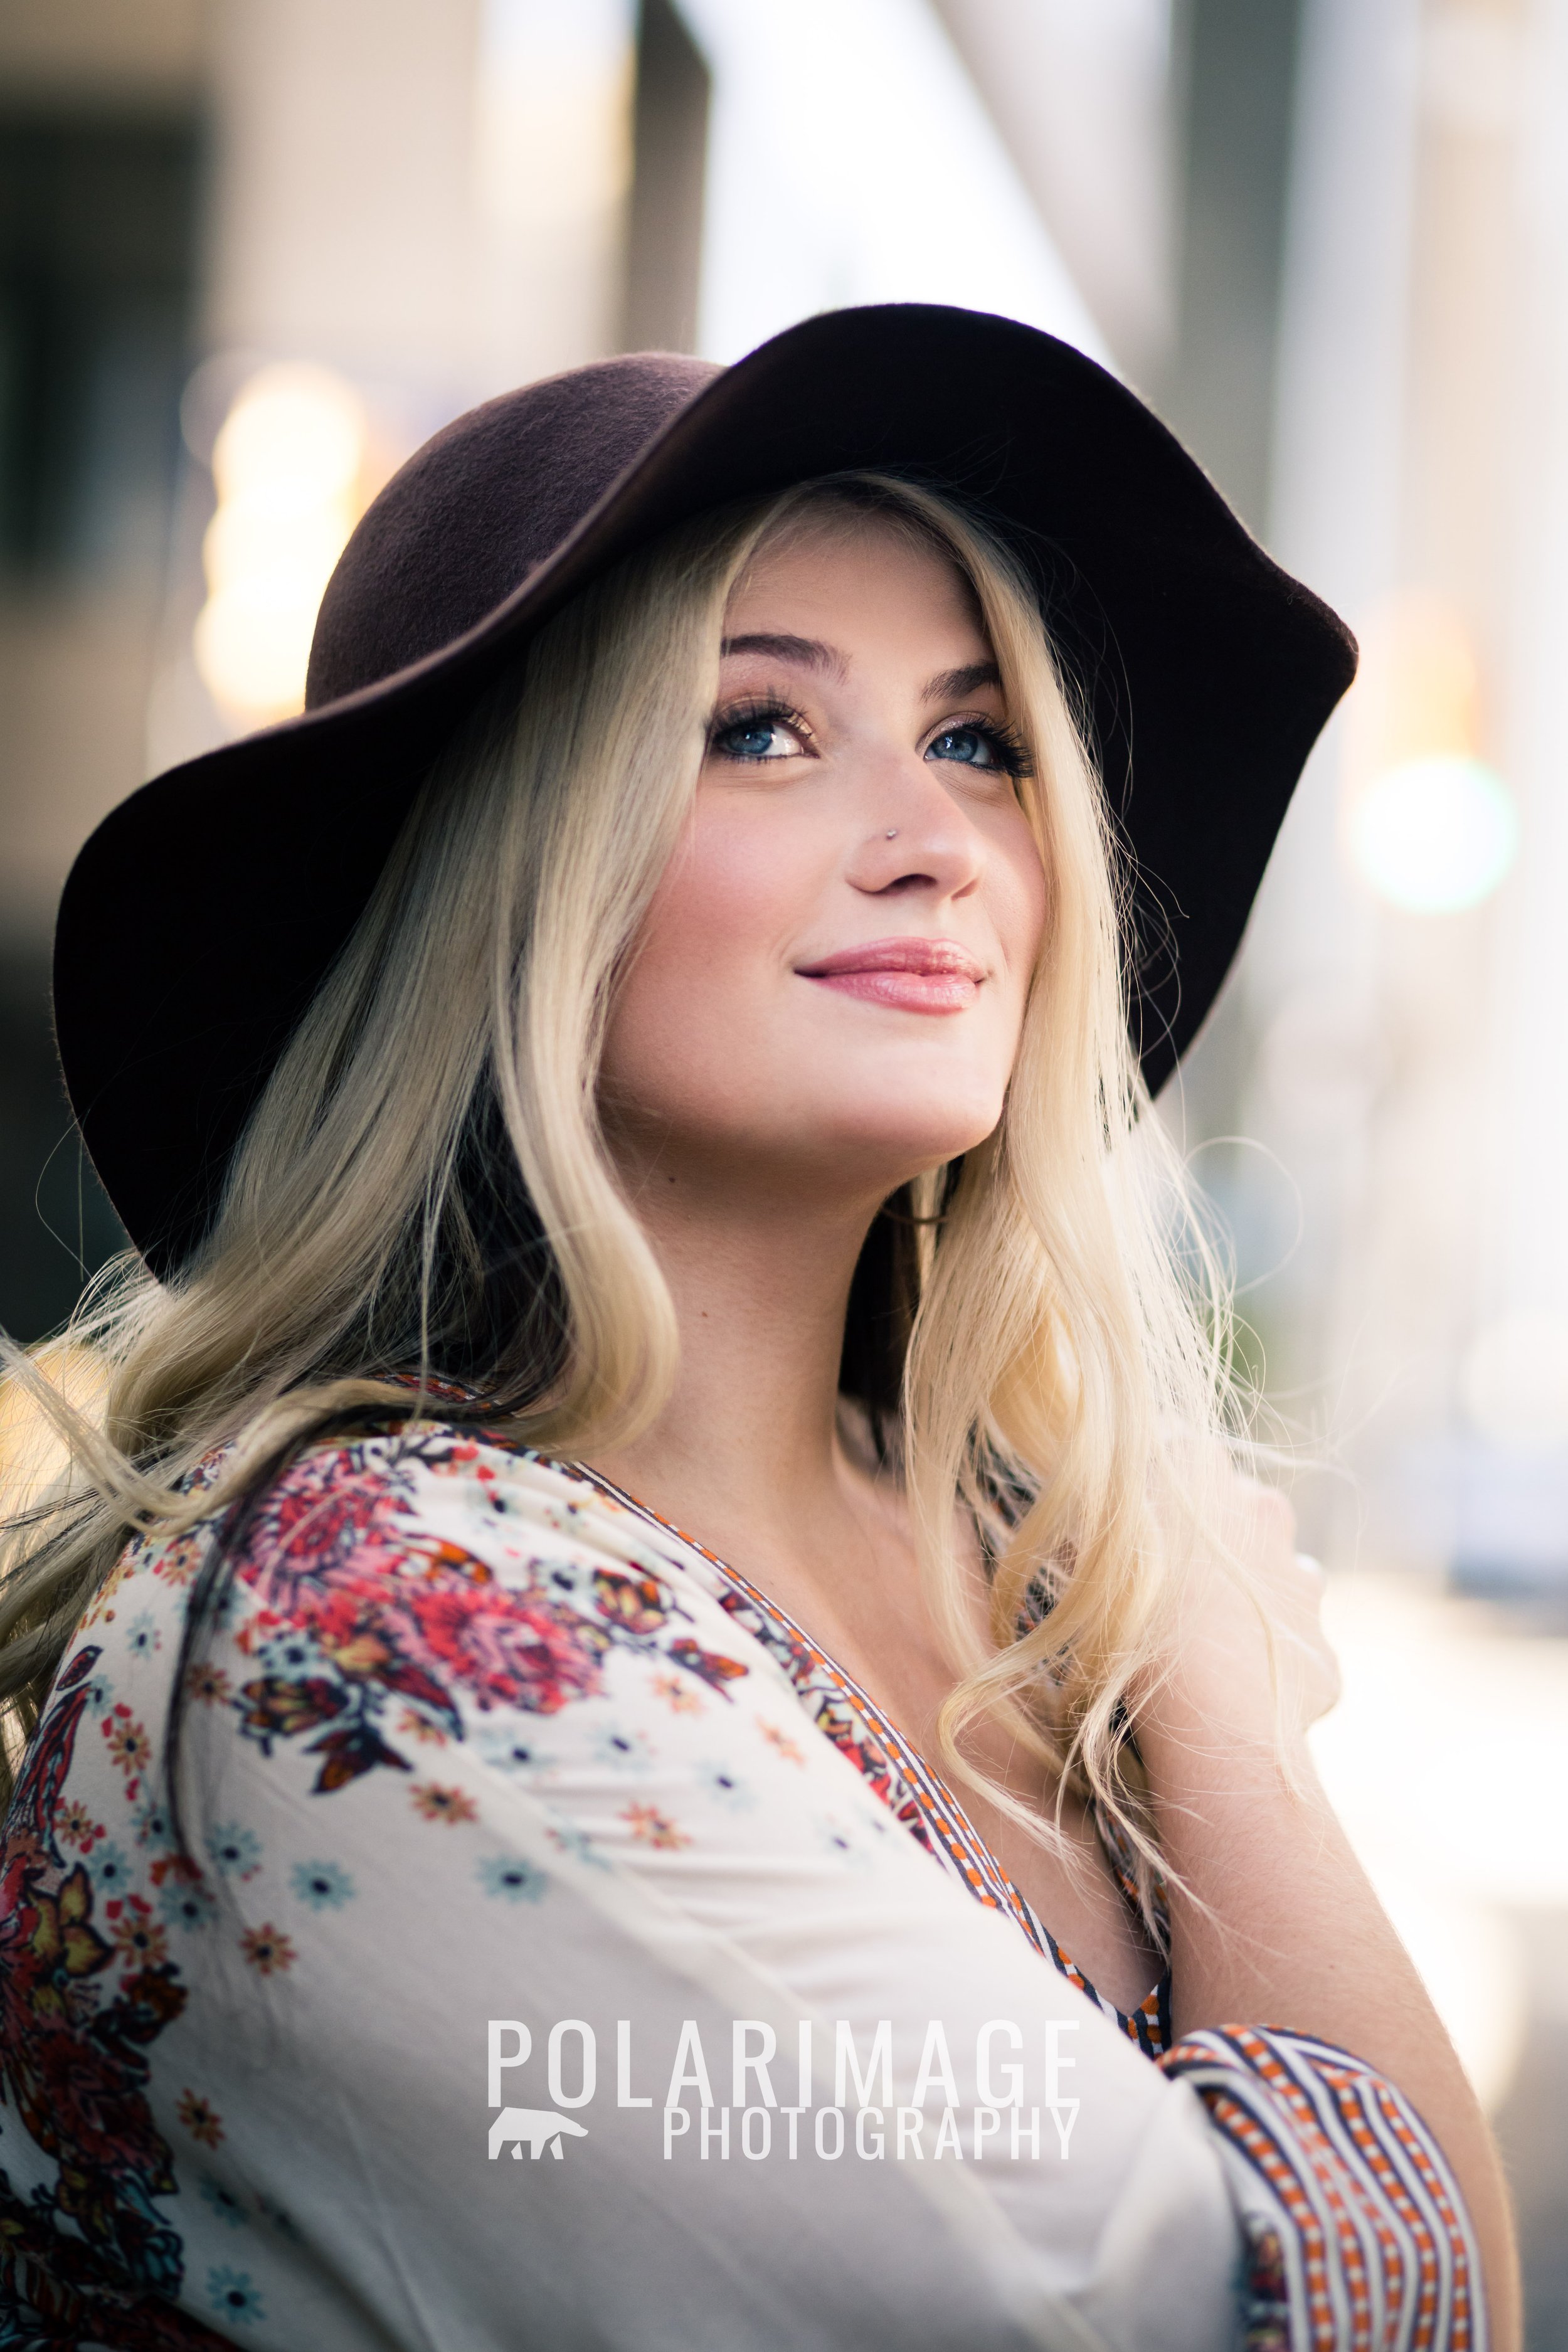
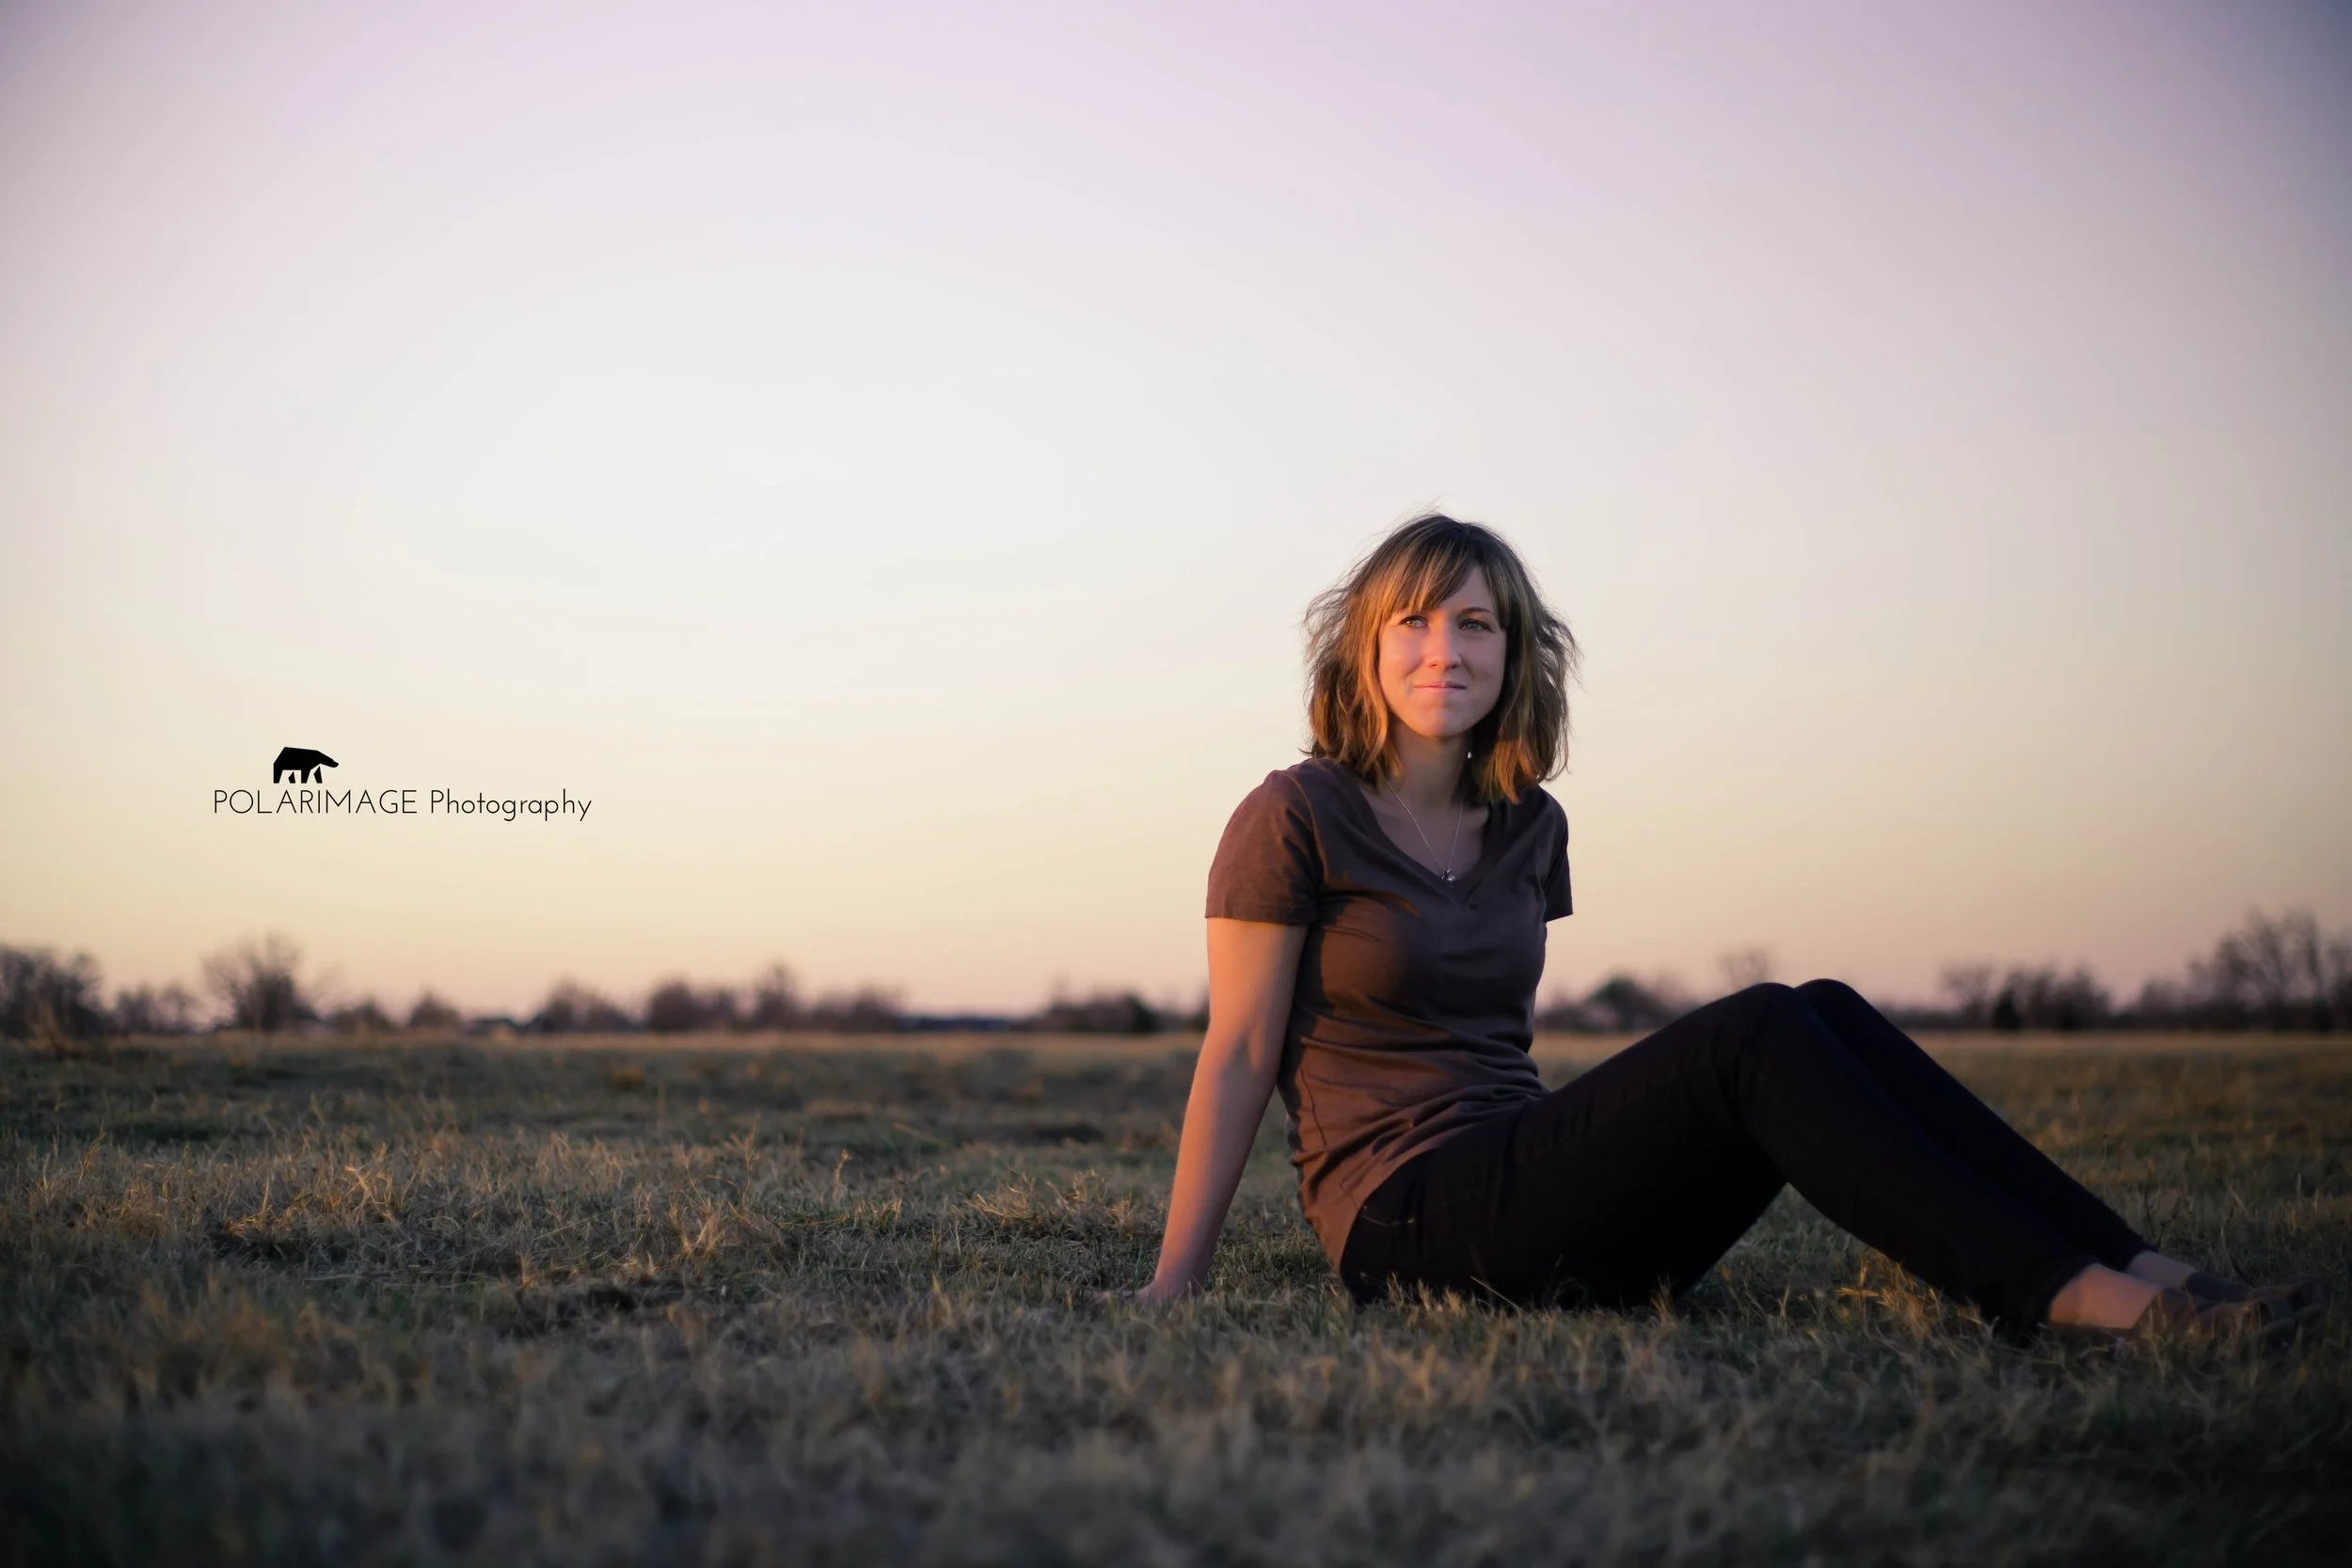
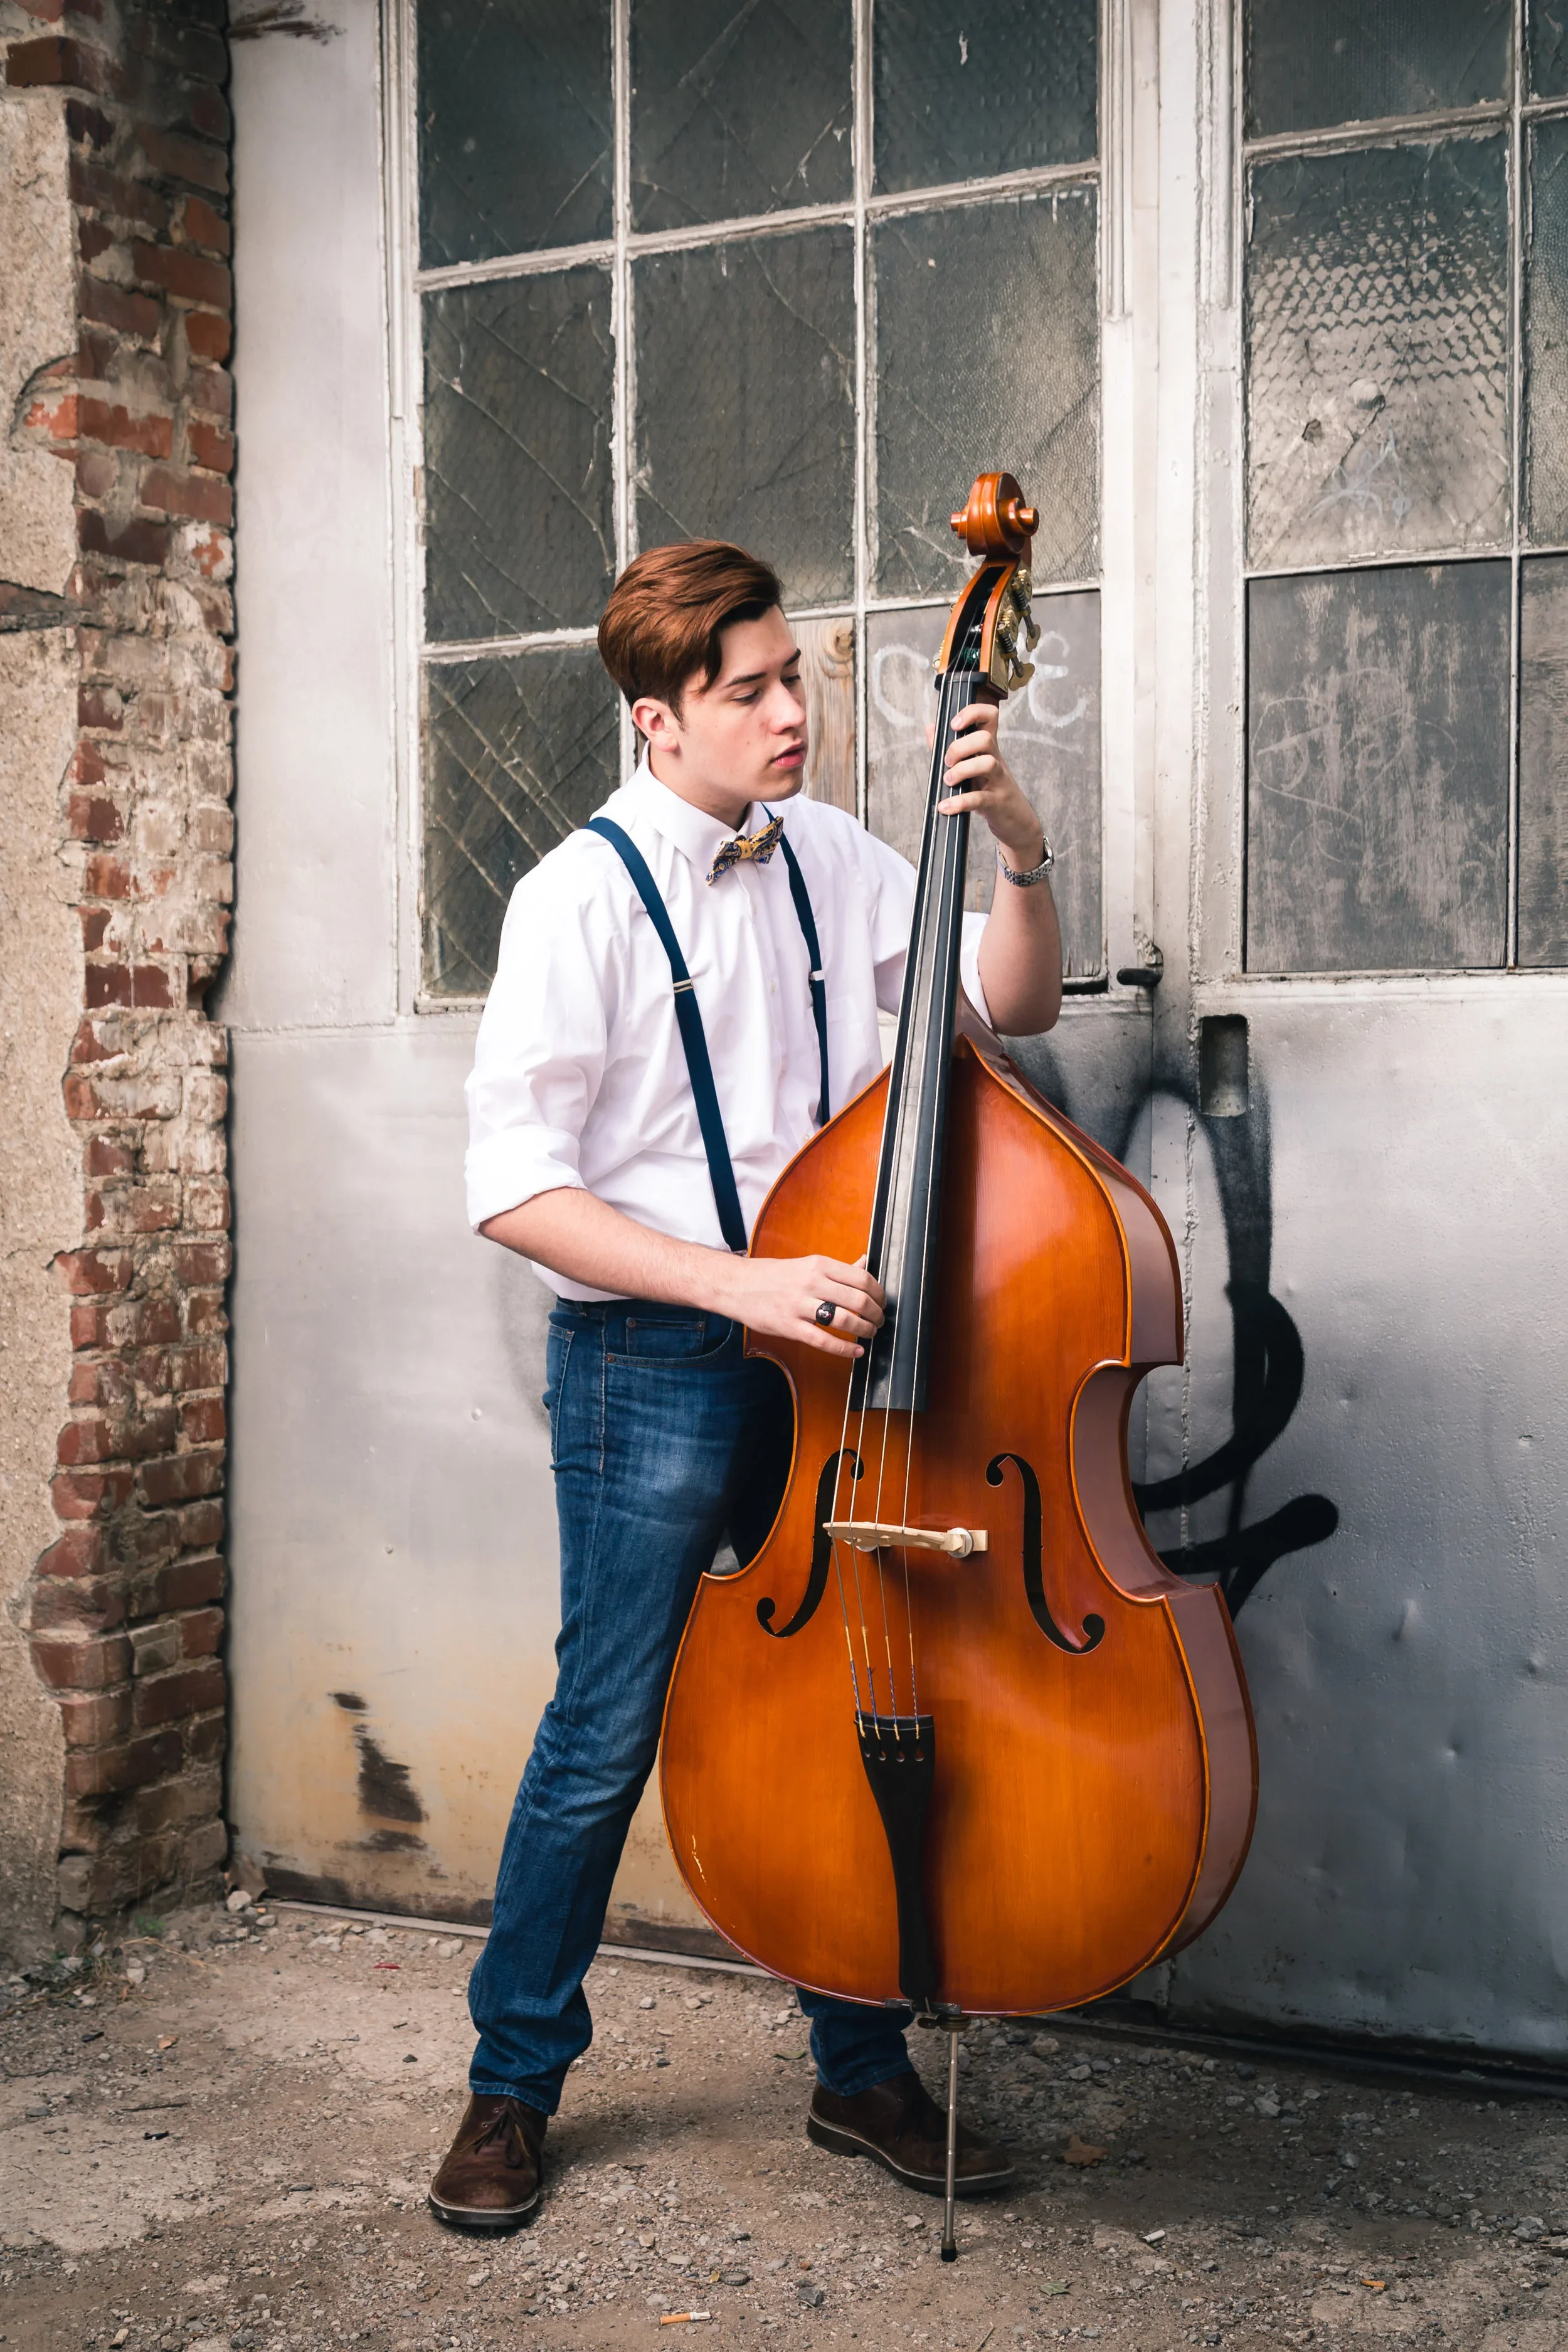
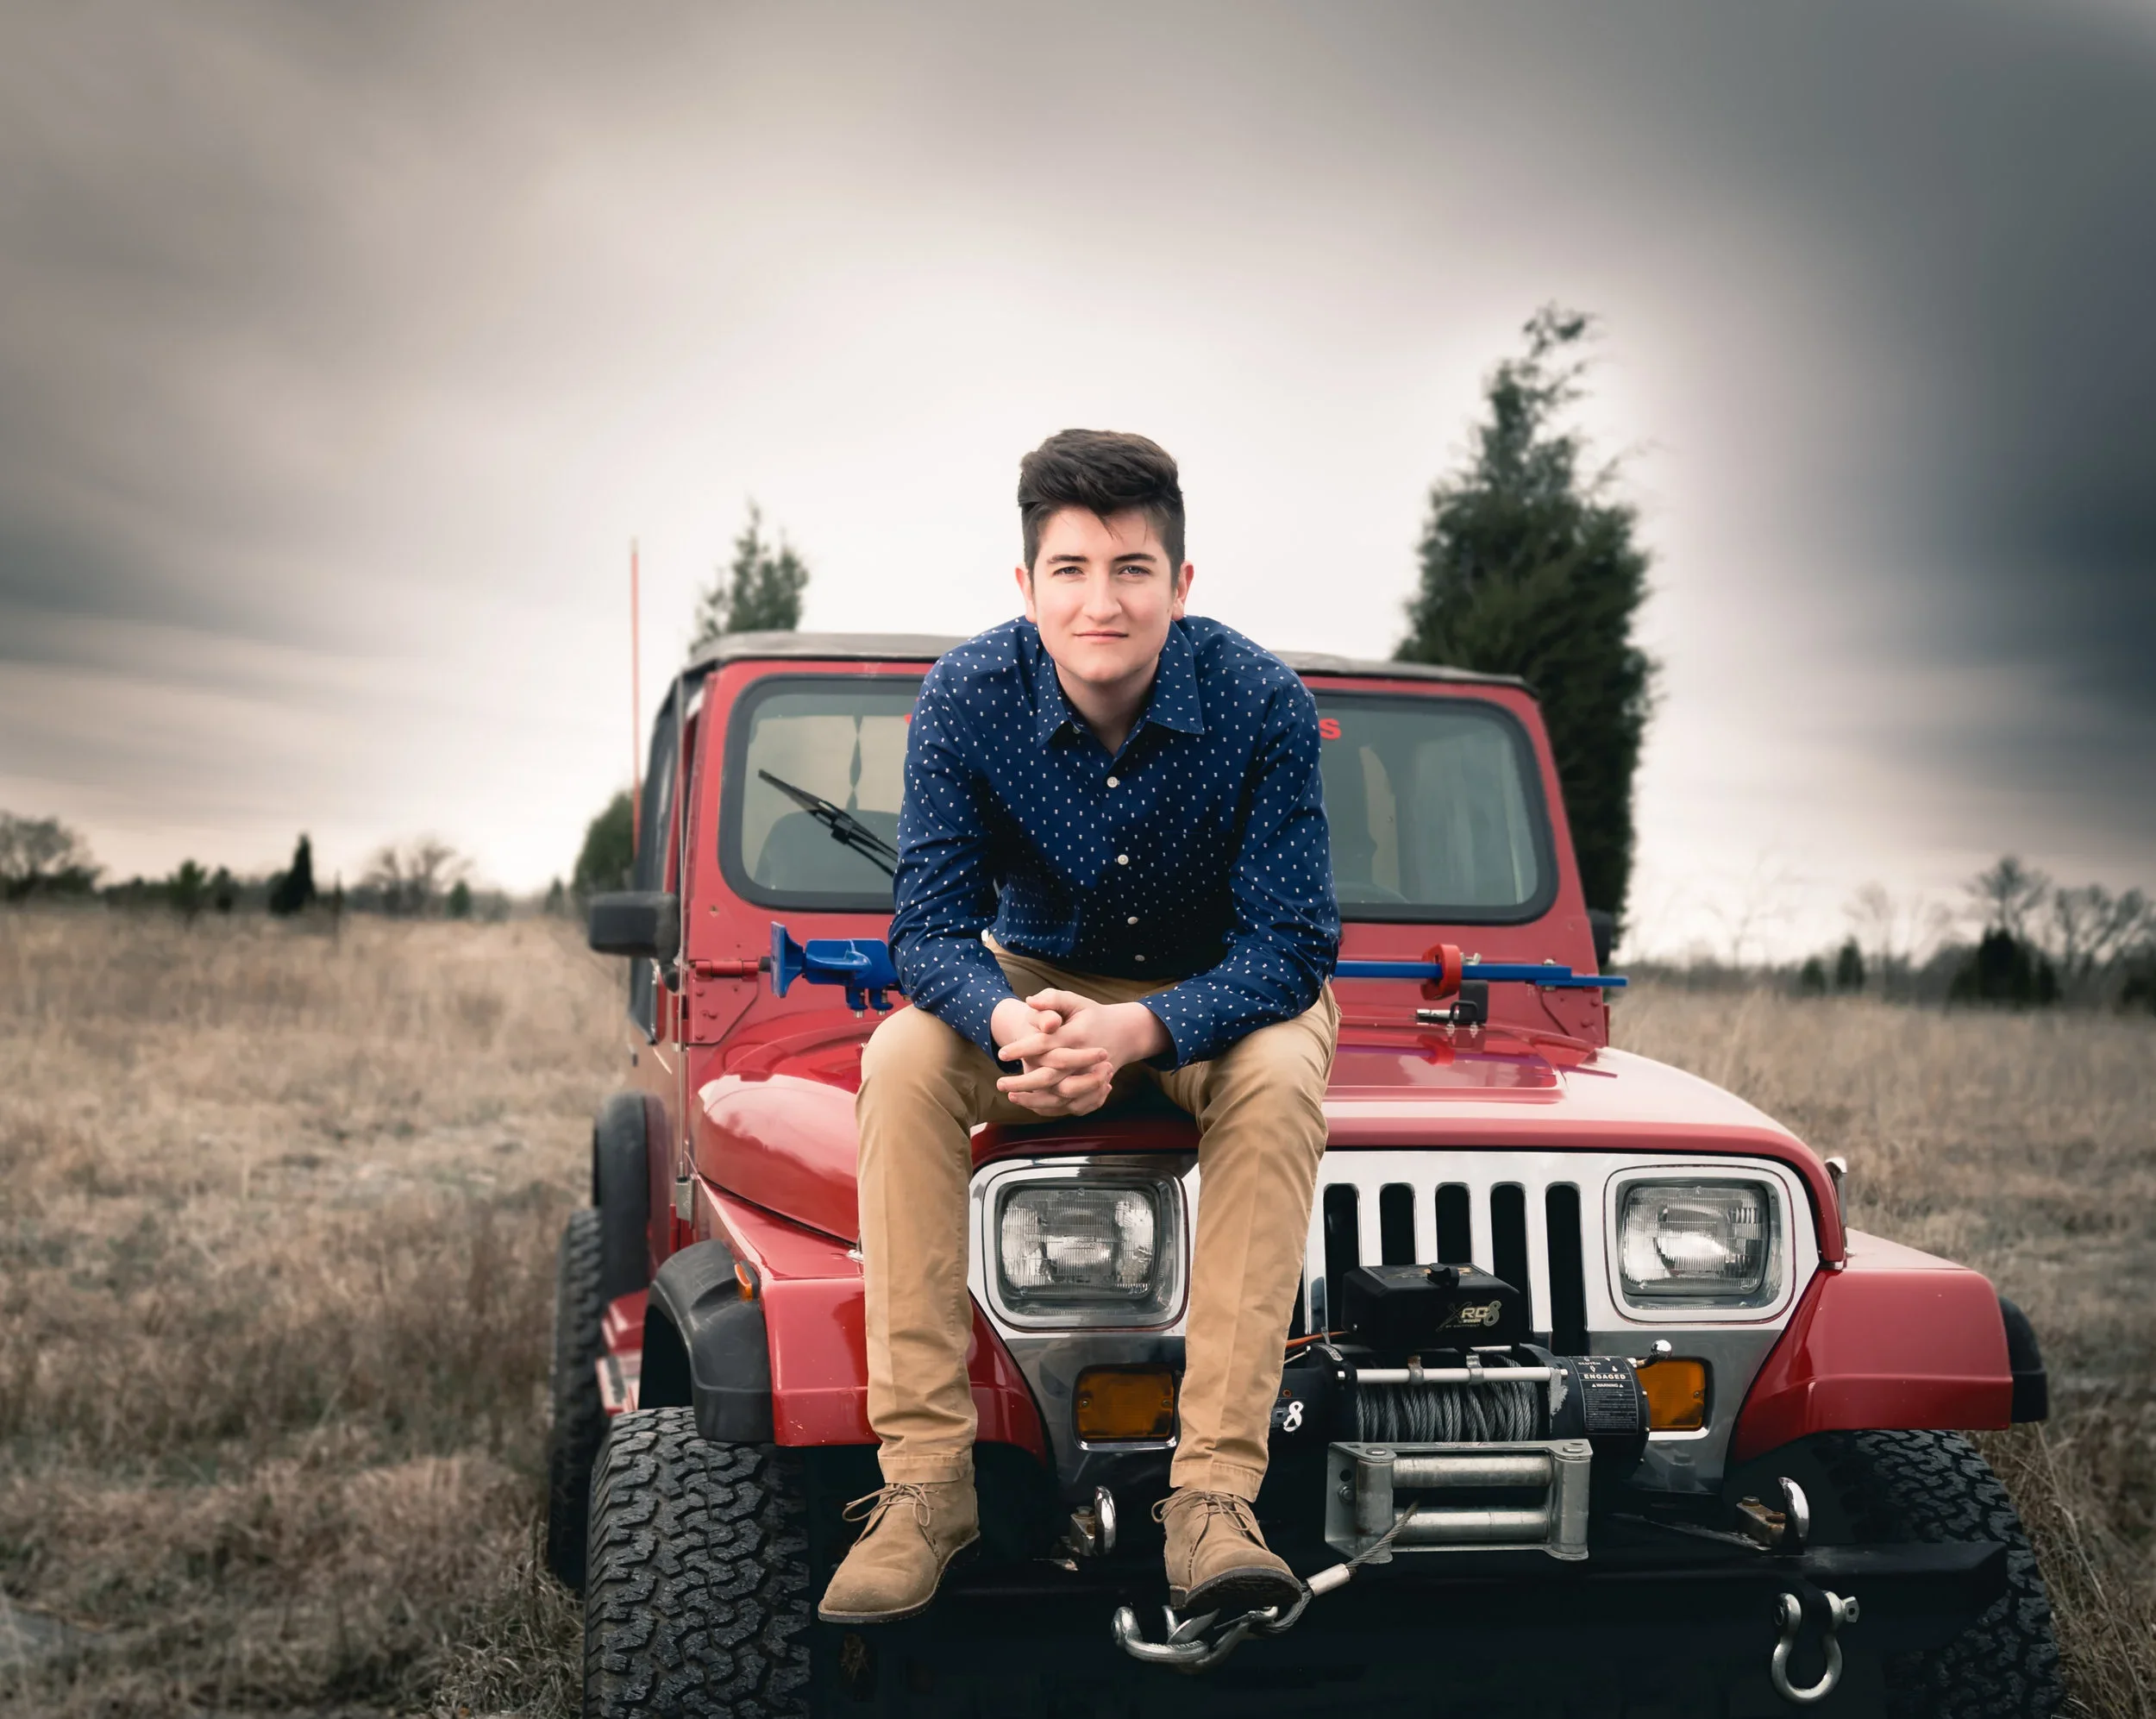
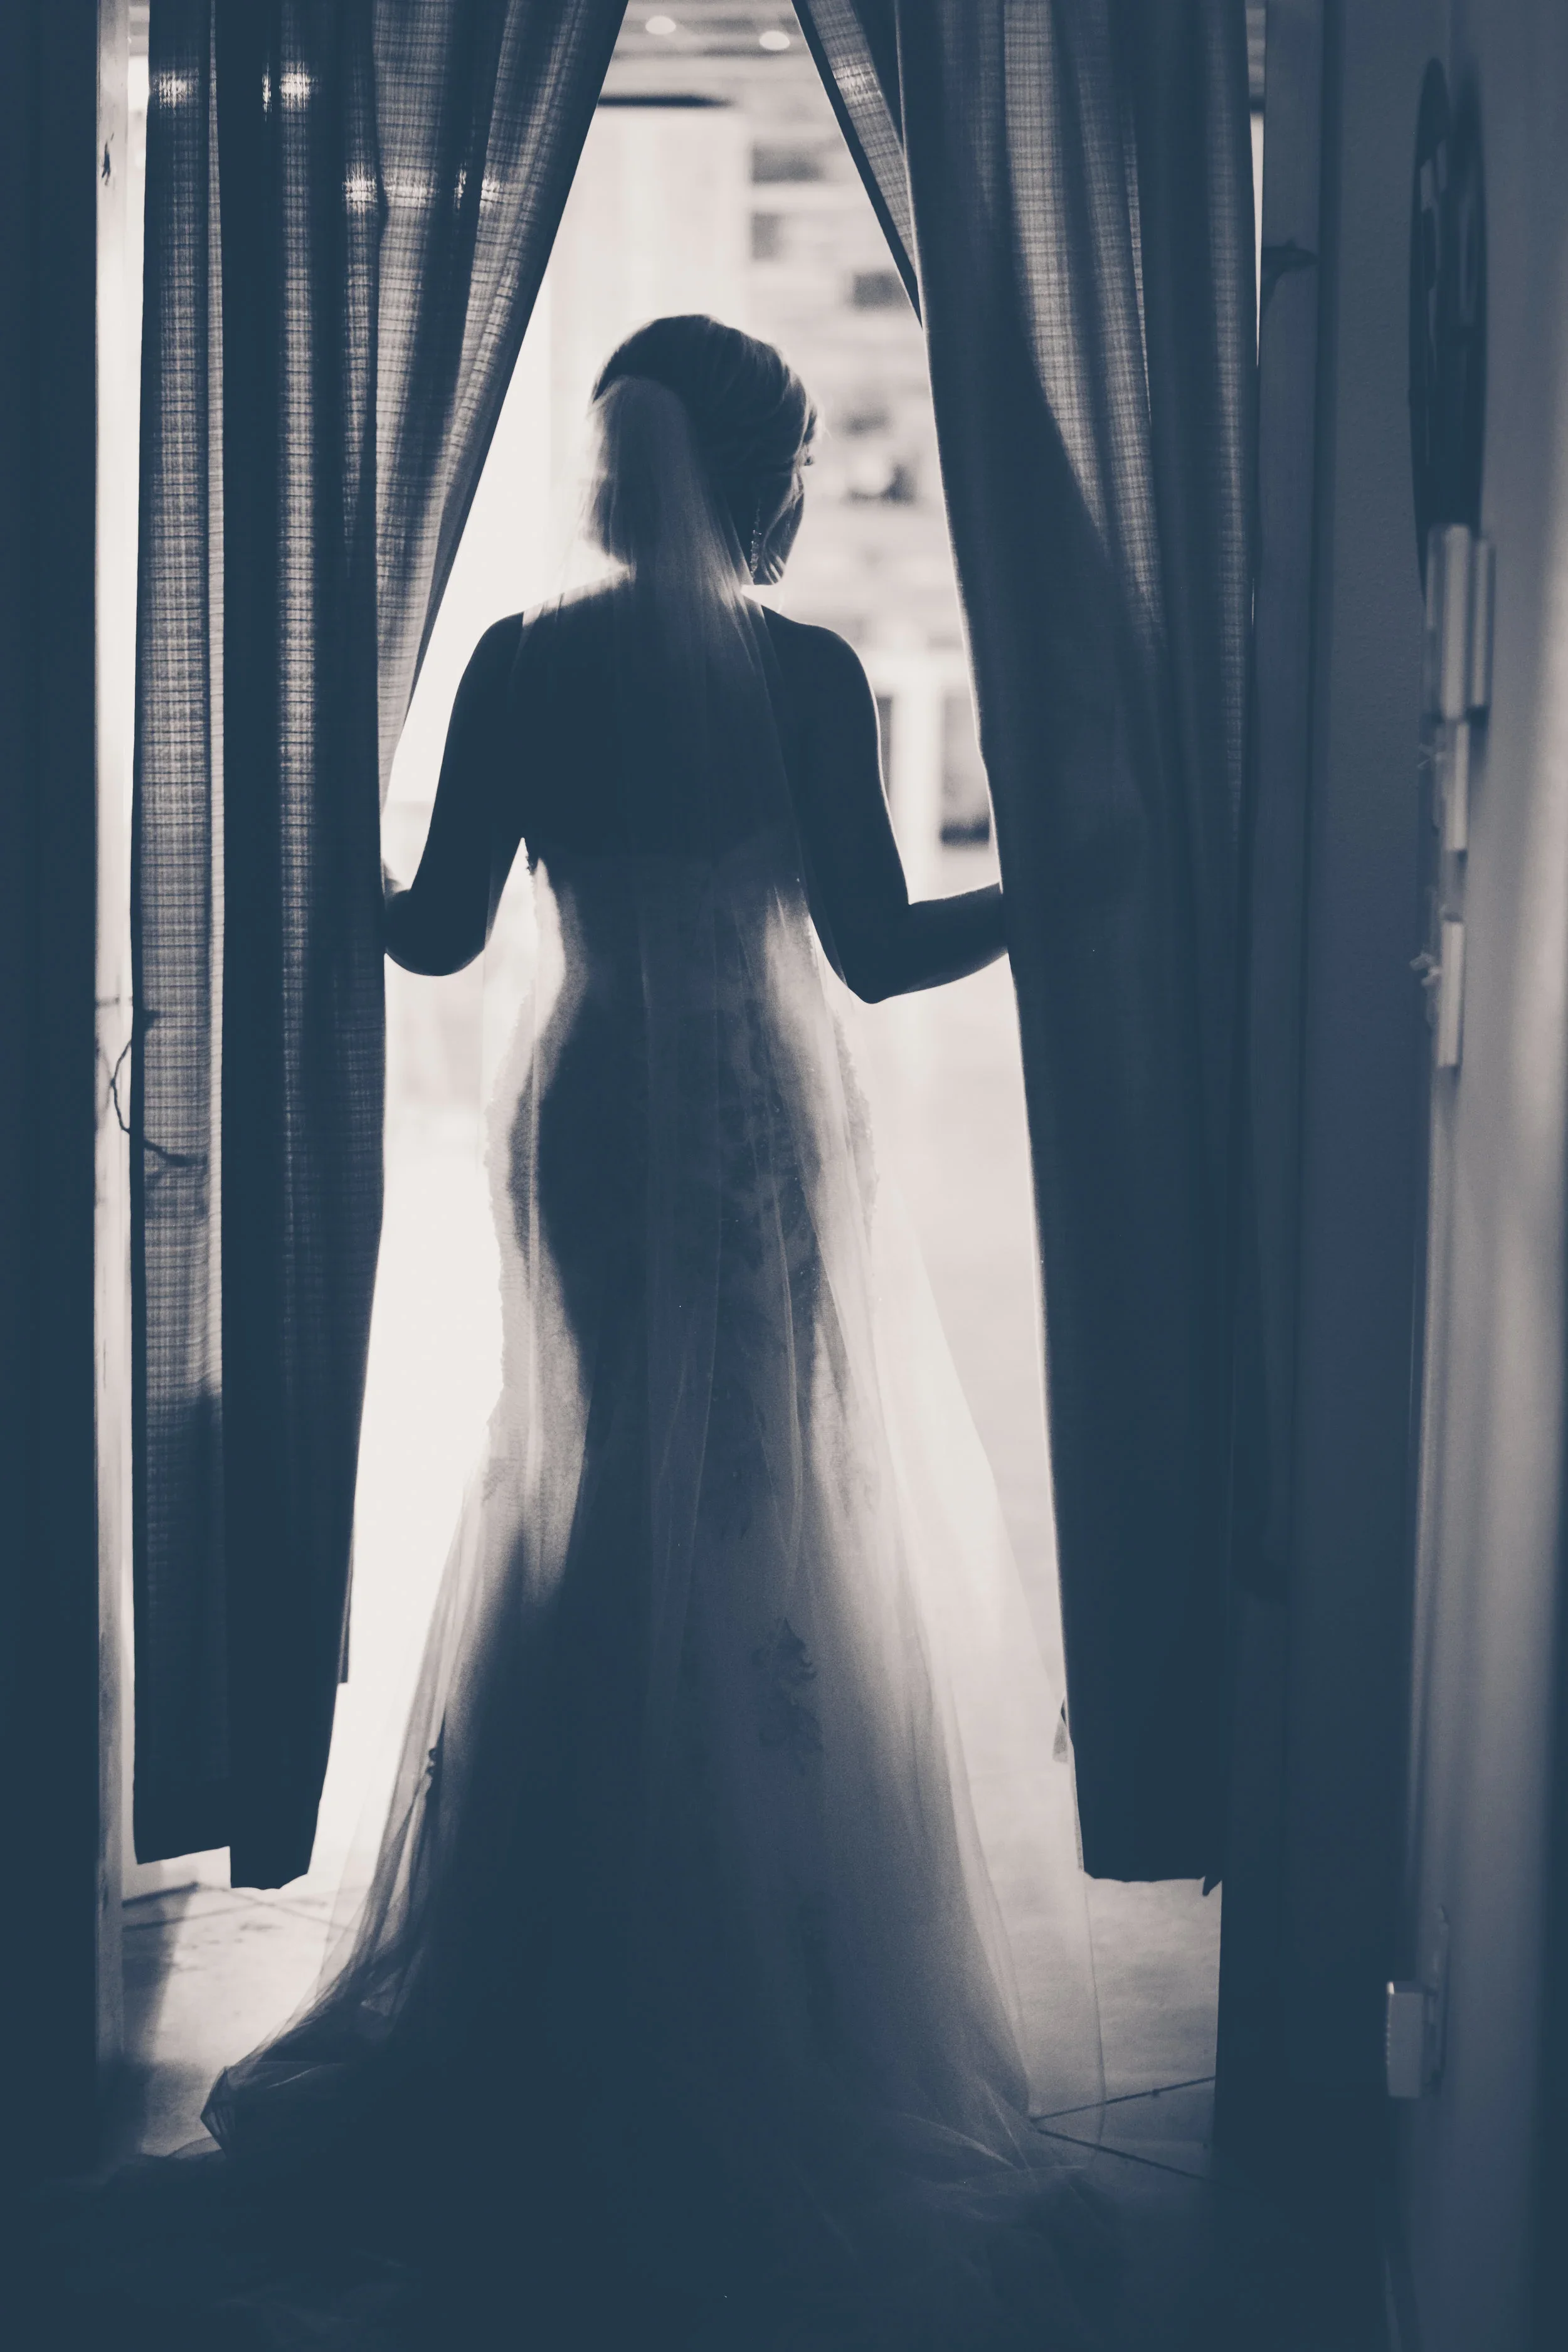
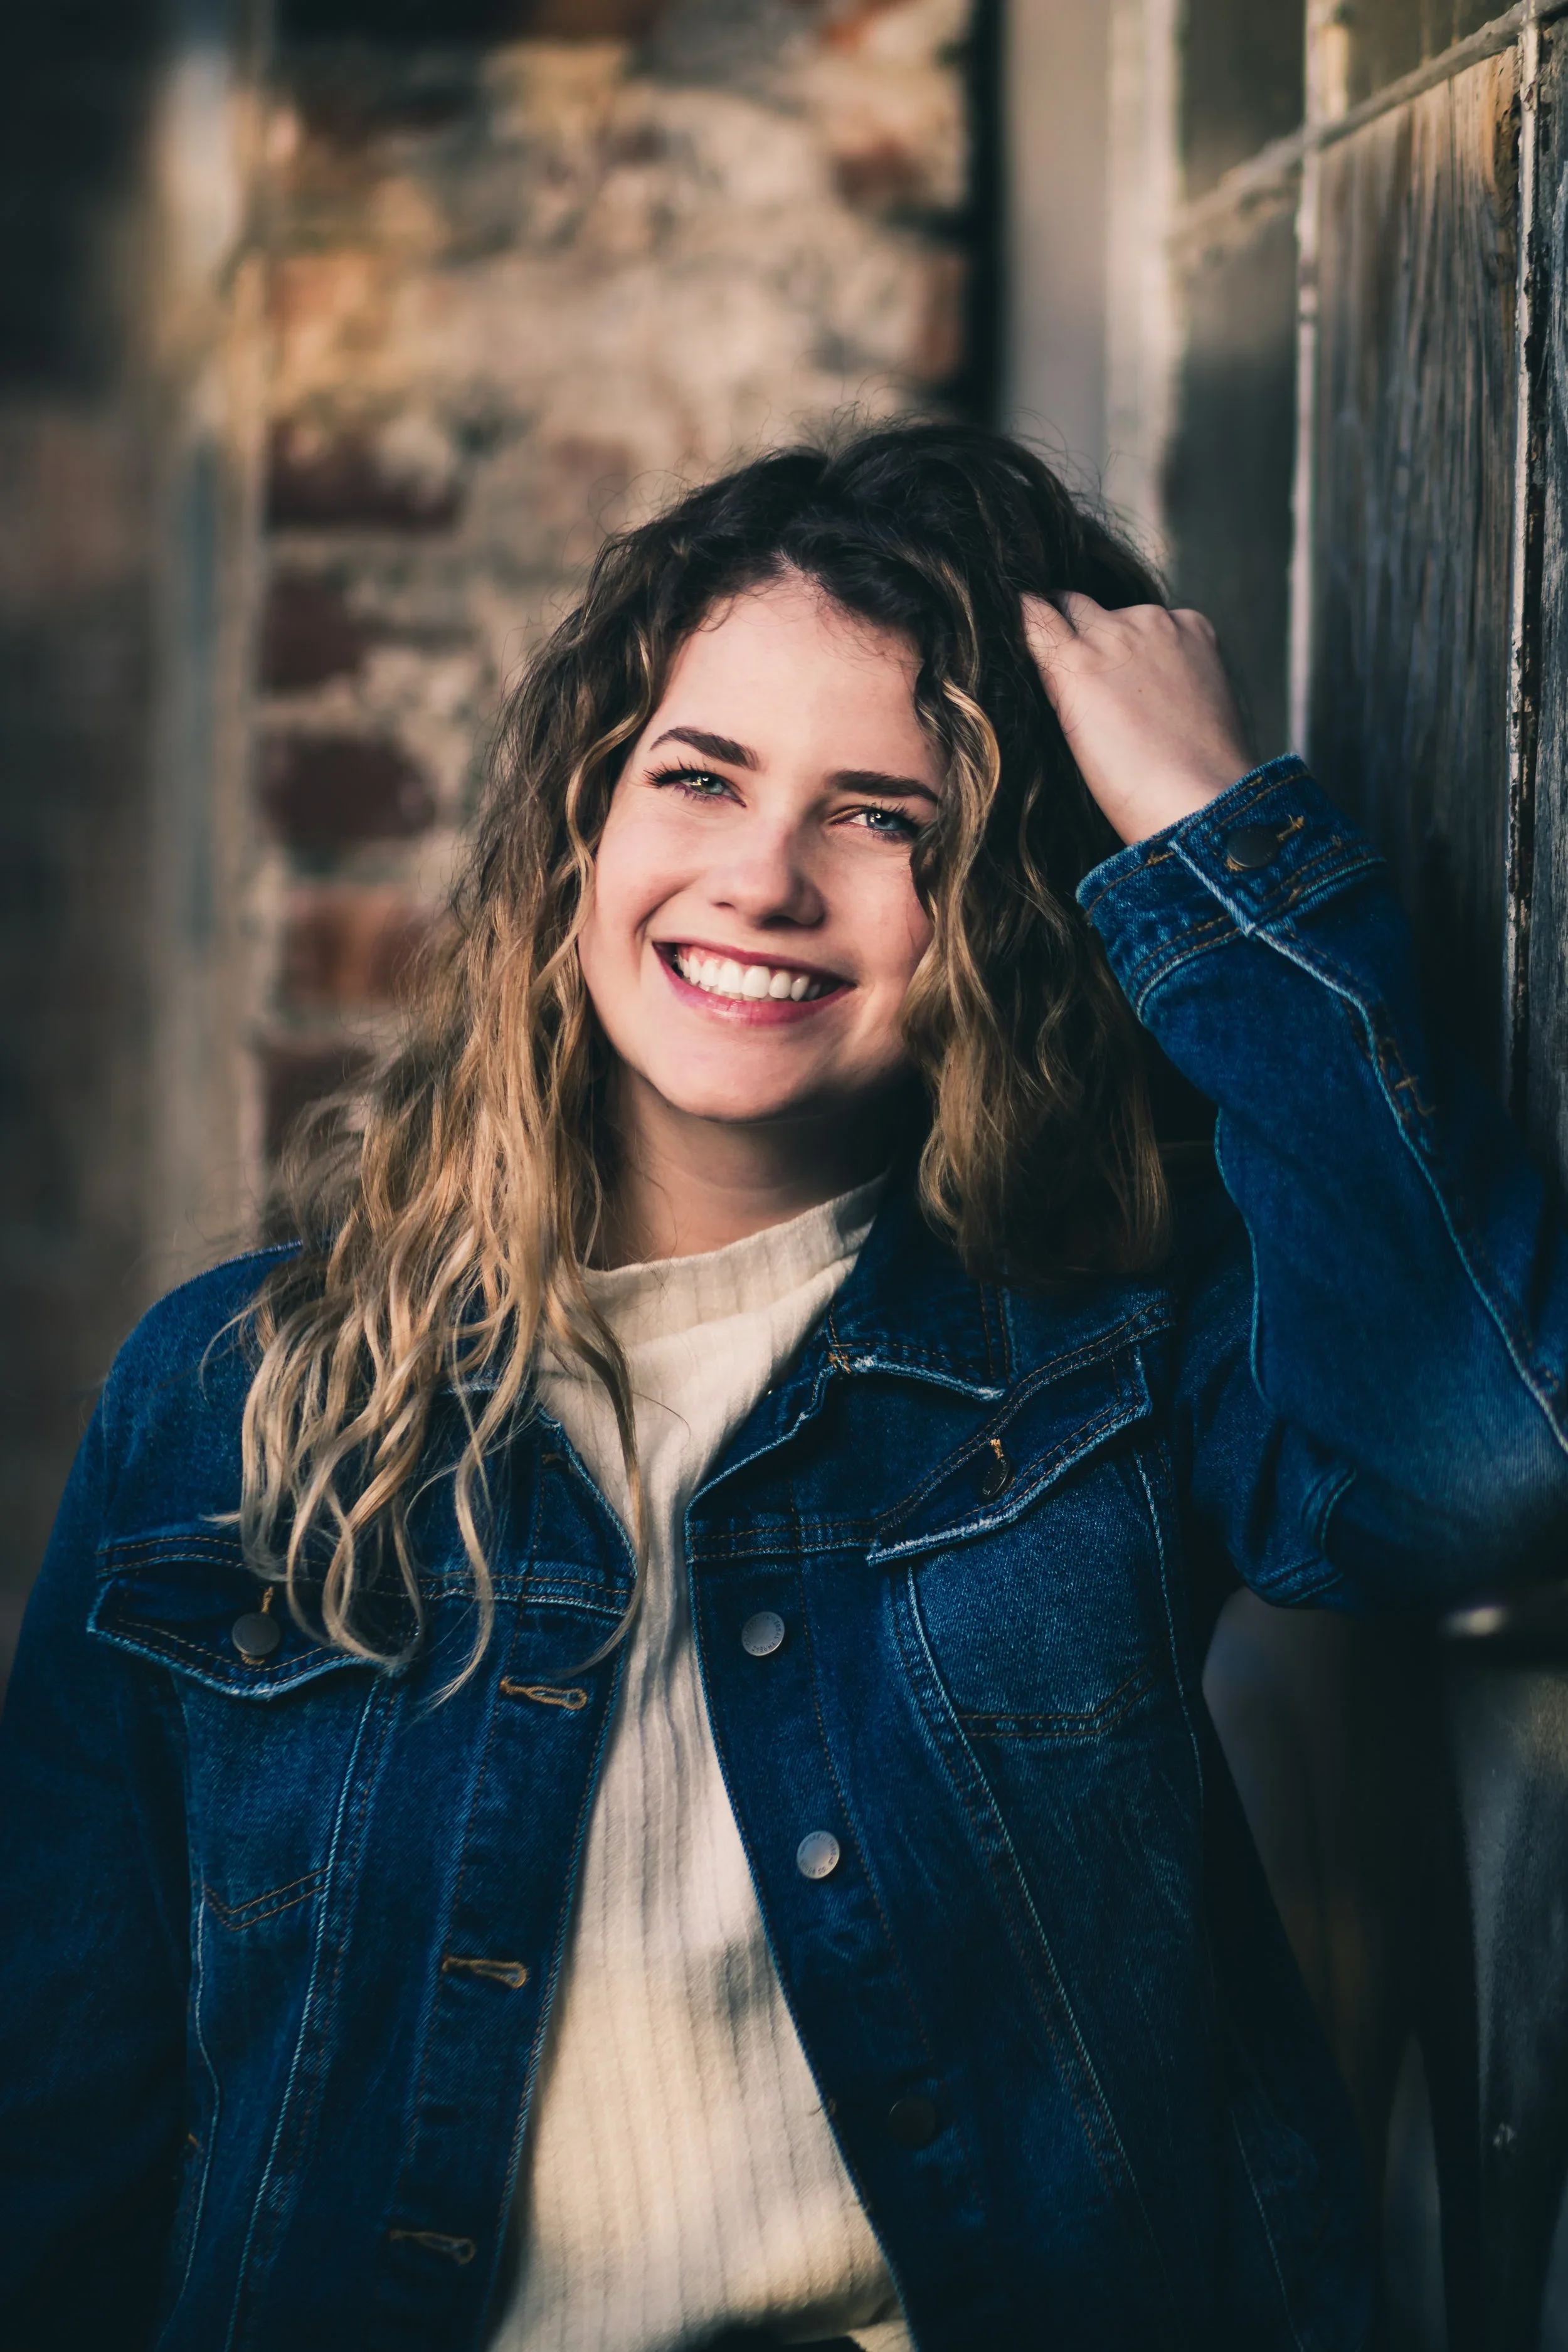
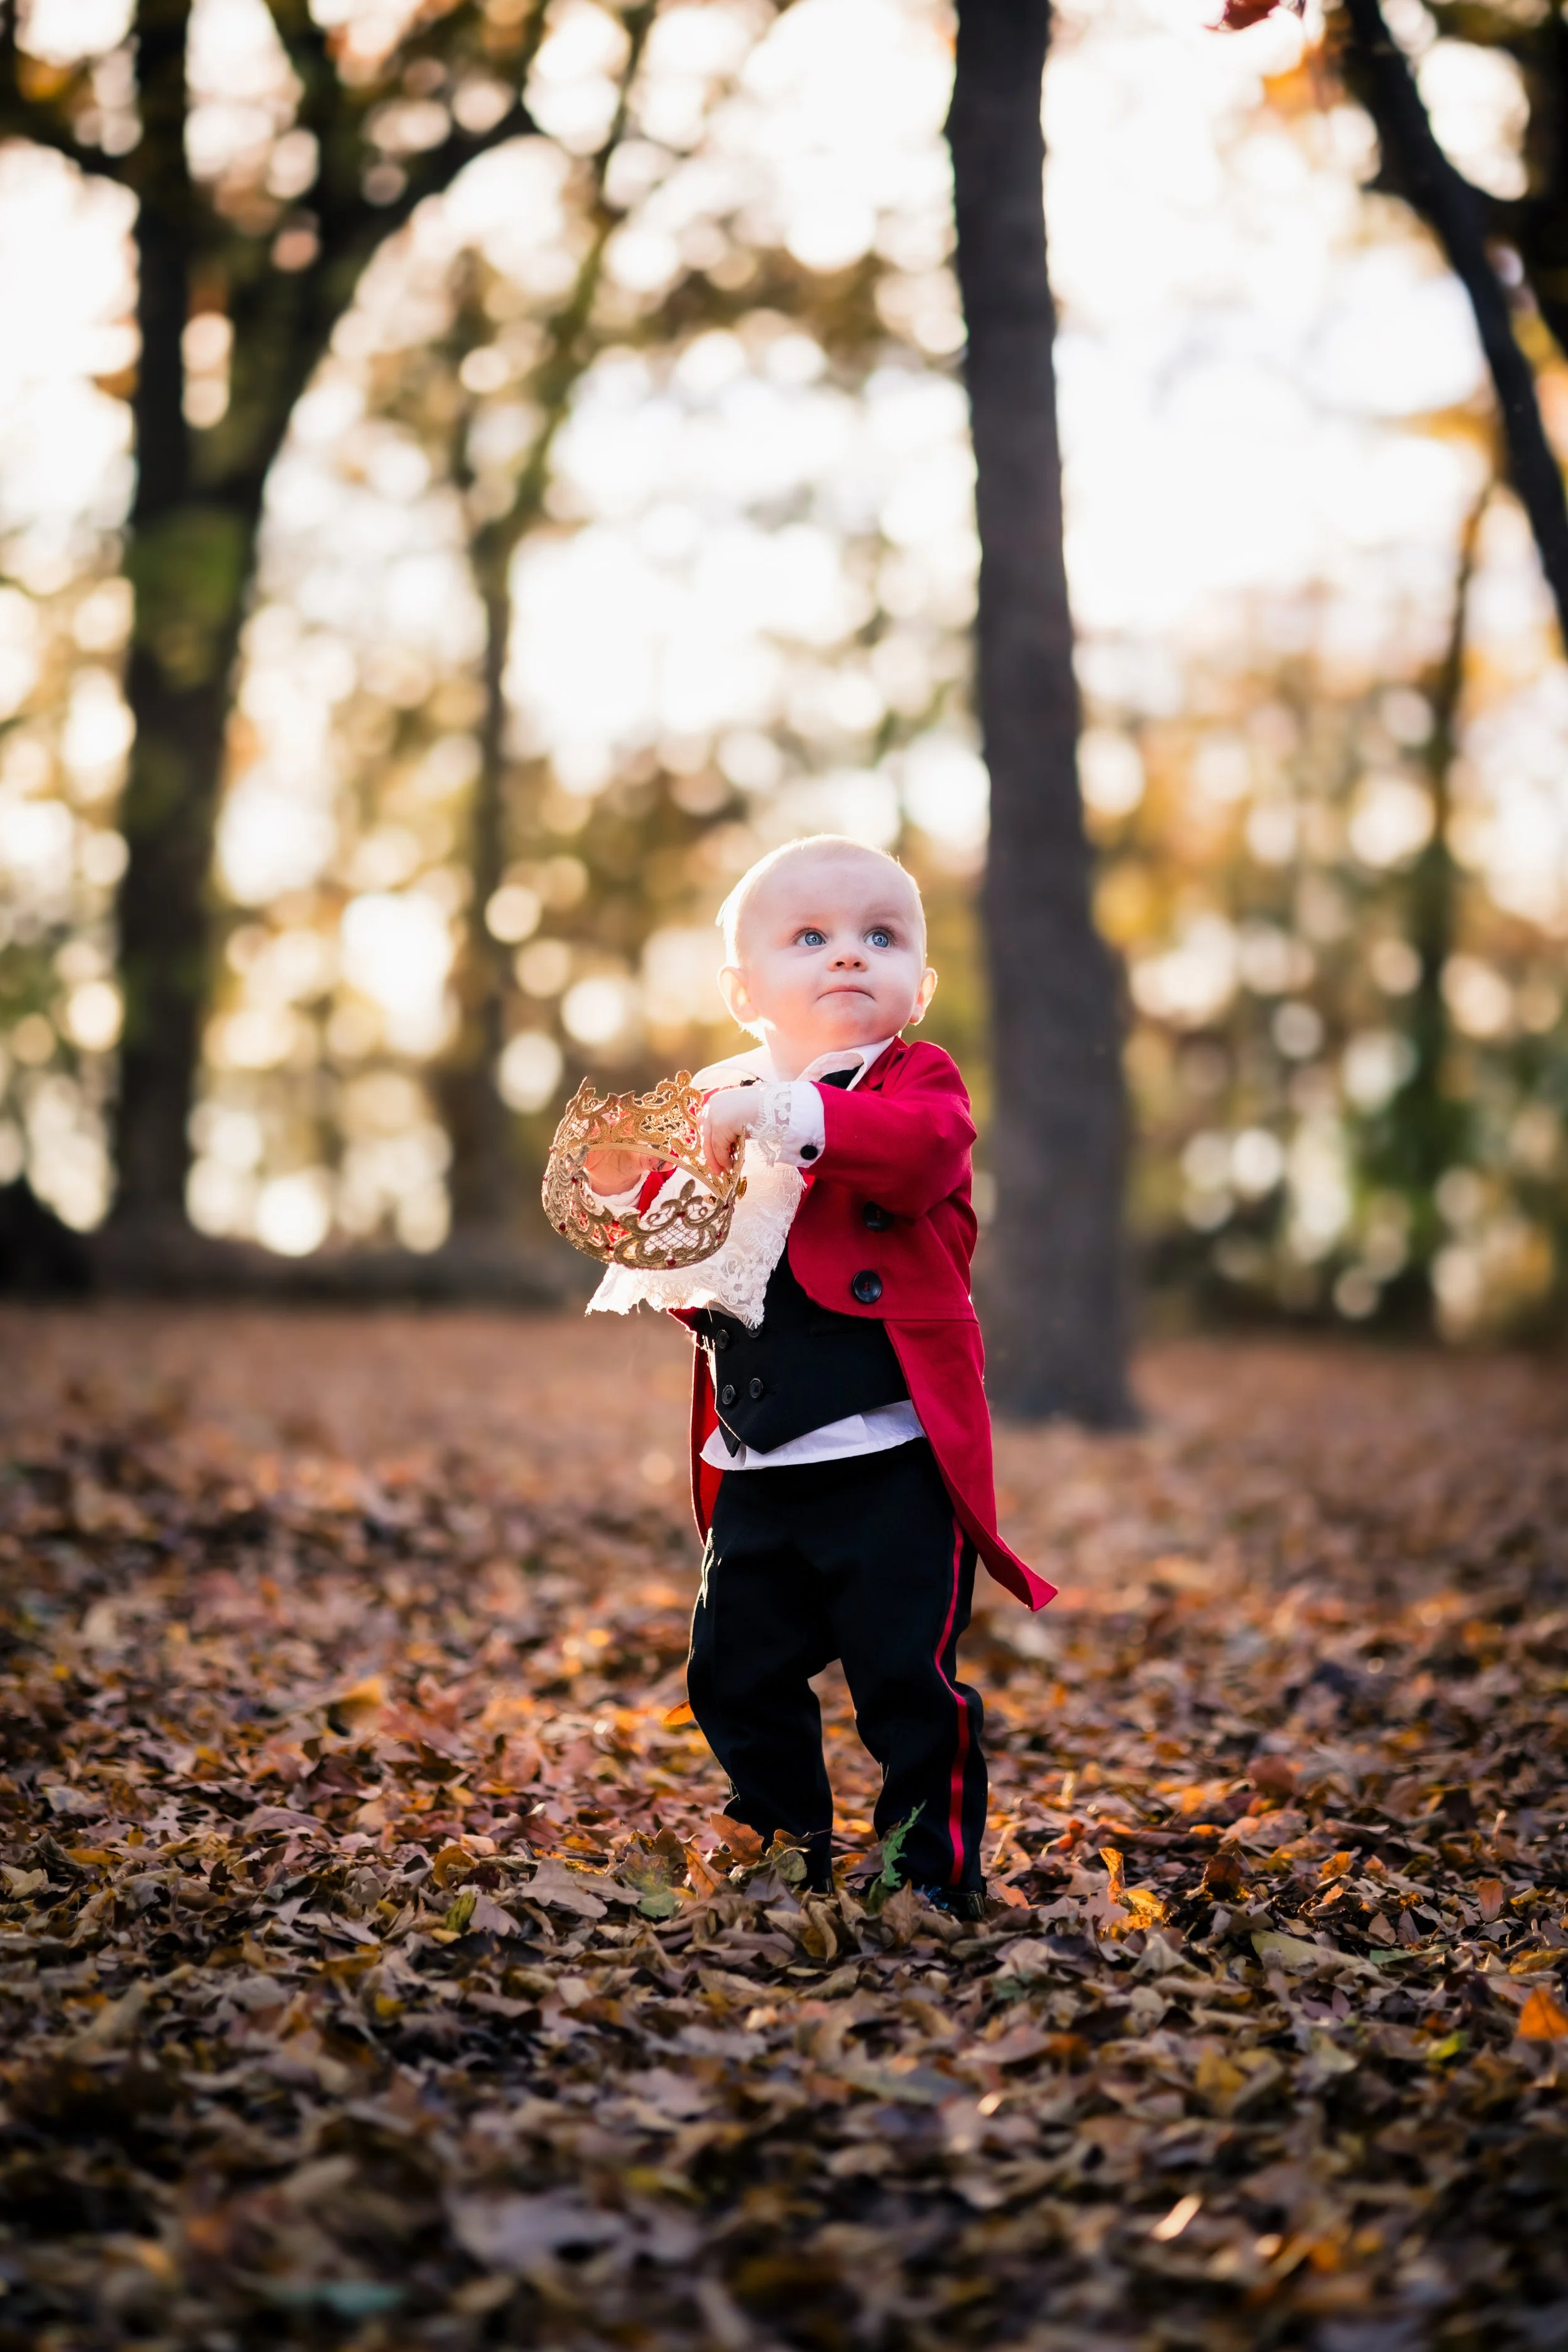
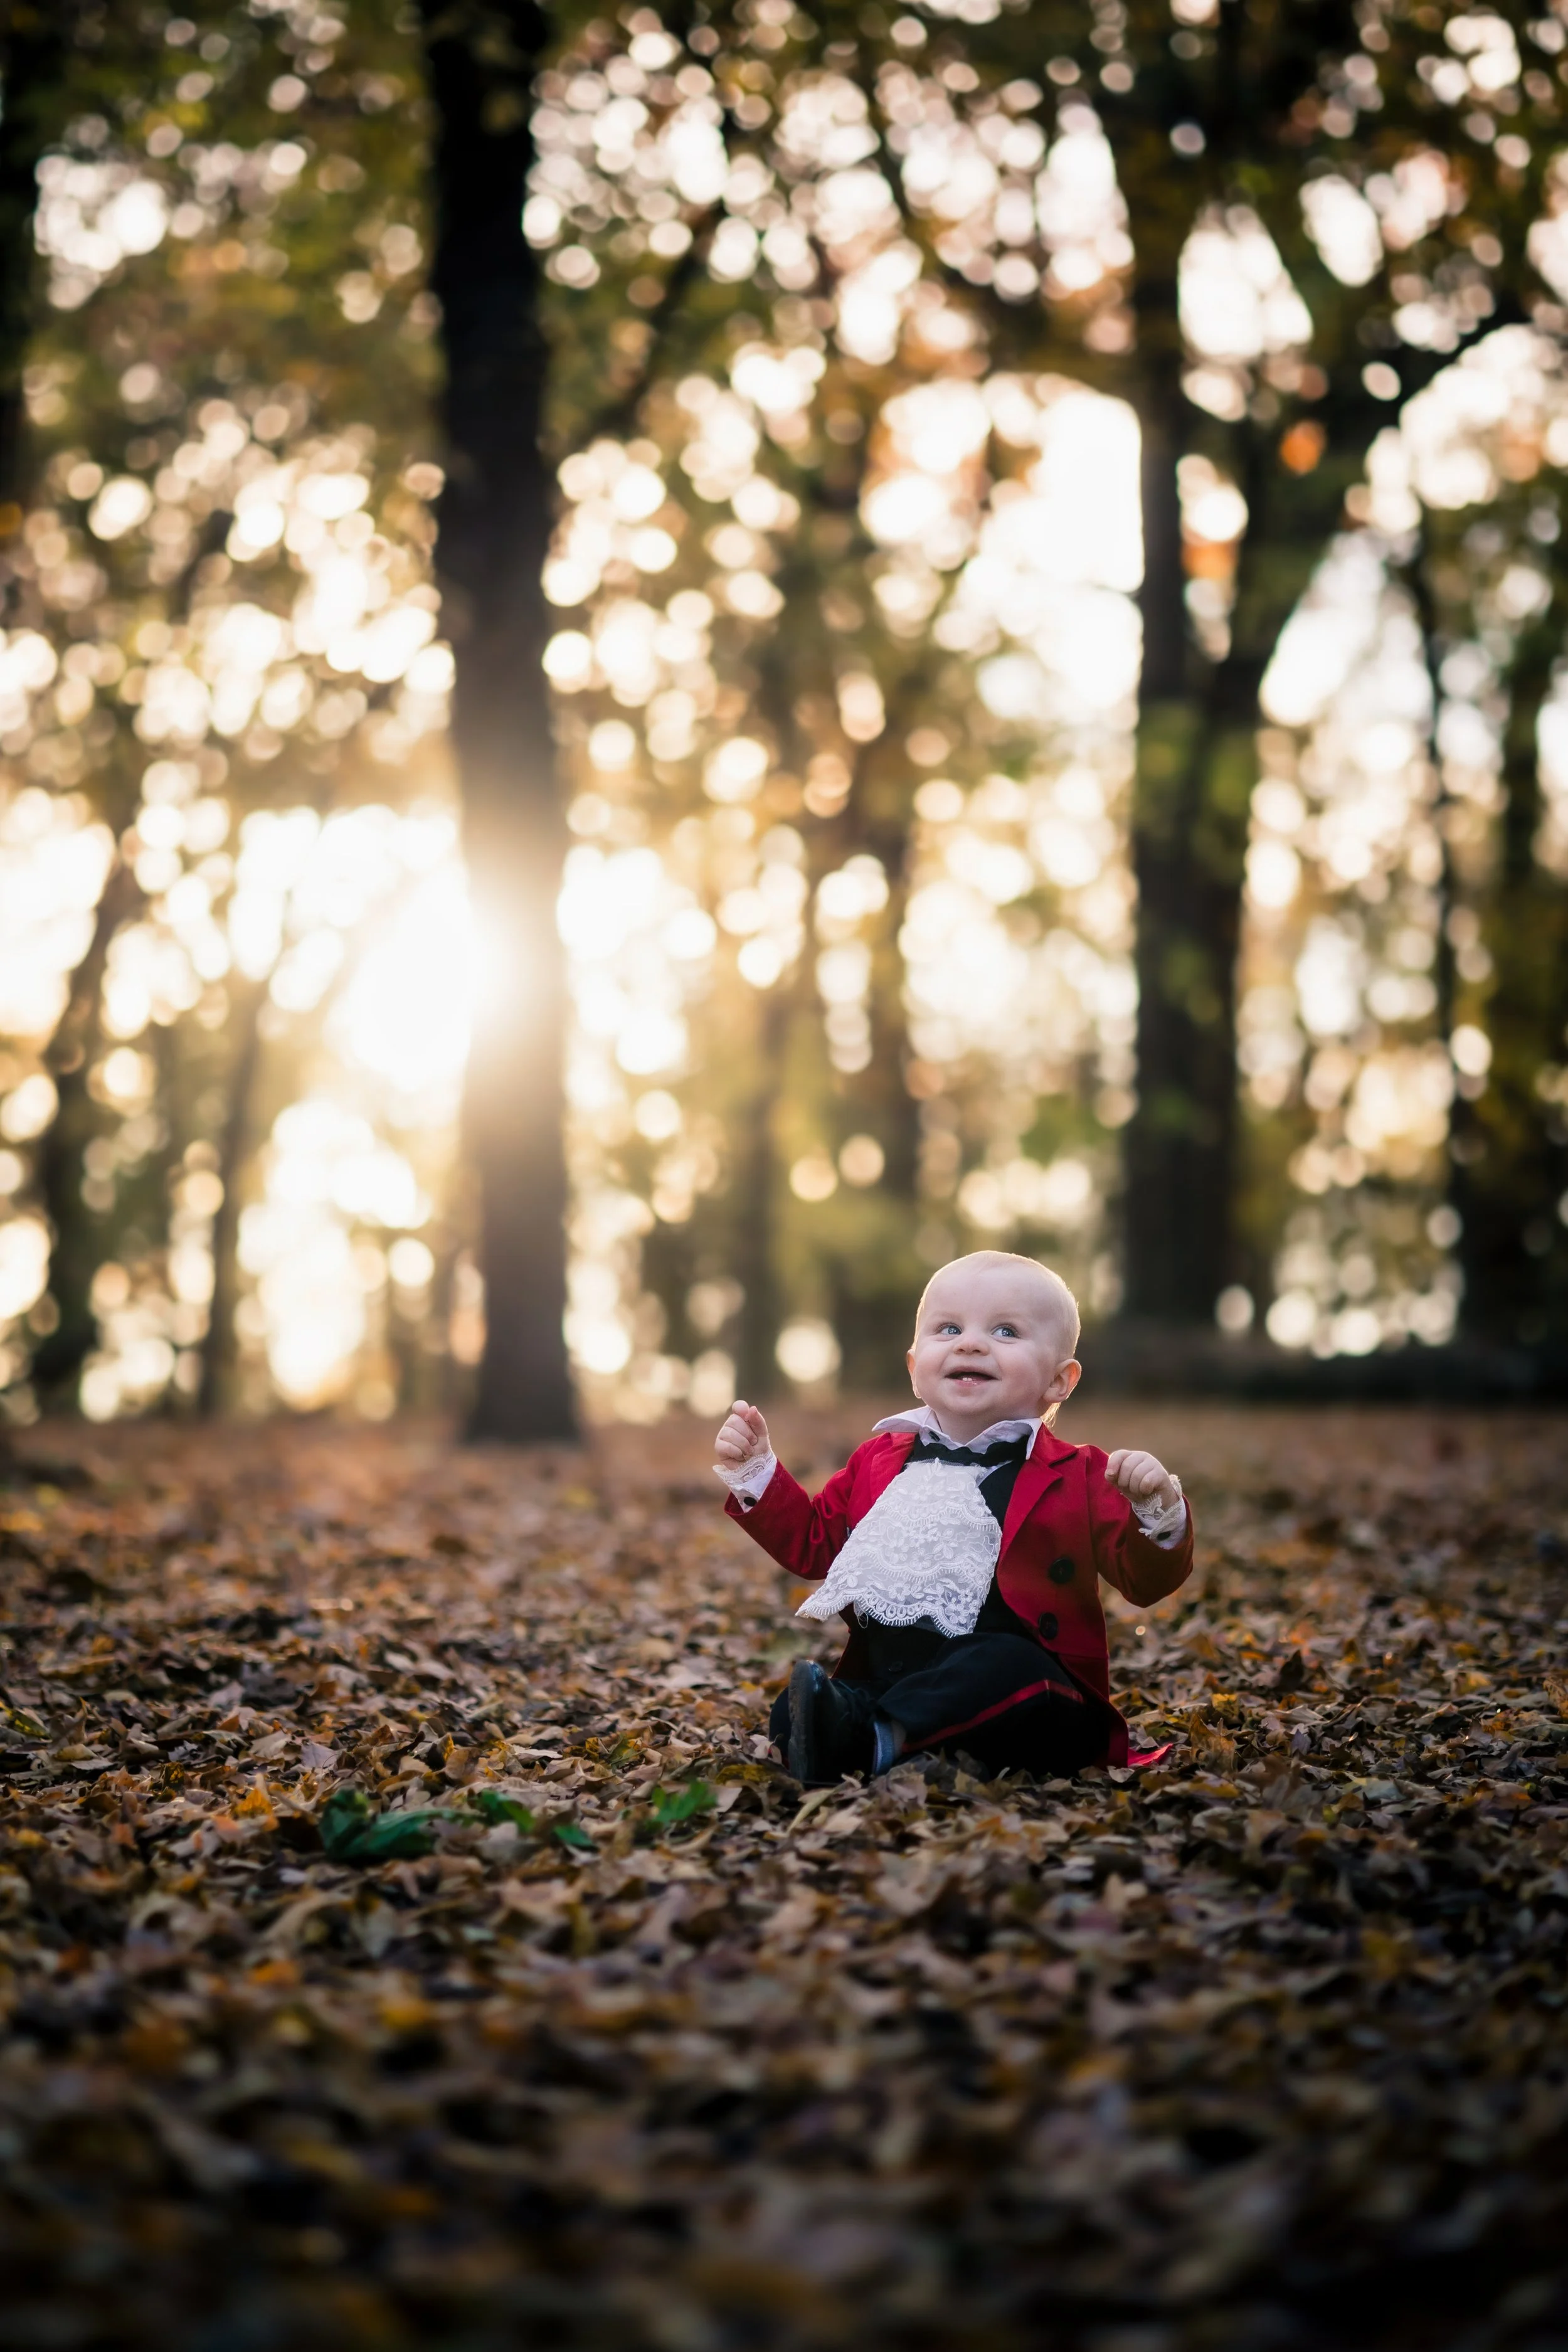
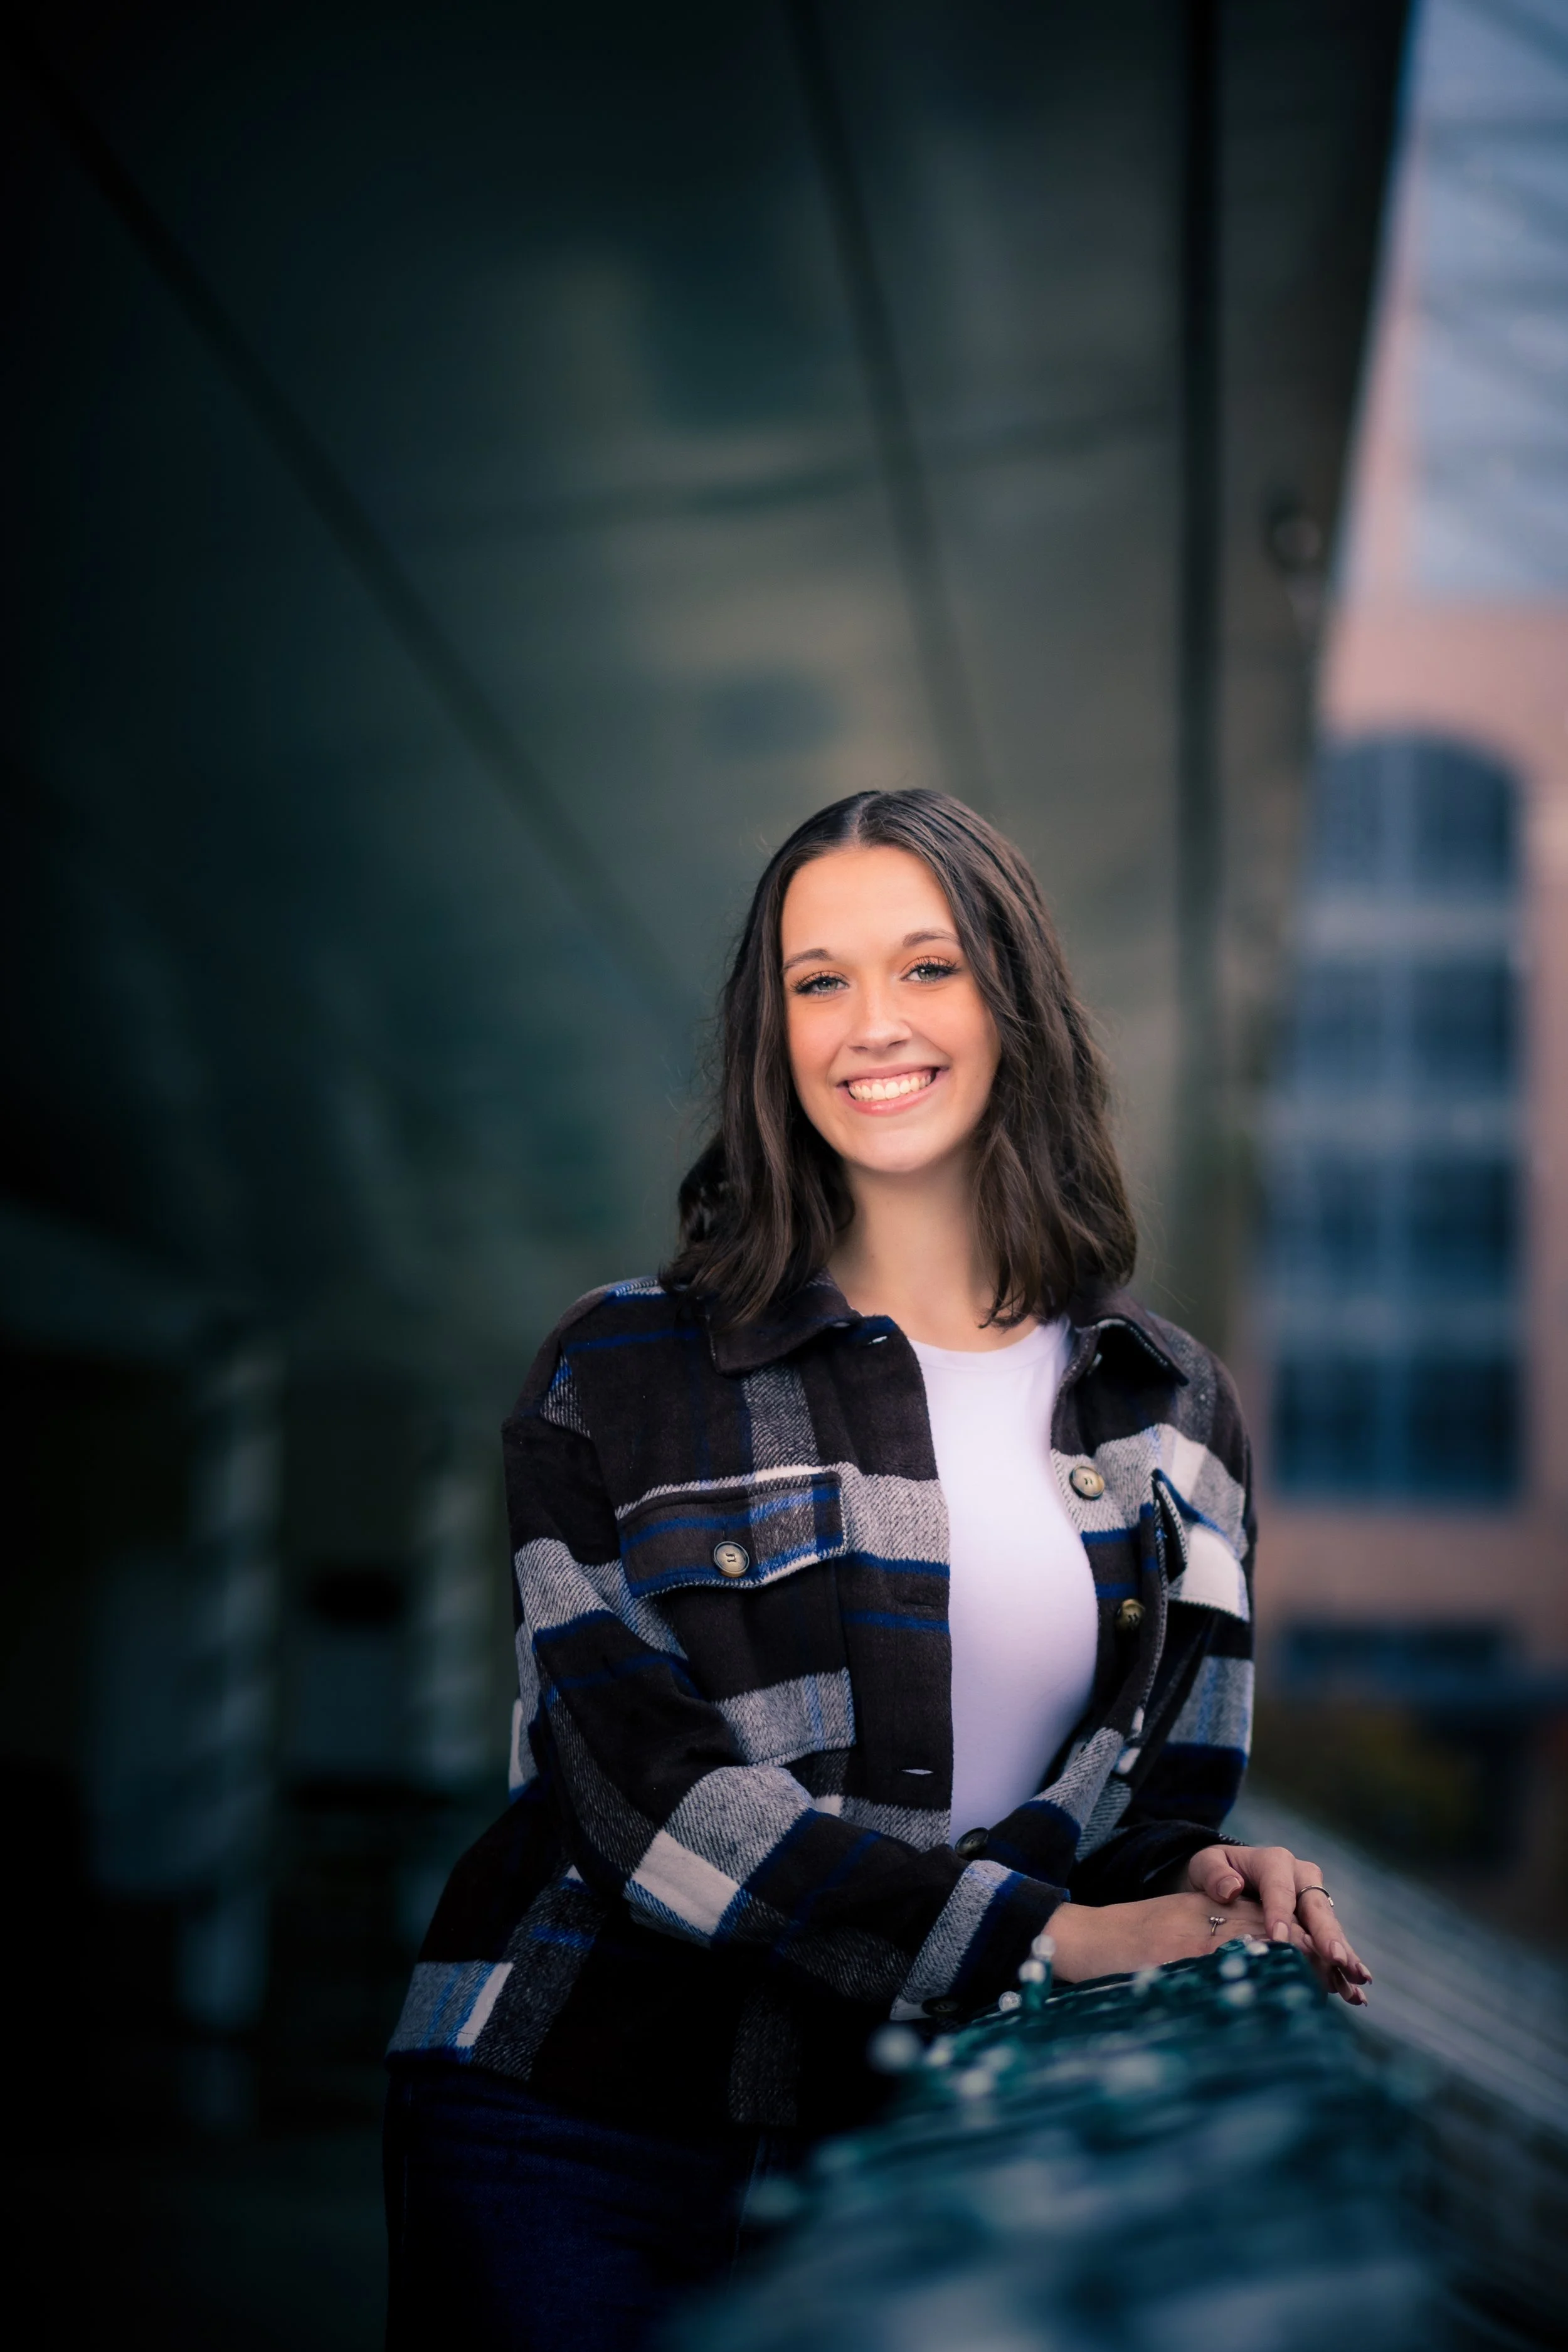
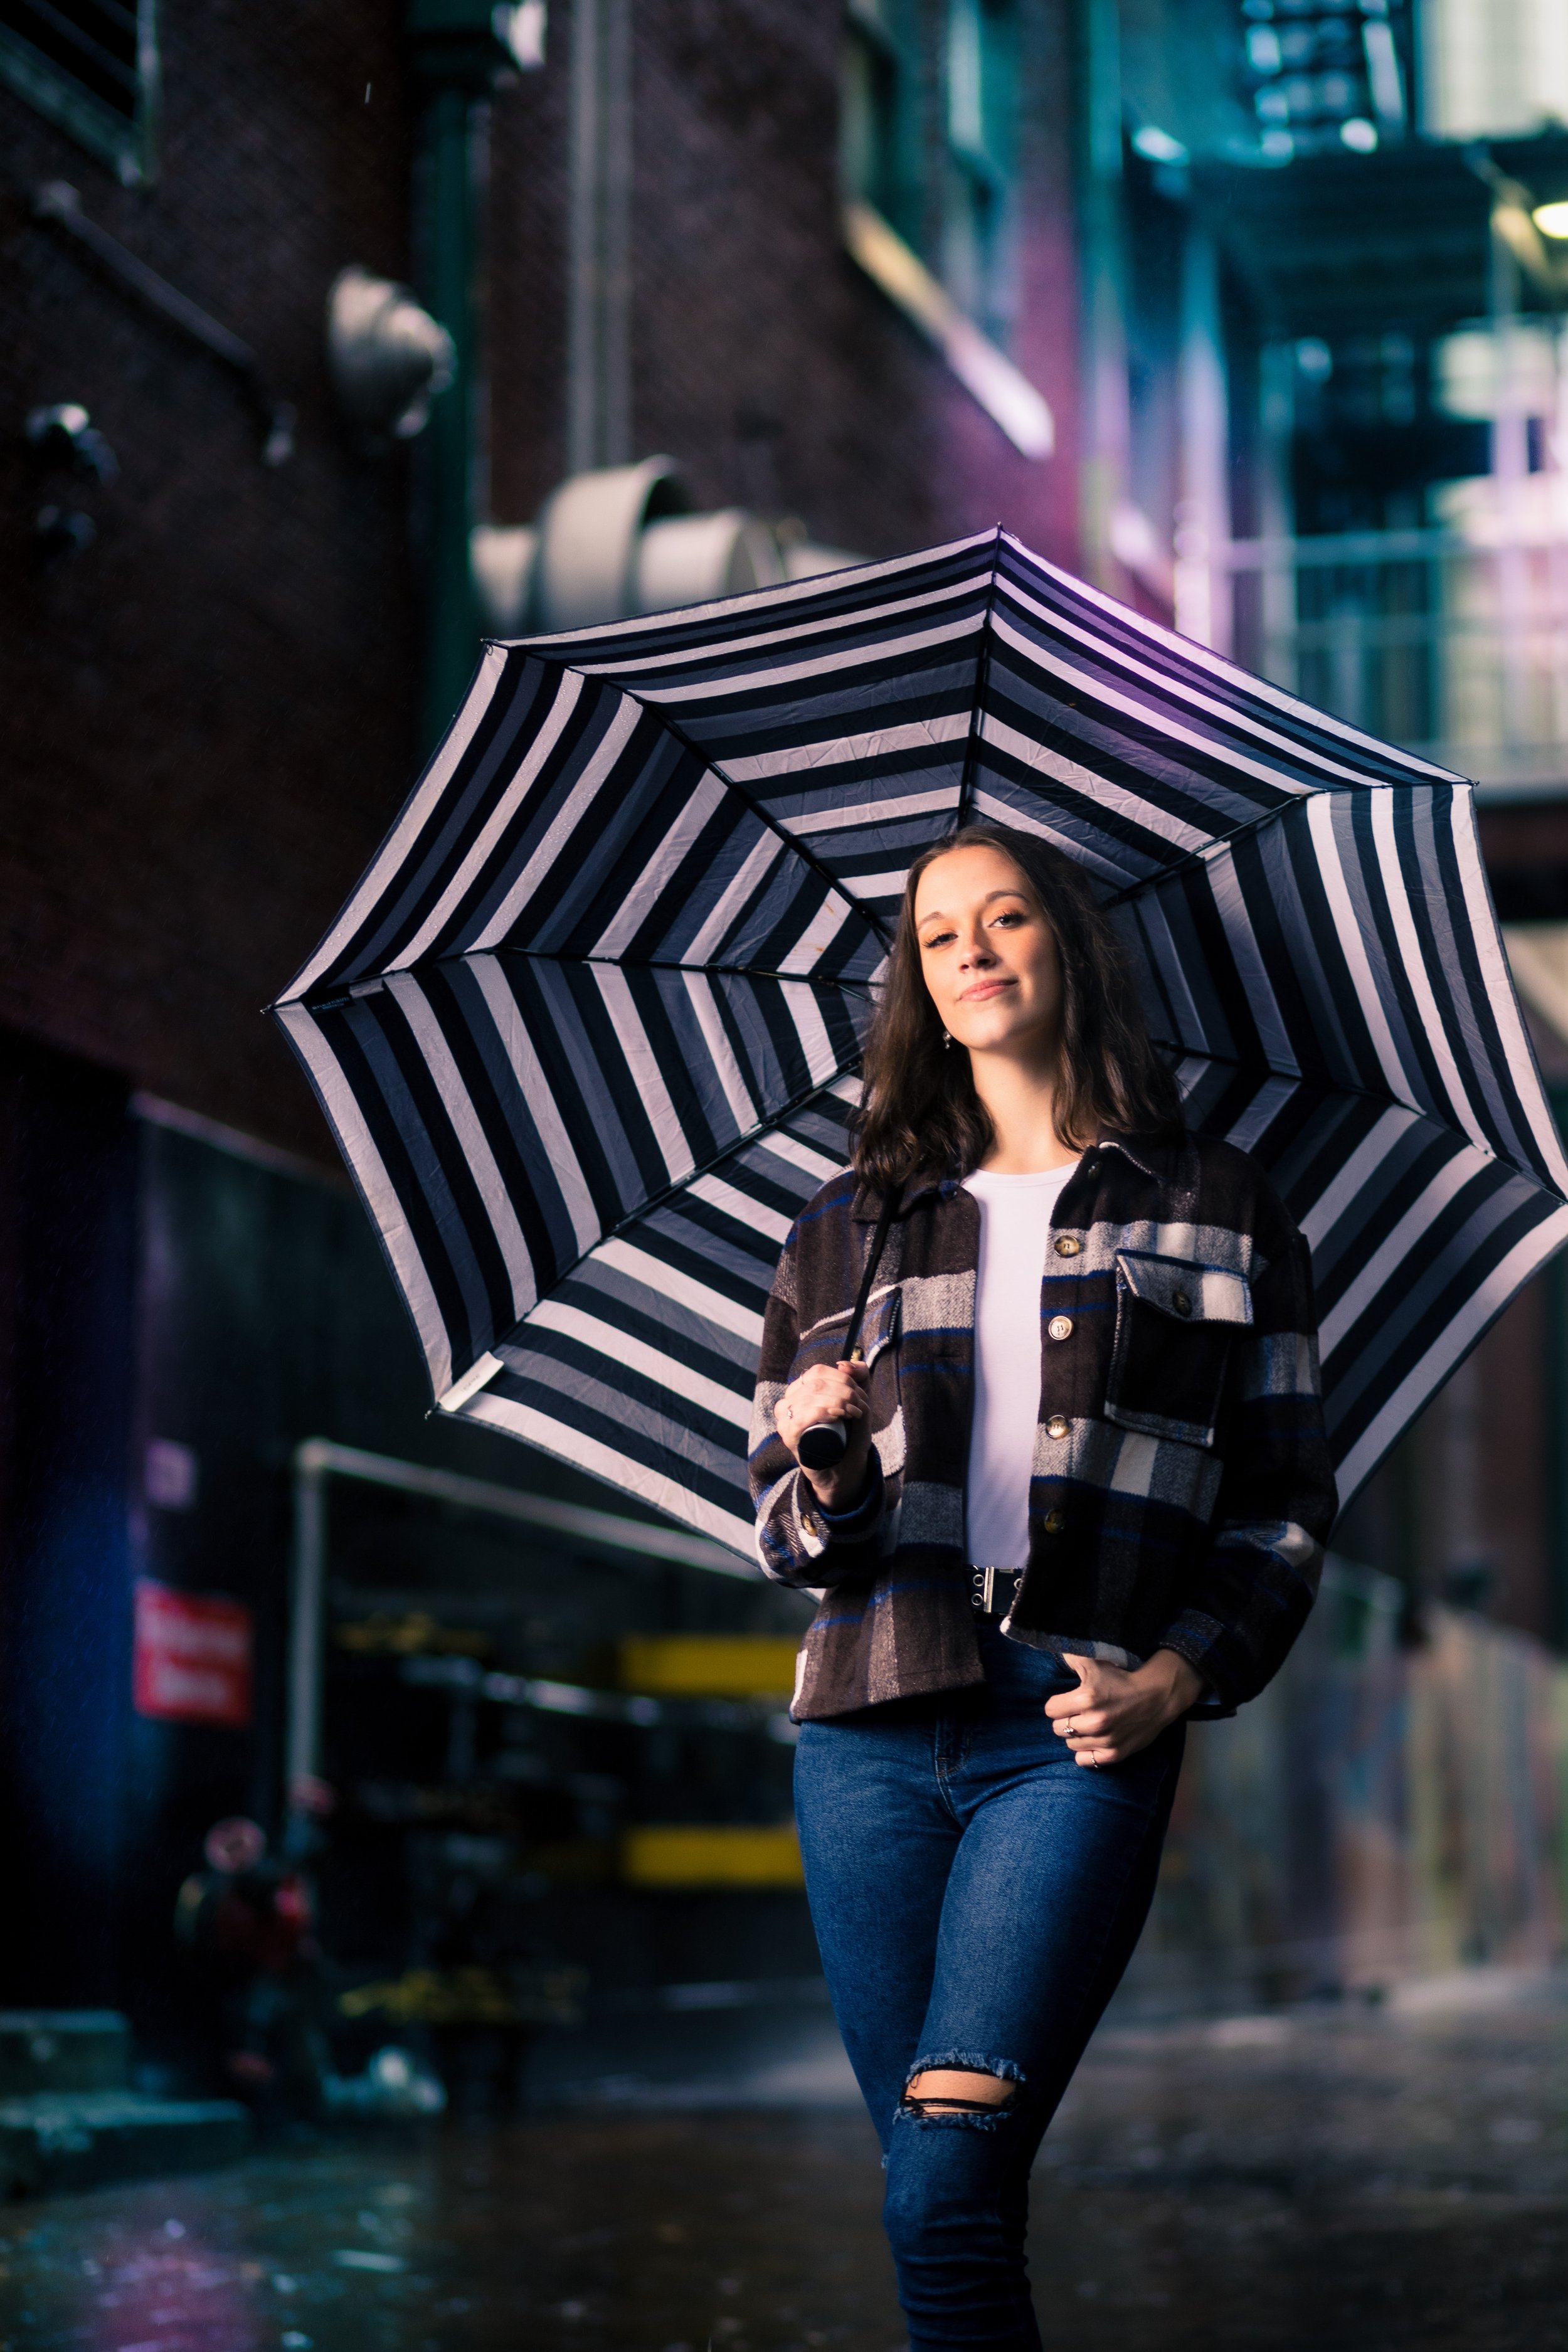
I took my first photography class in 2003 as a freshman in high school, starting with a Canon film camera and learning to develop film and prints in a darkroom. From the beginning, I was captivated by photography—the ability to freeze a moment in time and preserve it in a way memories can’t always hold onto.
Over the years I transitioned into digital photography and became fluent in editing and post-processing. From 2013–2025, I ran a successful portrait photography business and was featured in TulsaPeople magazine. I was also a member of the Indian Nations Photography Association for several years, where I learned from and alongside other local photographers.
Today, I love teaching and sharing what I’ve learned—helping photographers build skill, confidence, and consistency in their portrait work.
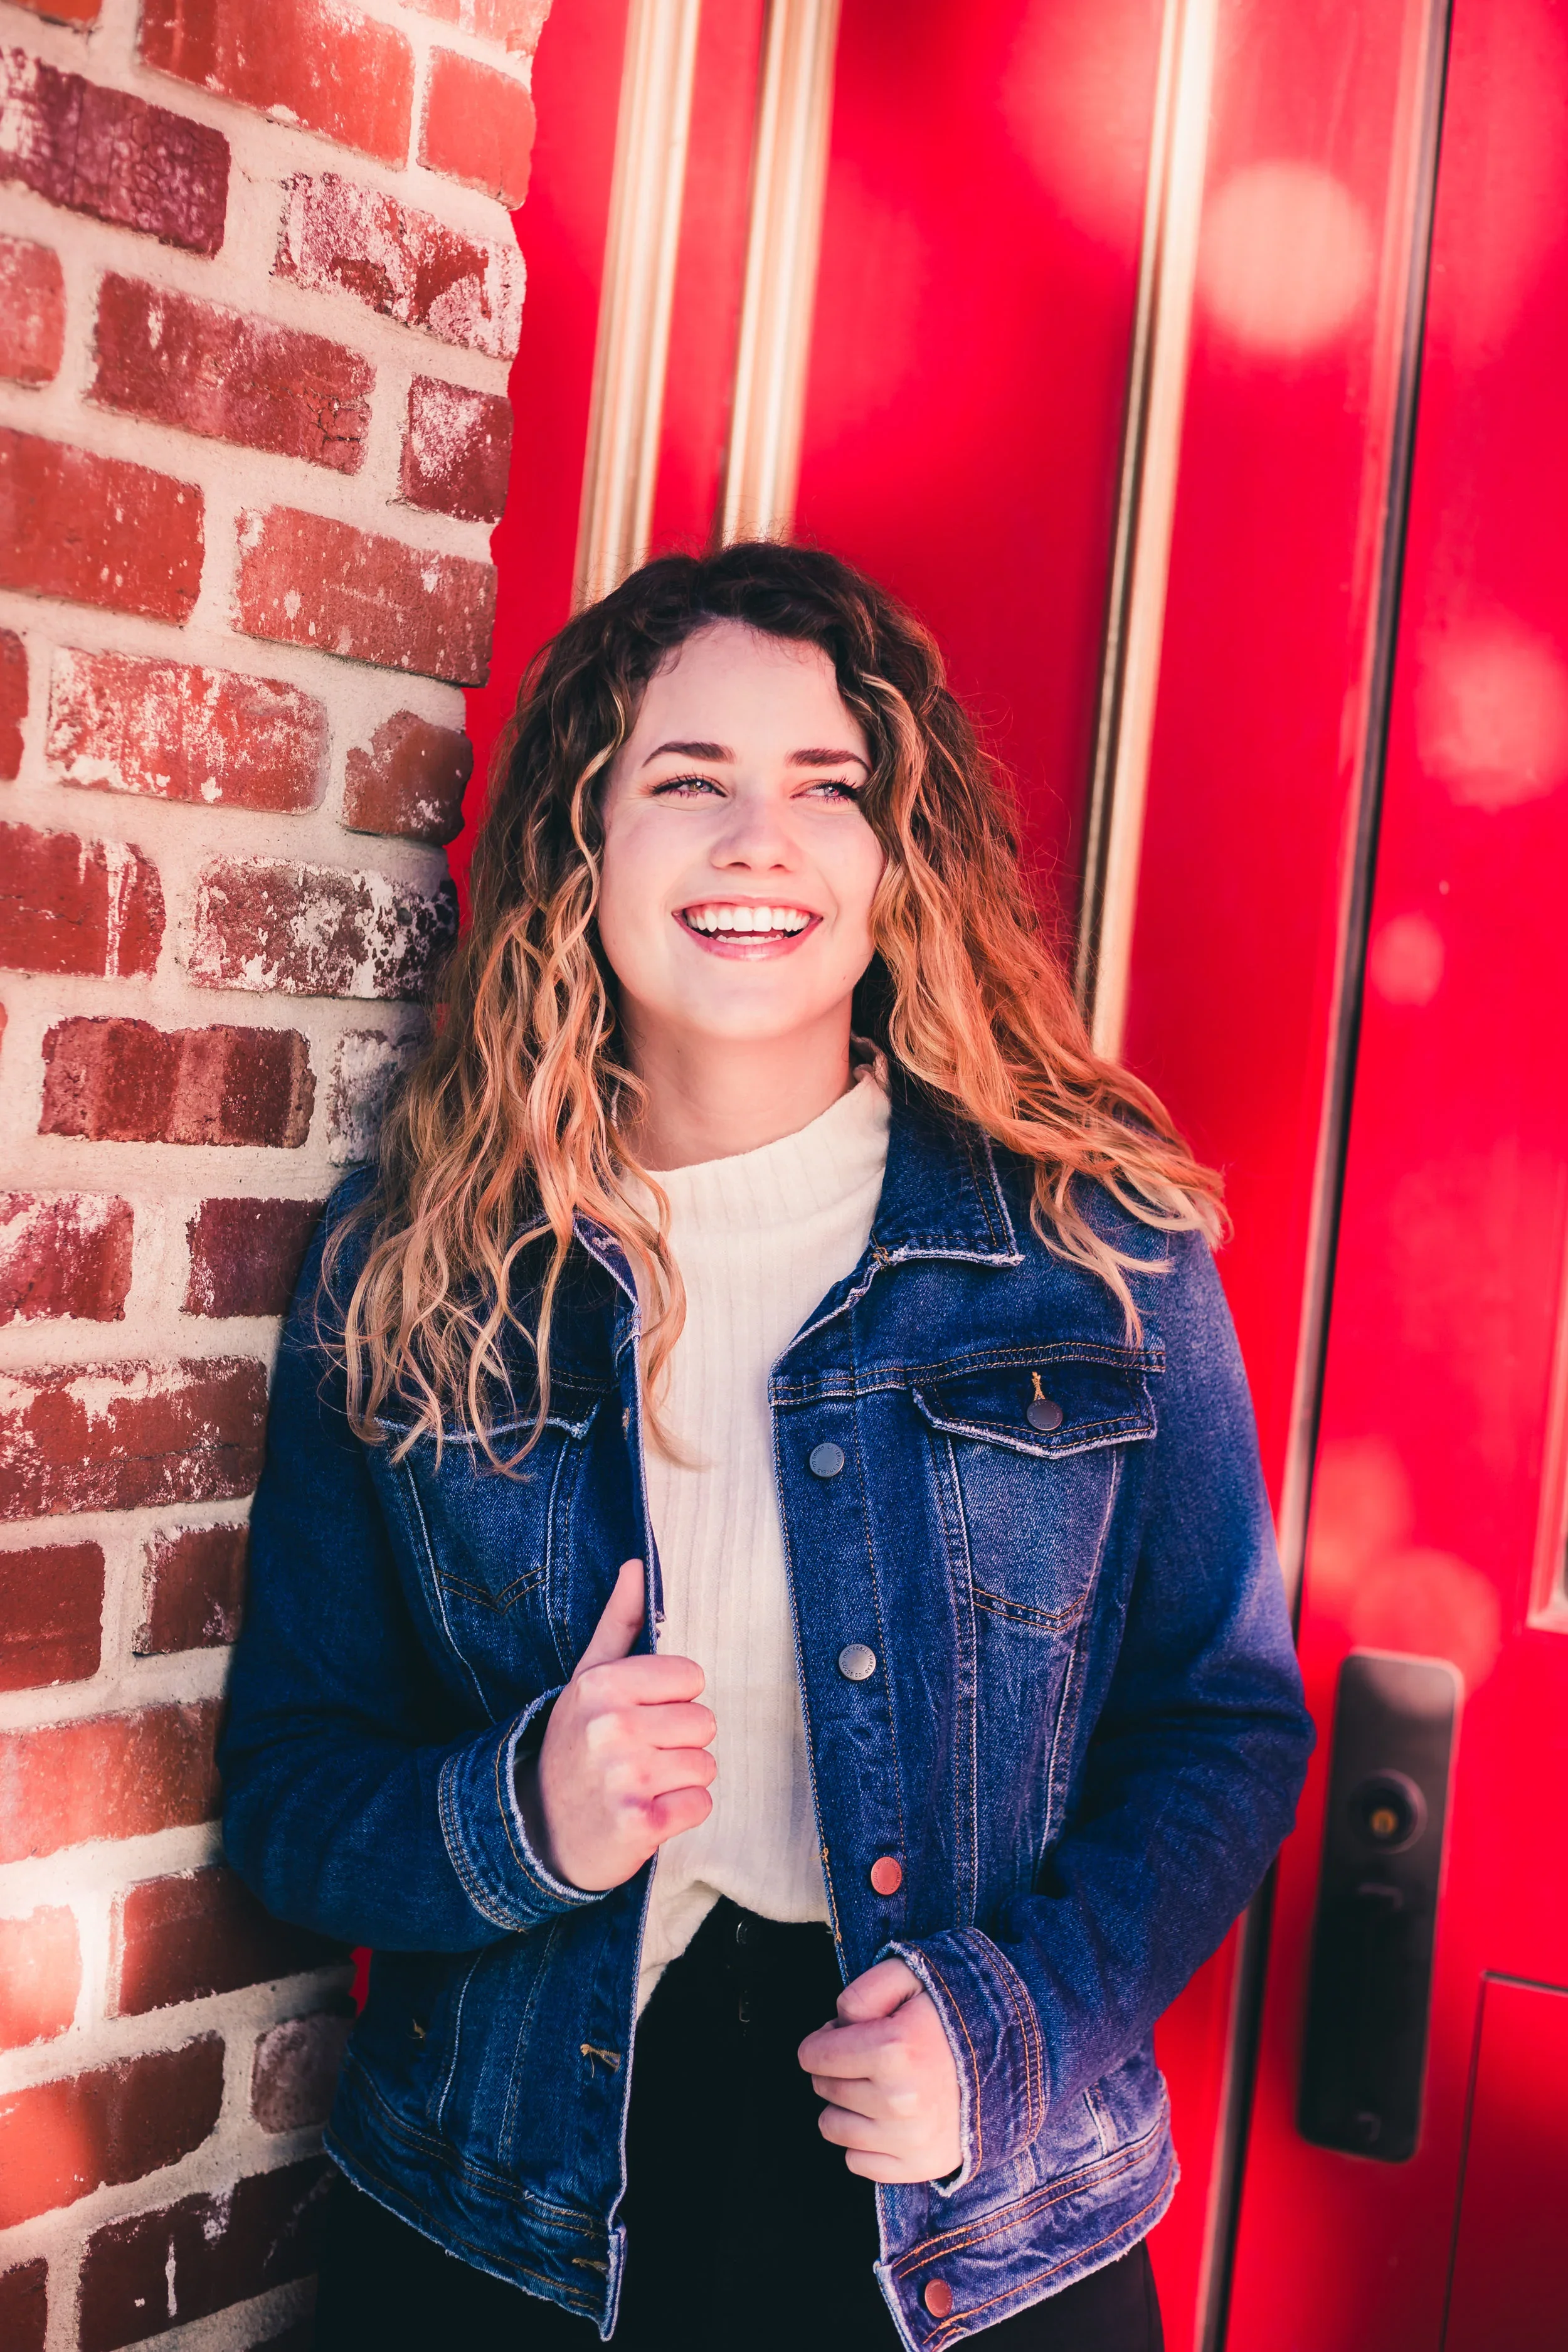
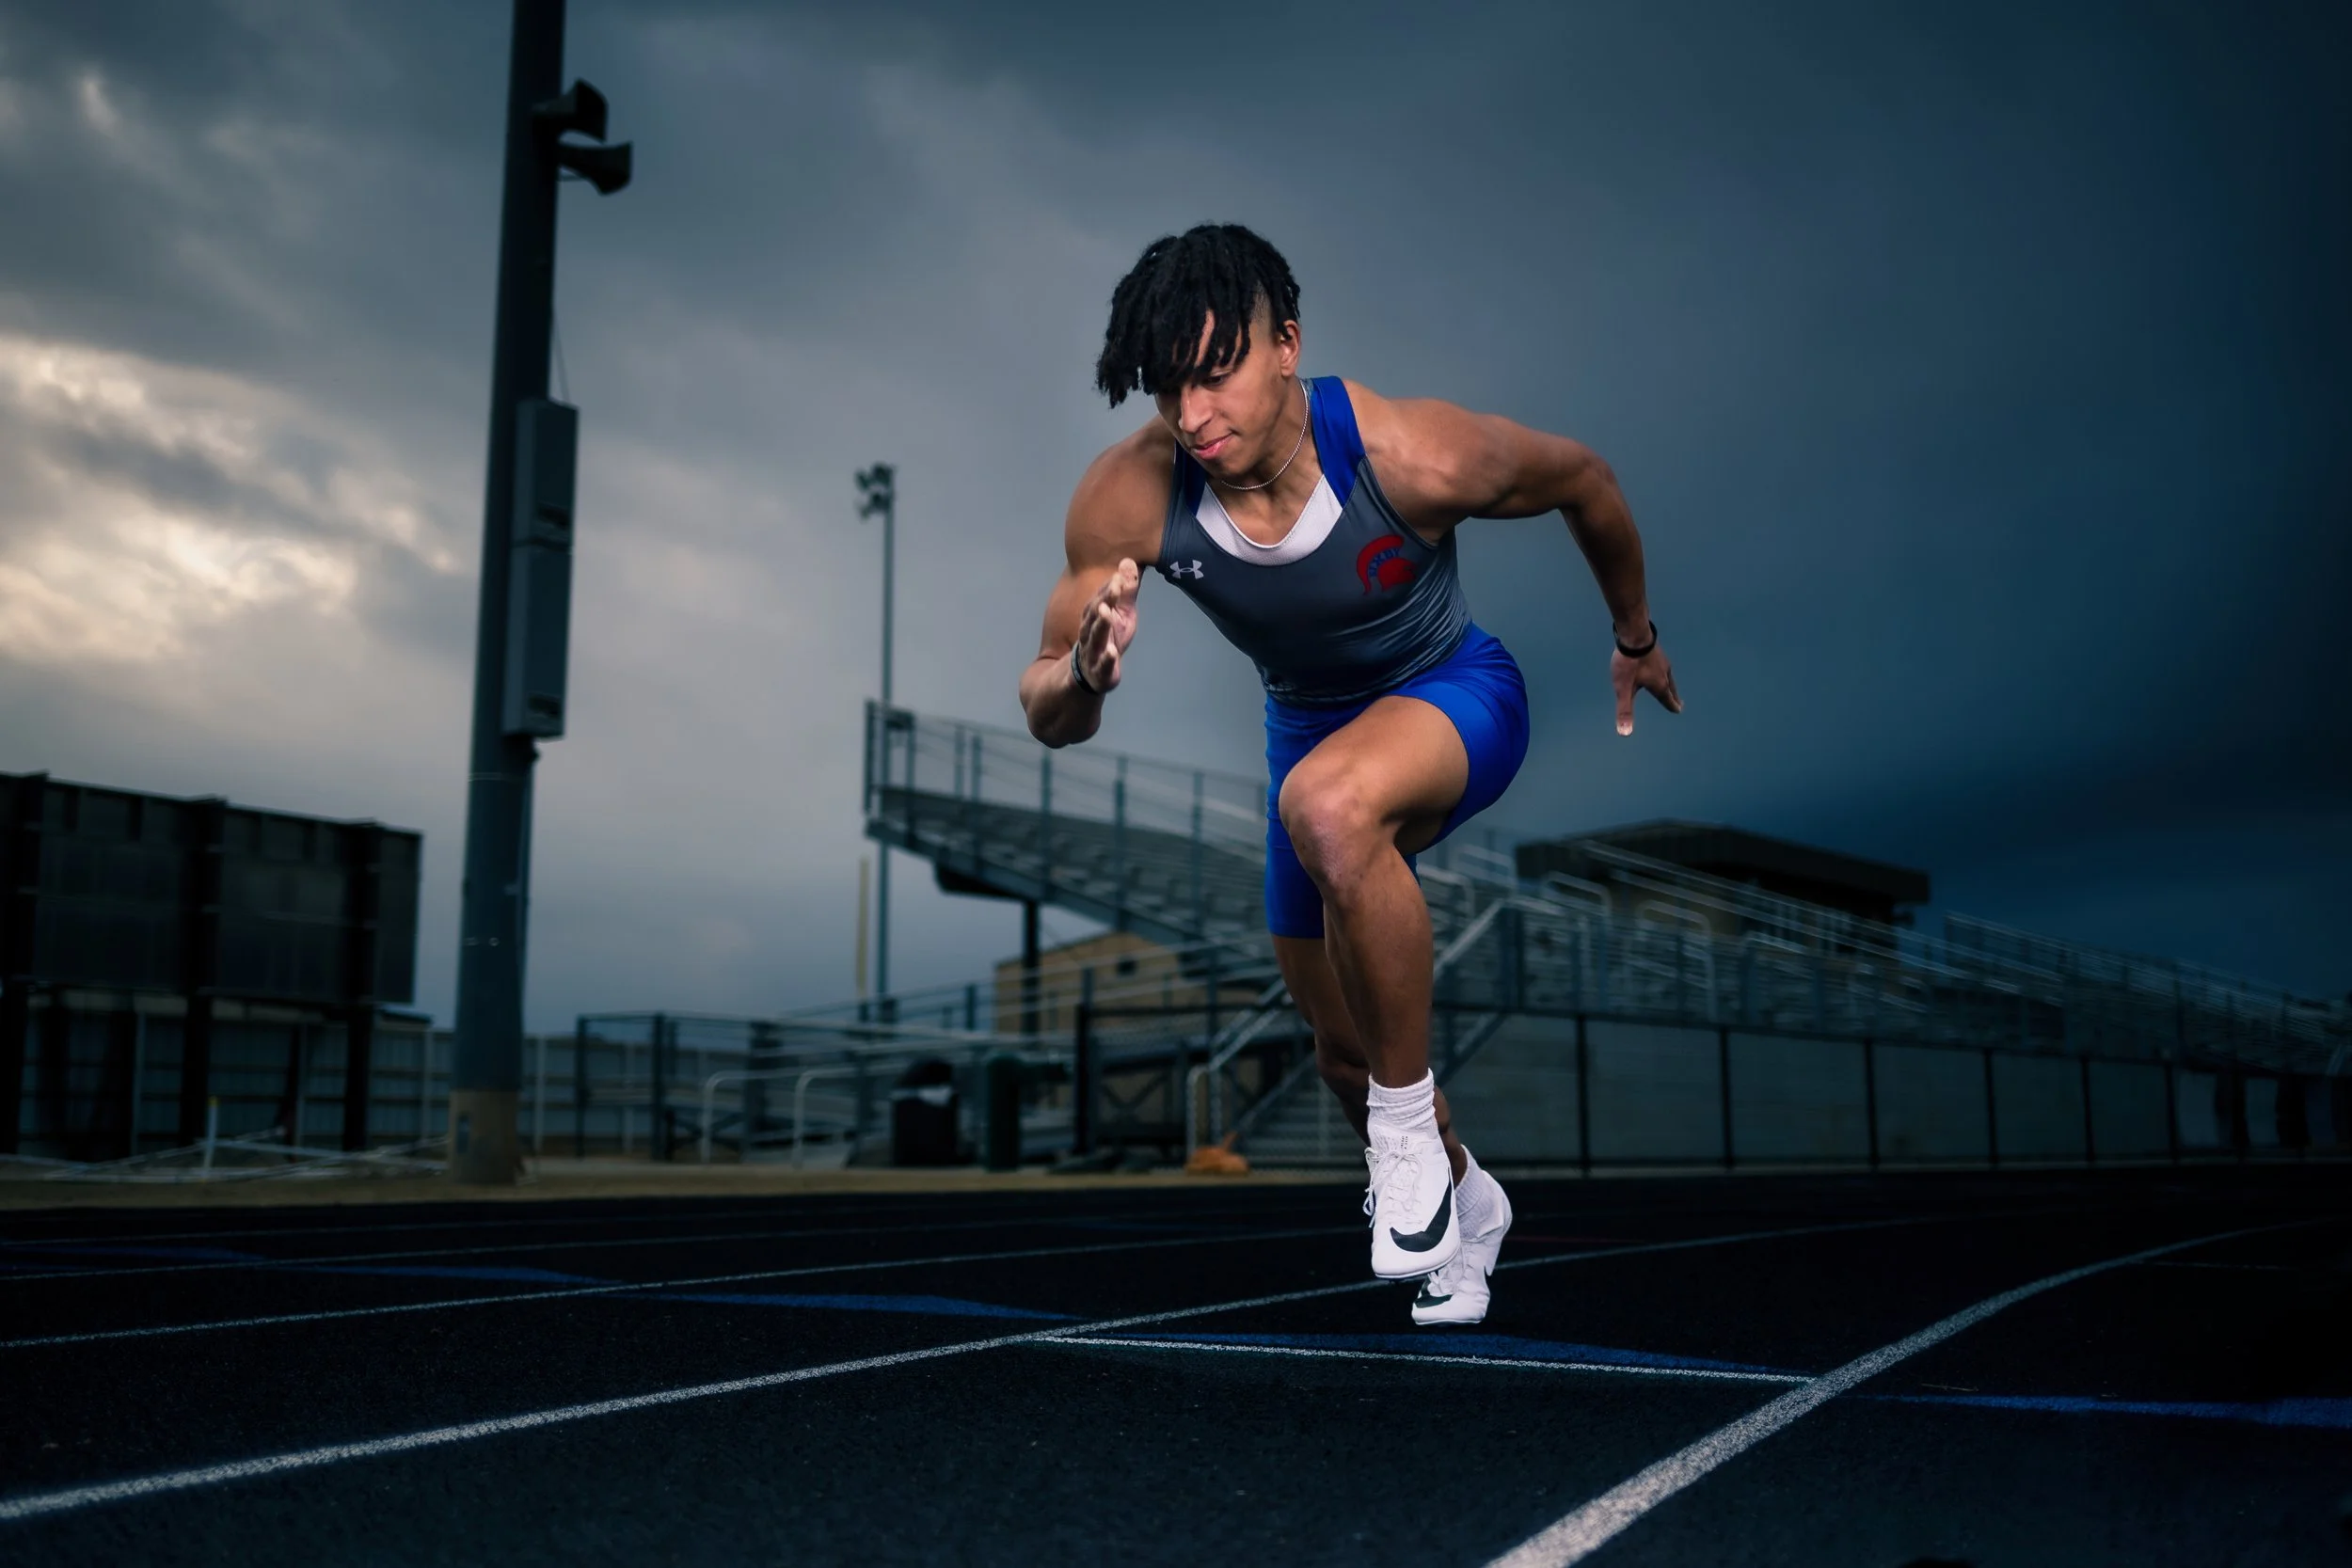
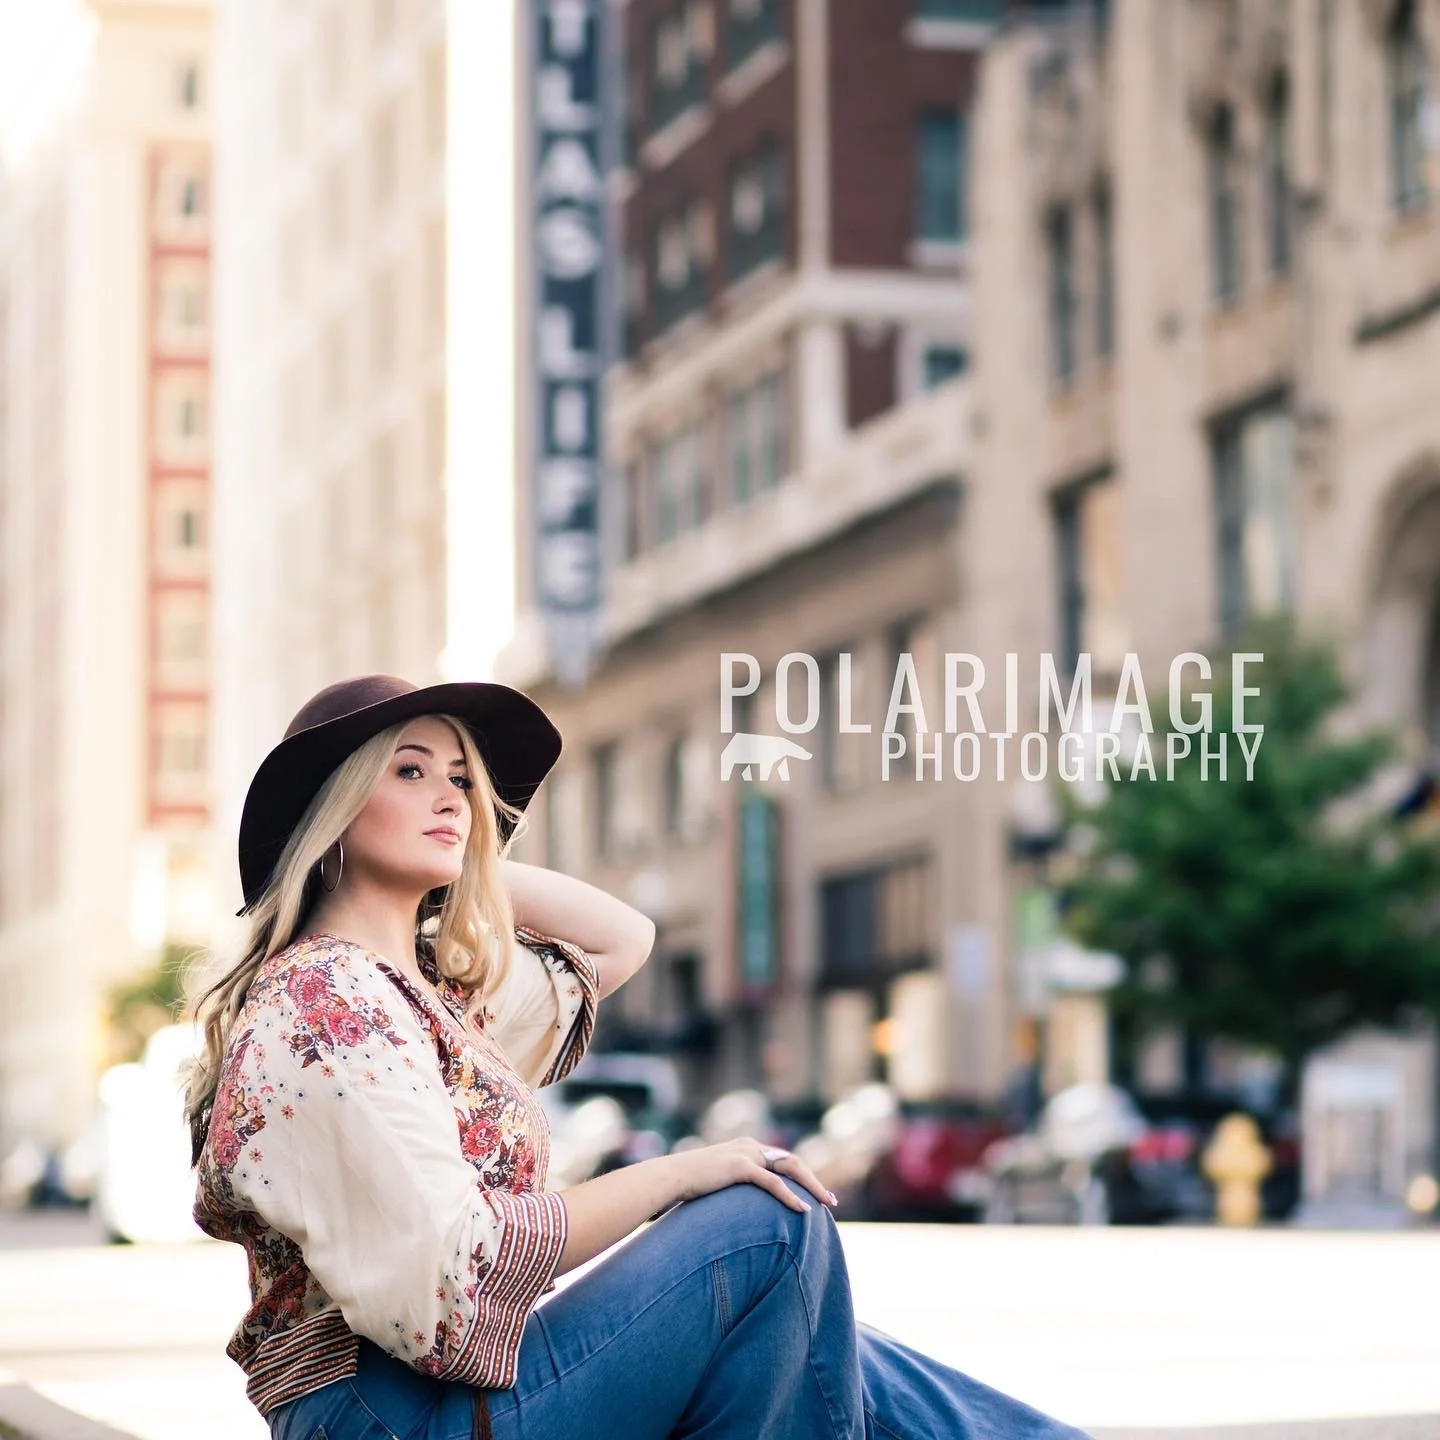
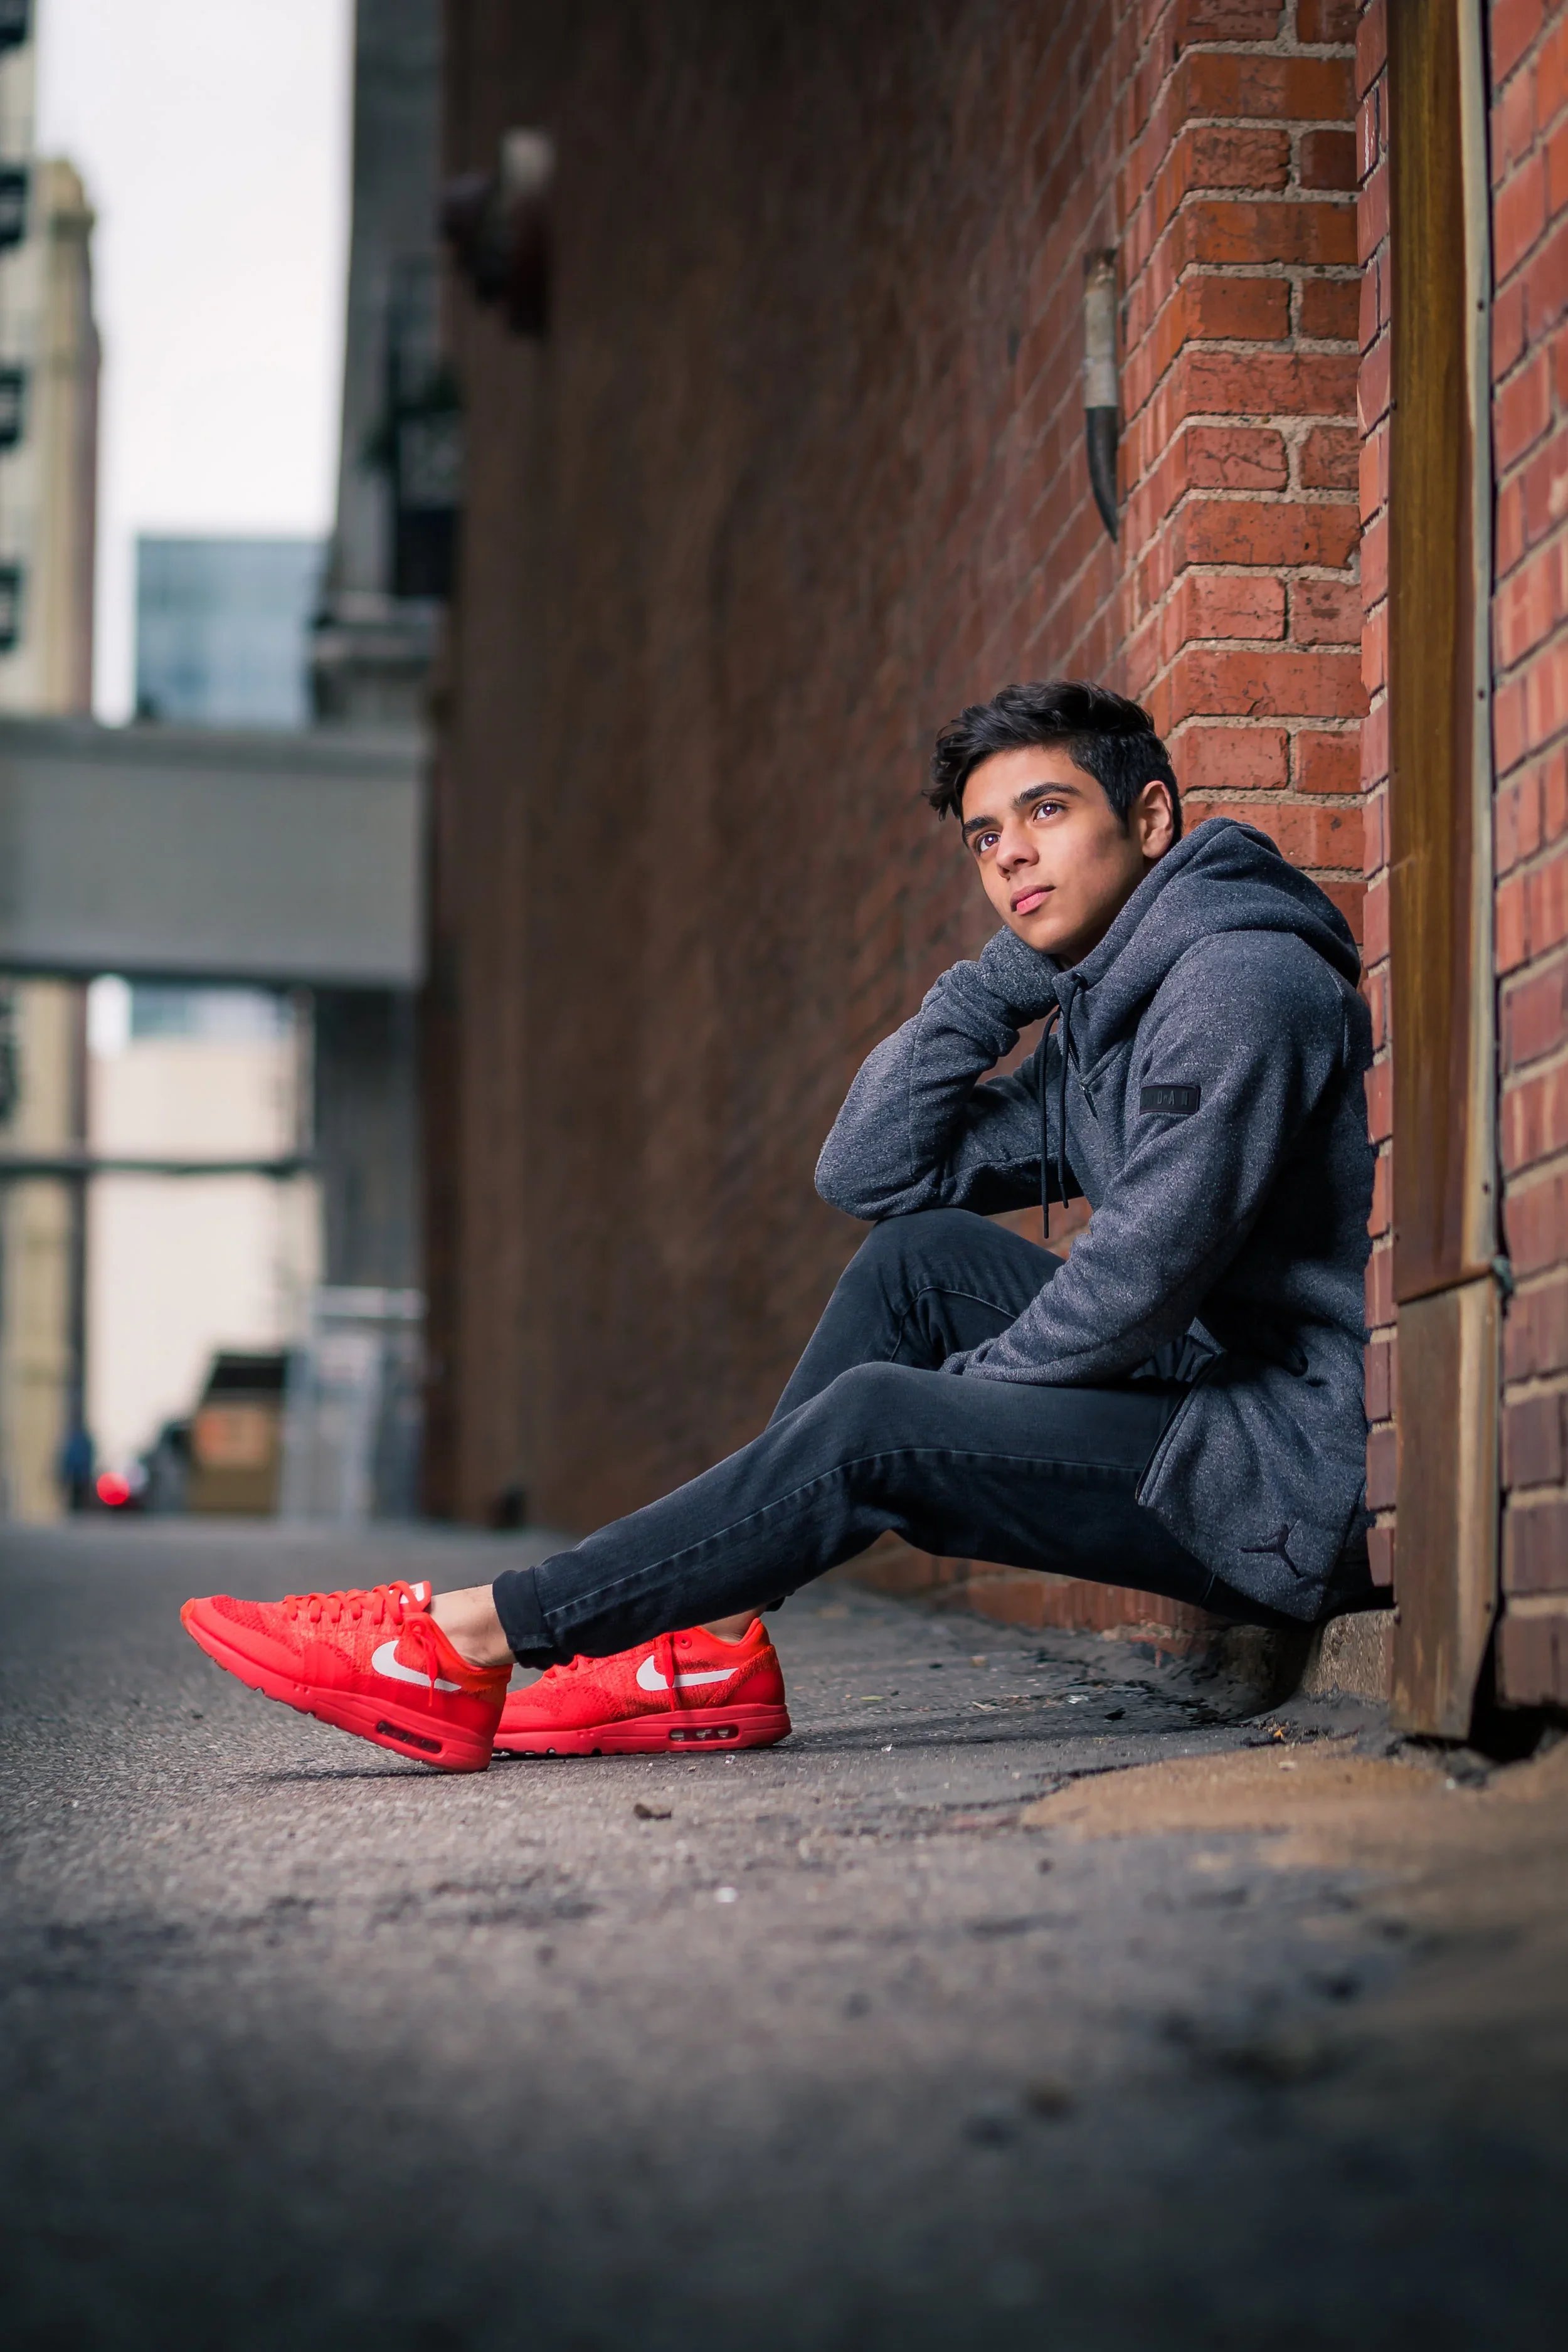
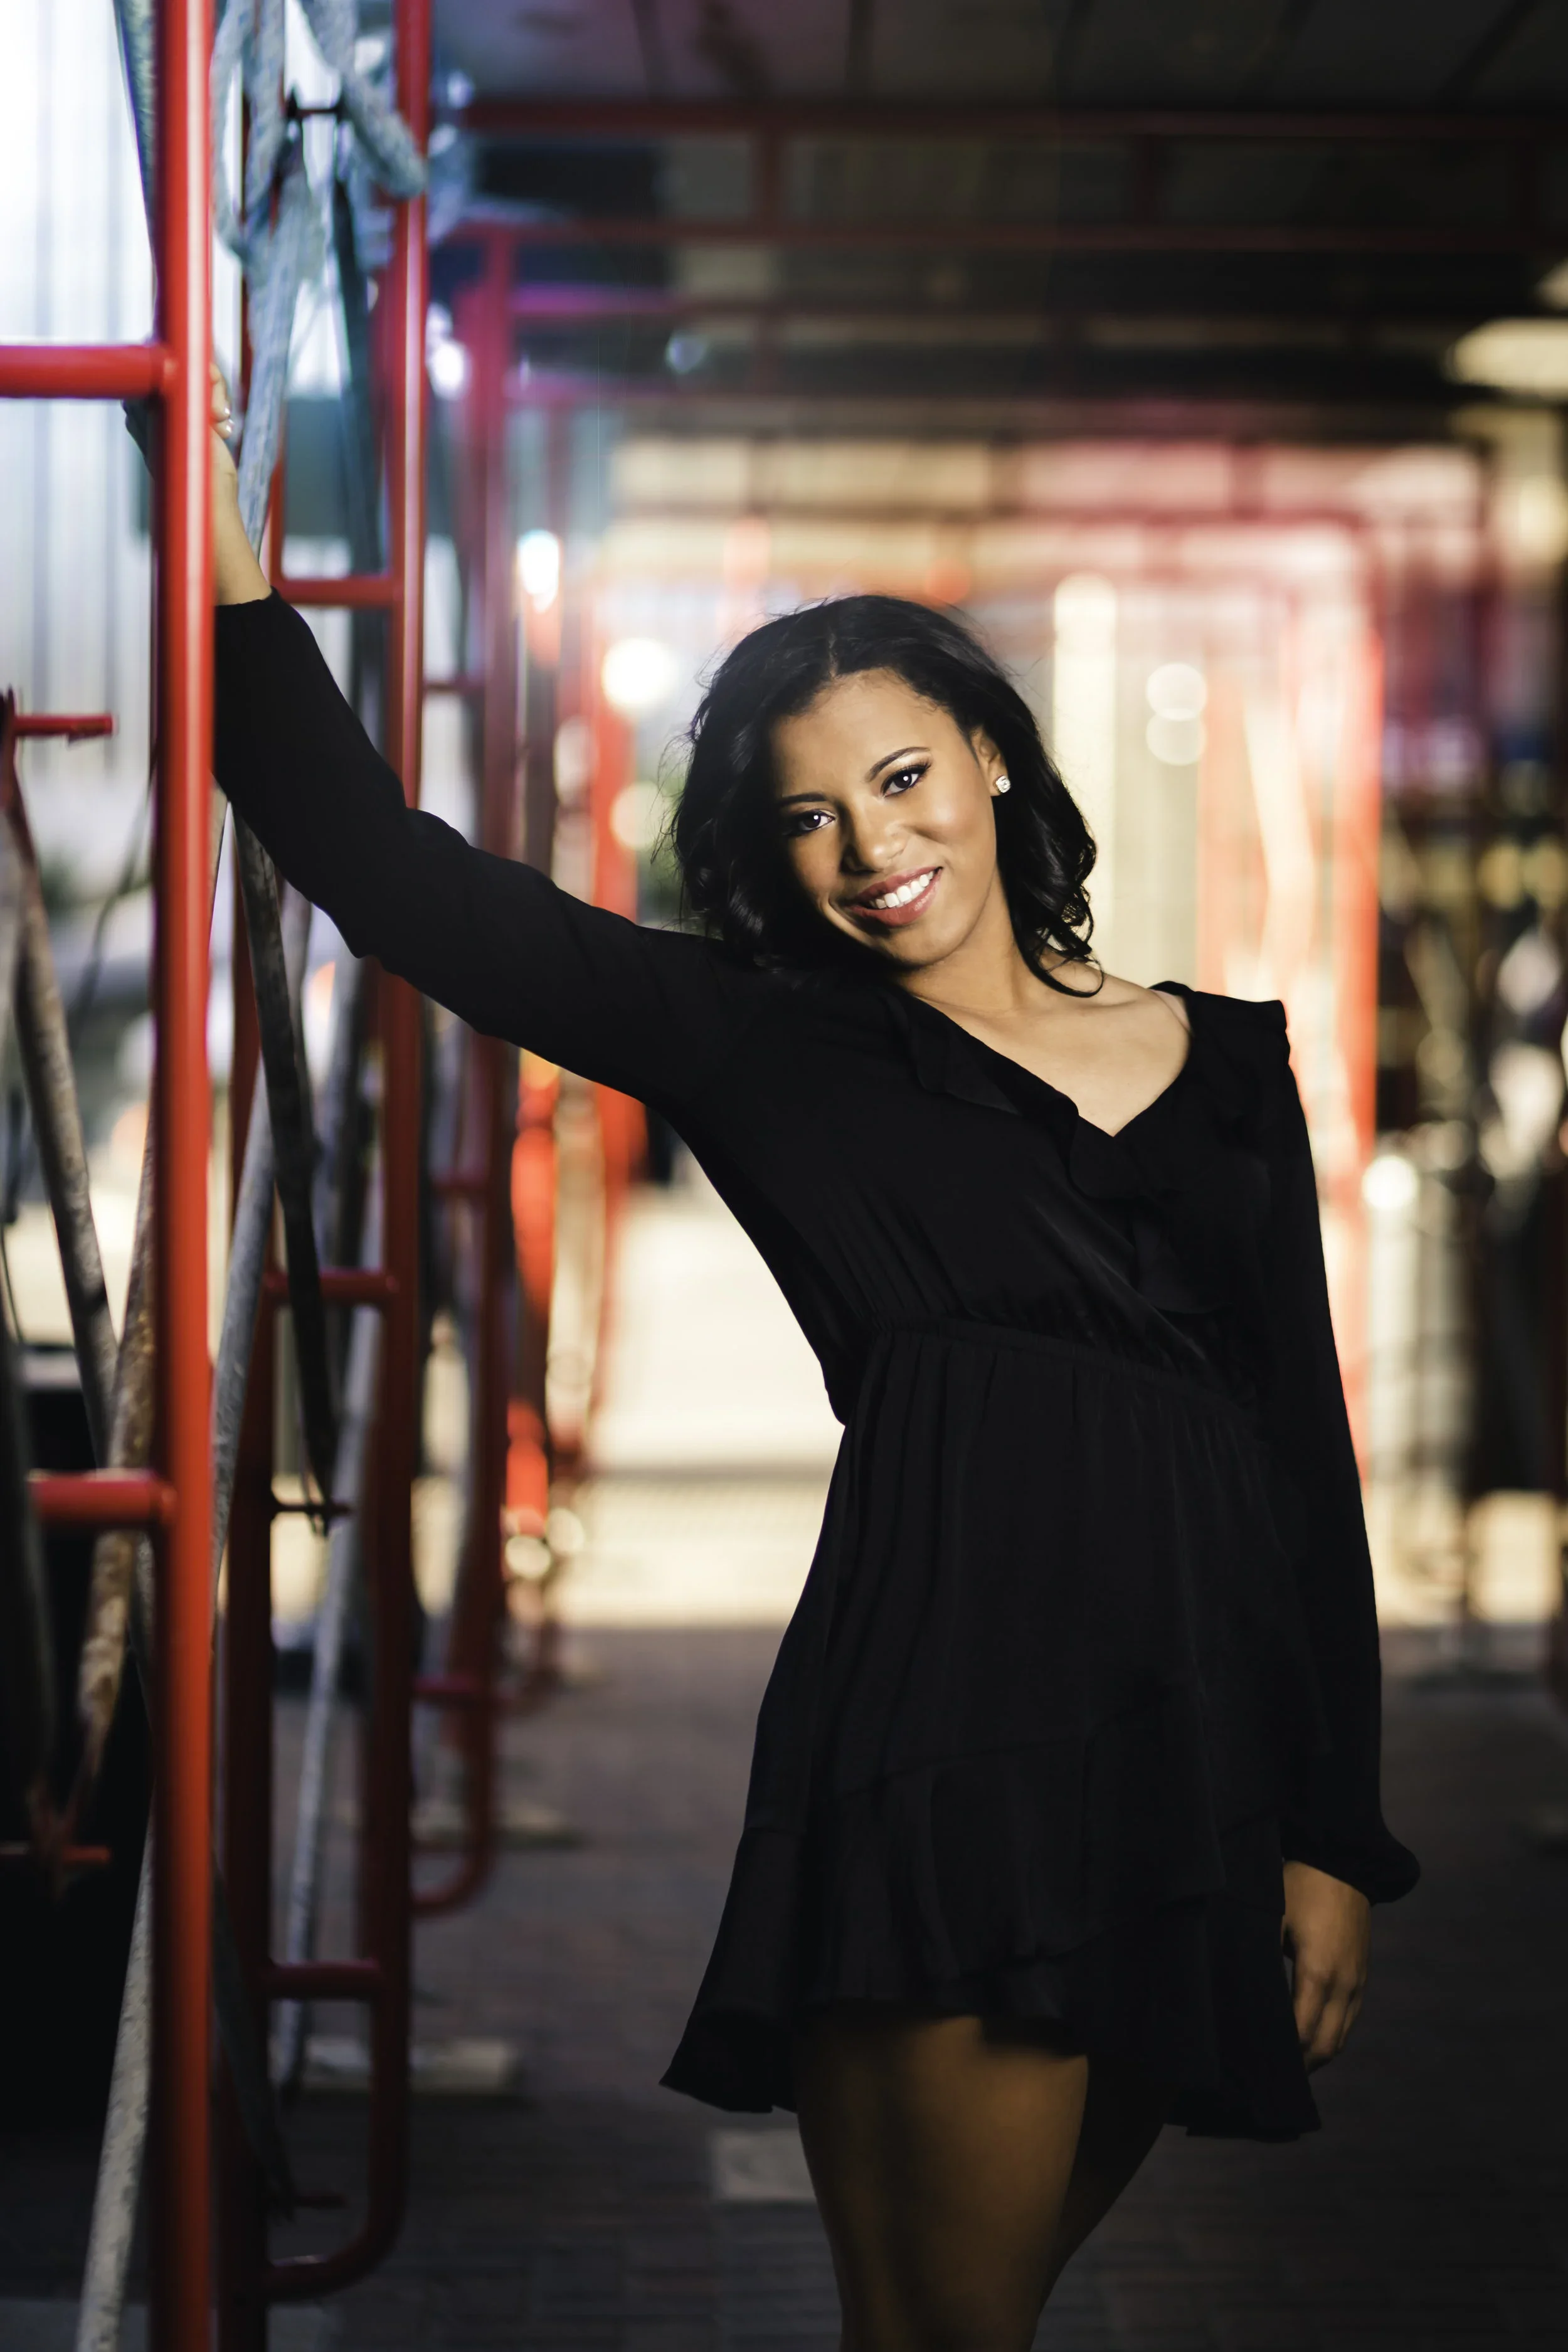
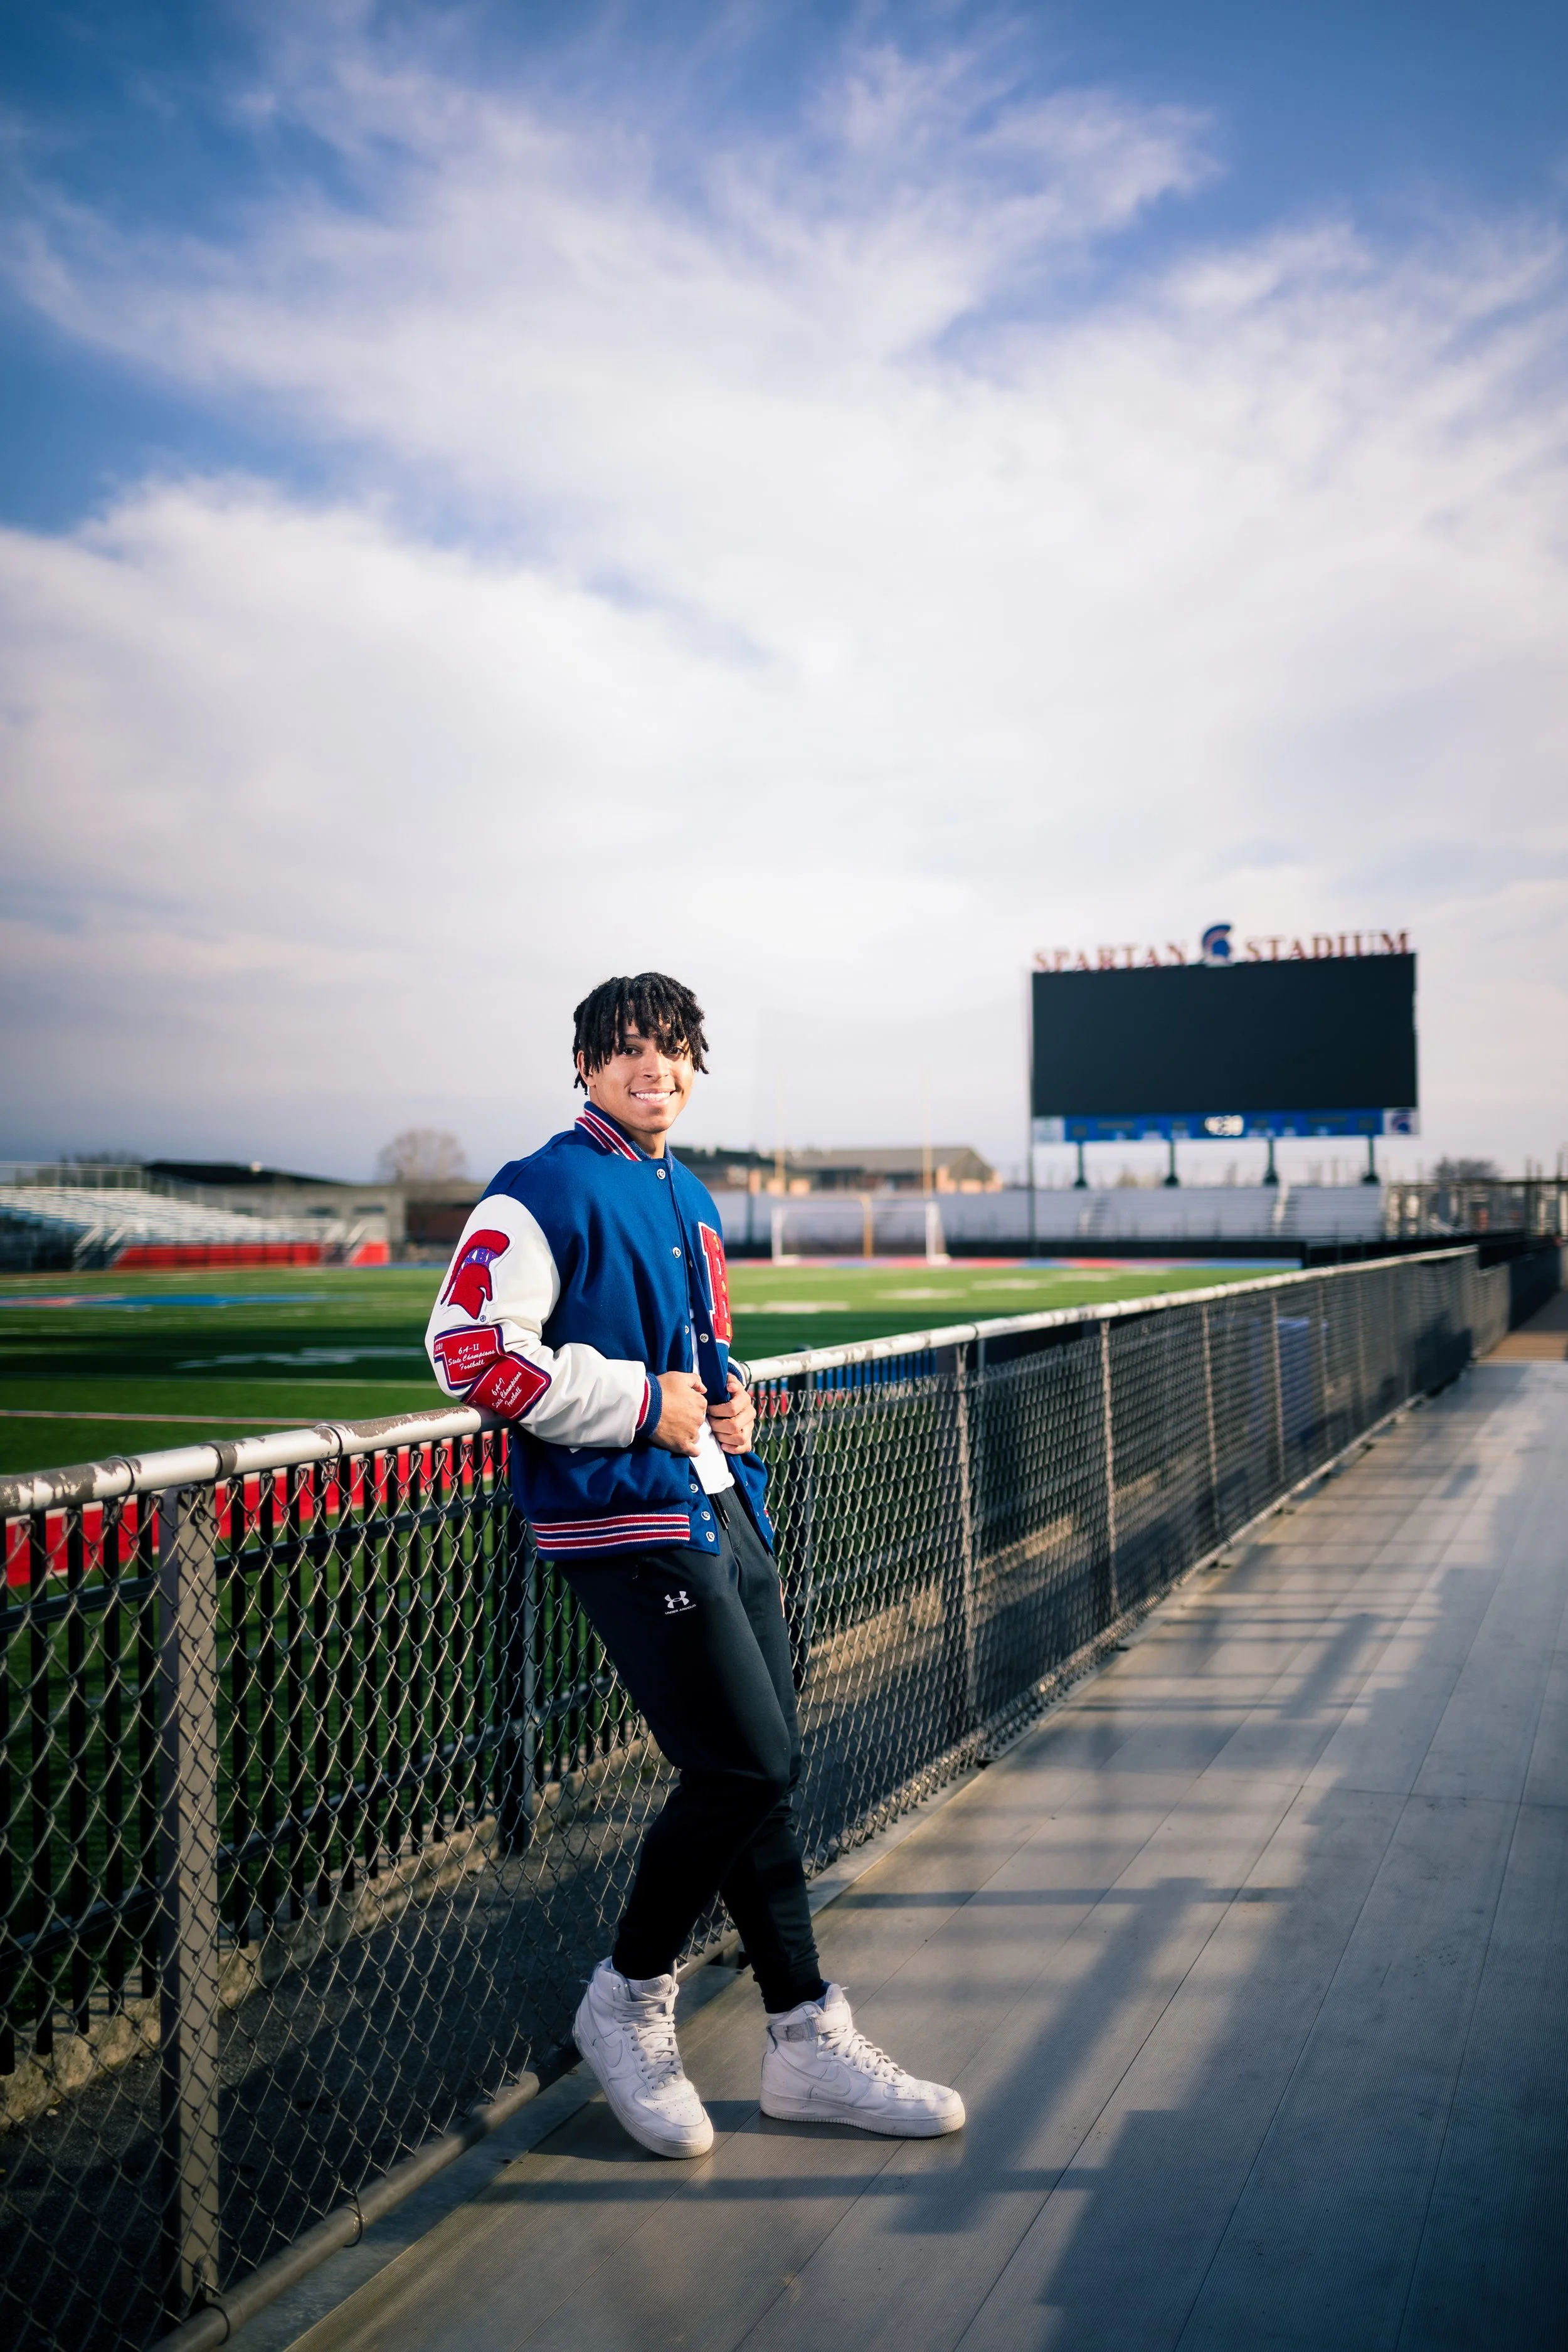
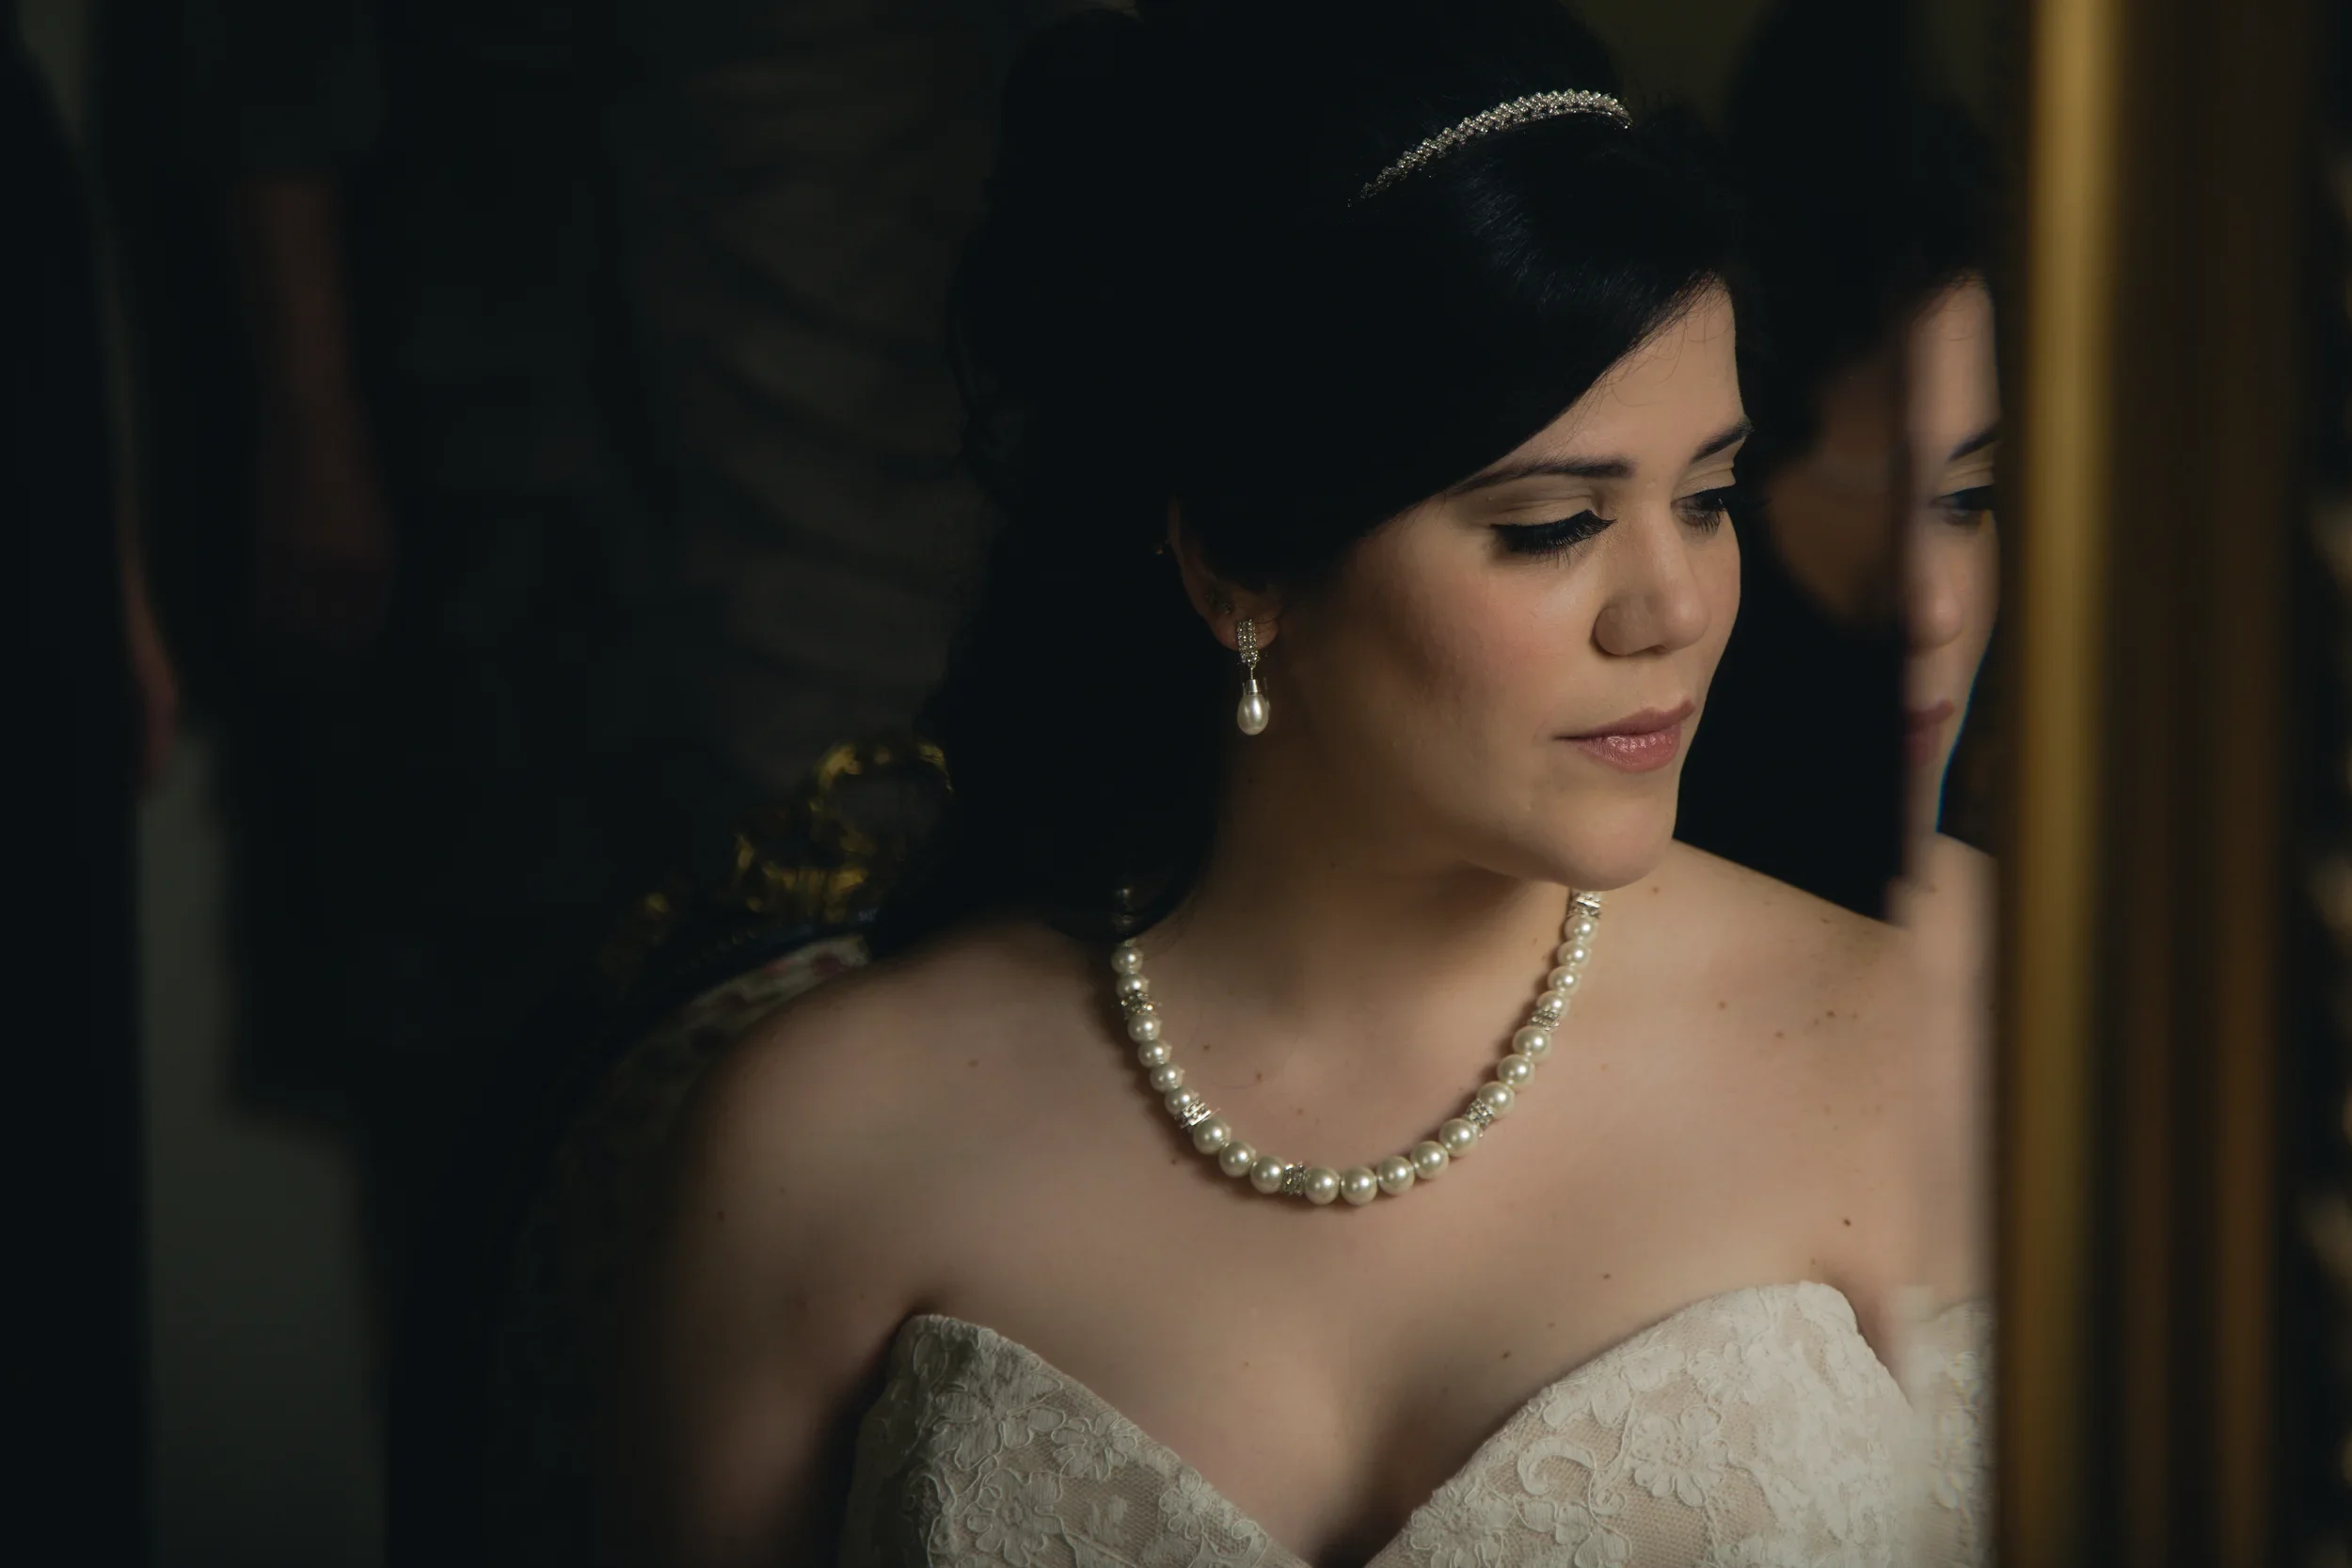
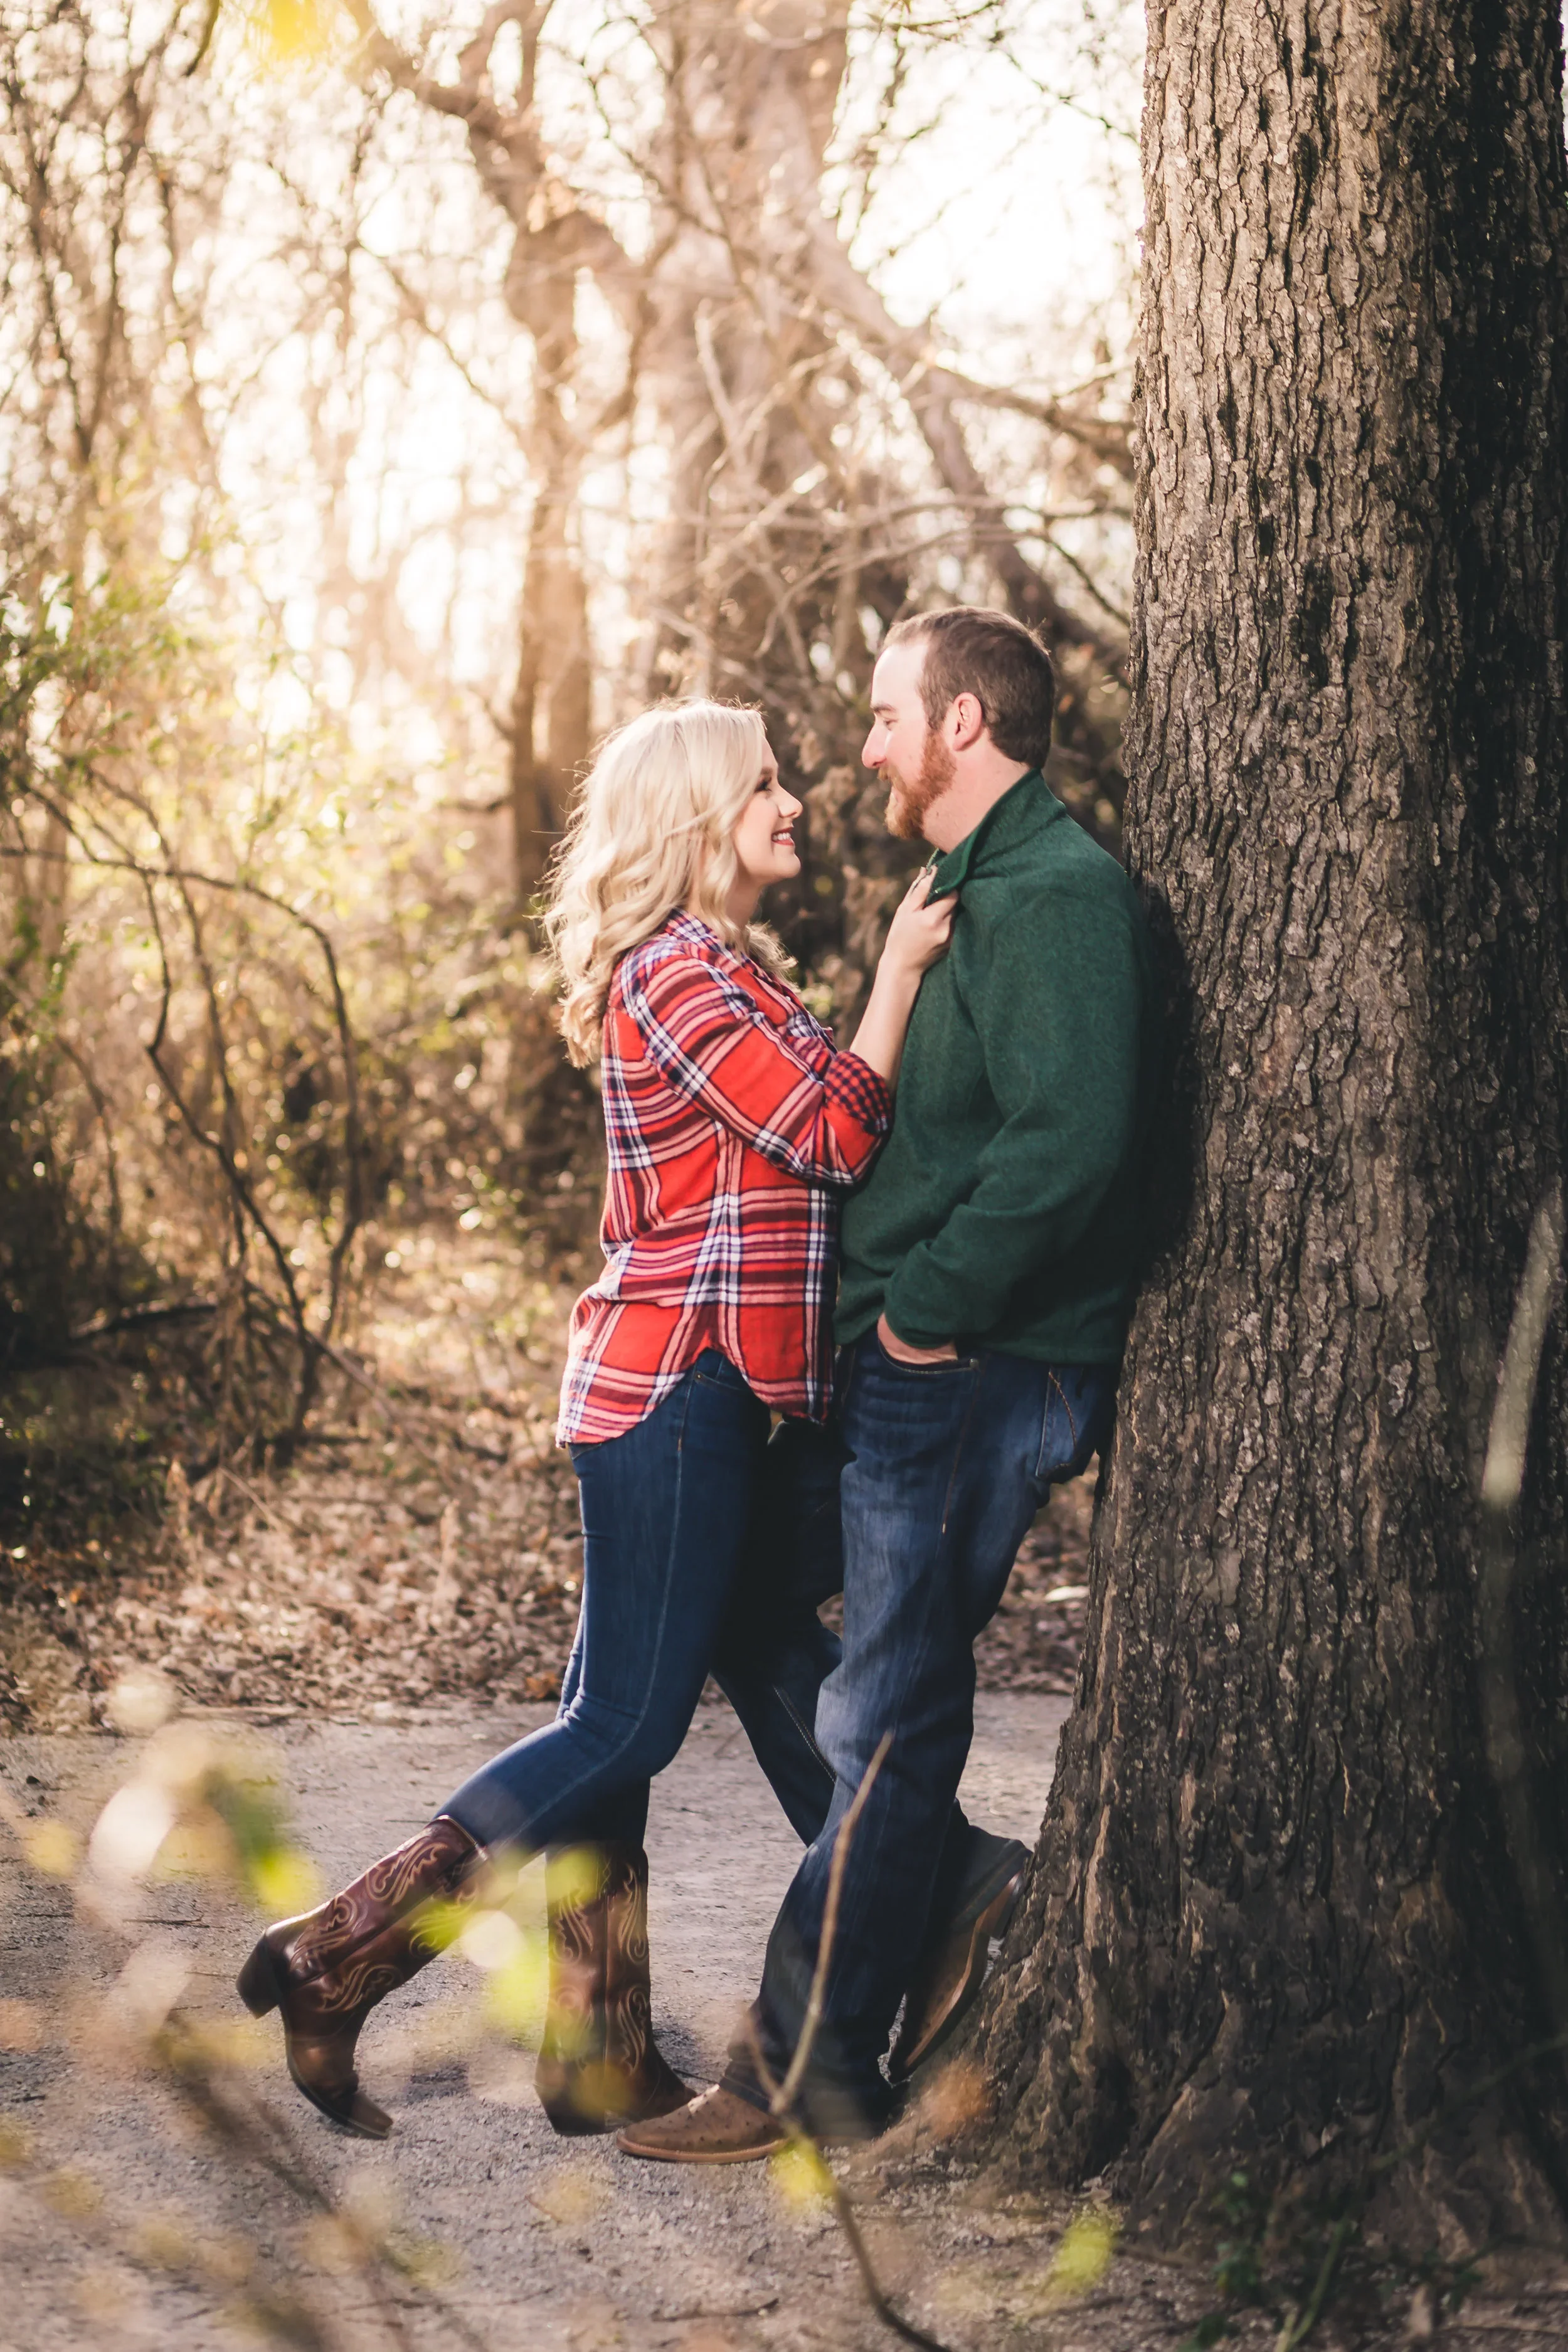
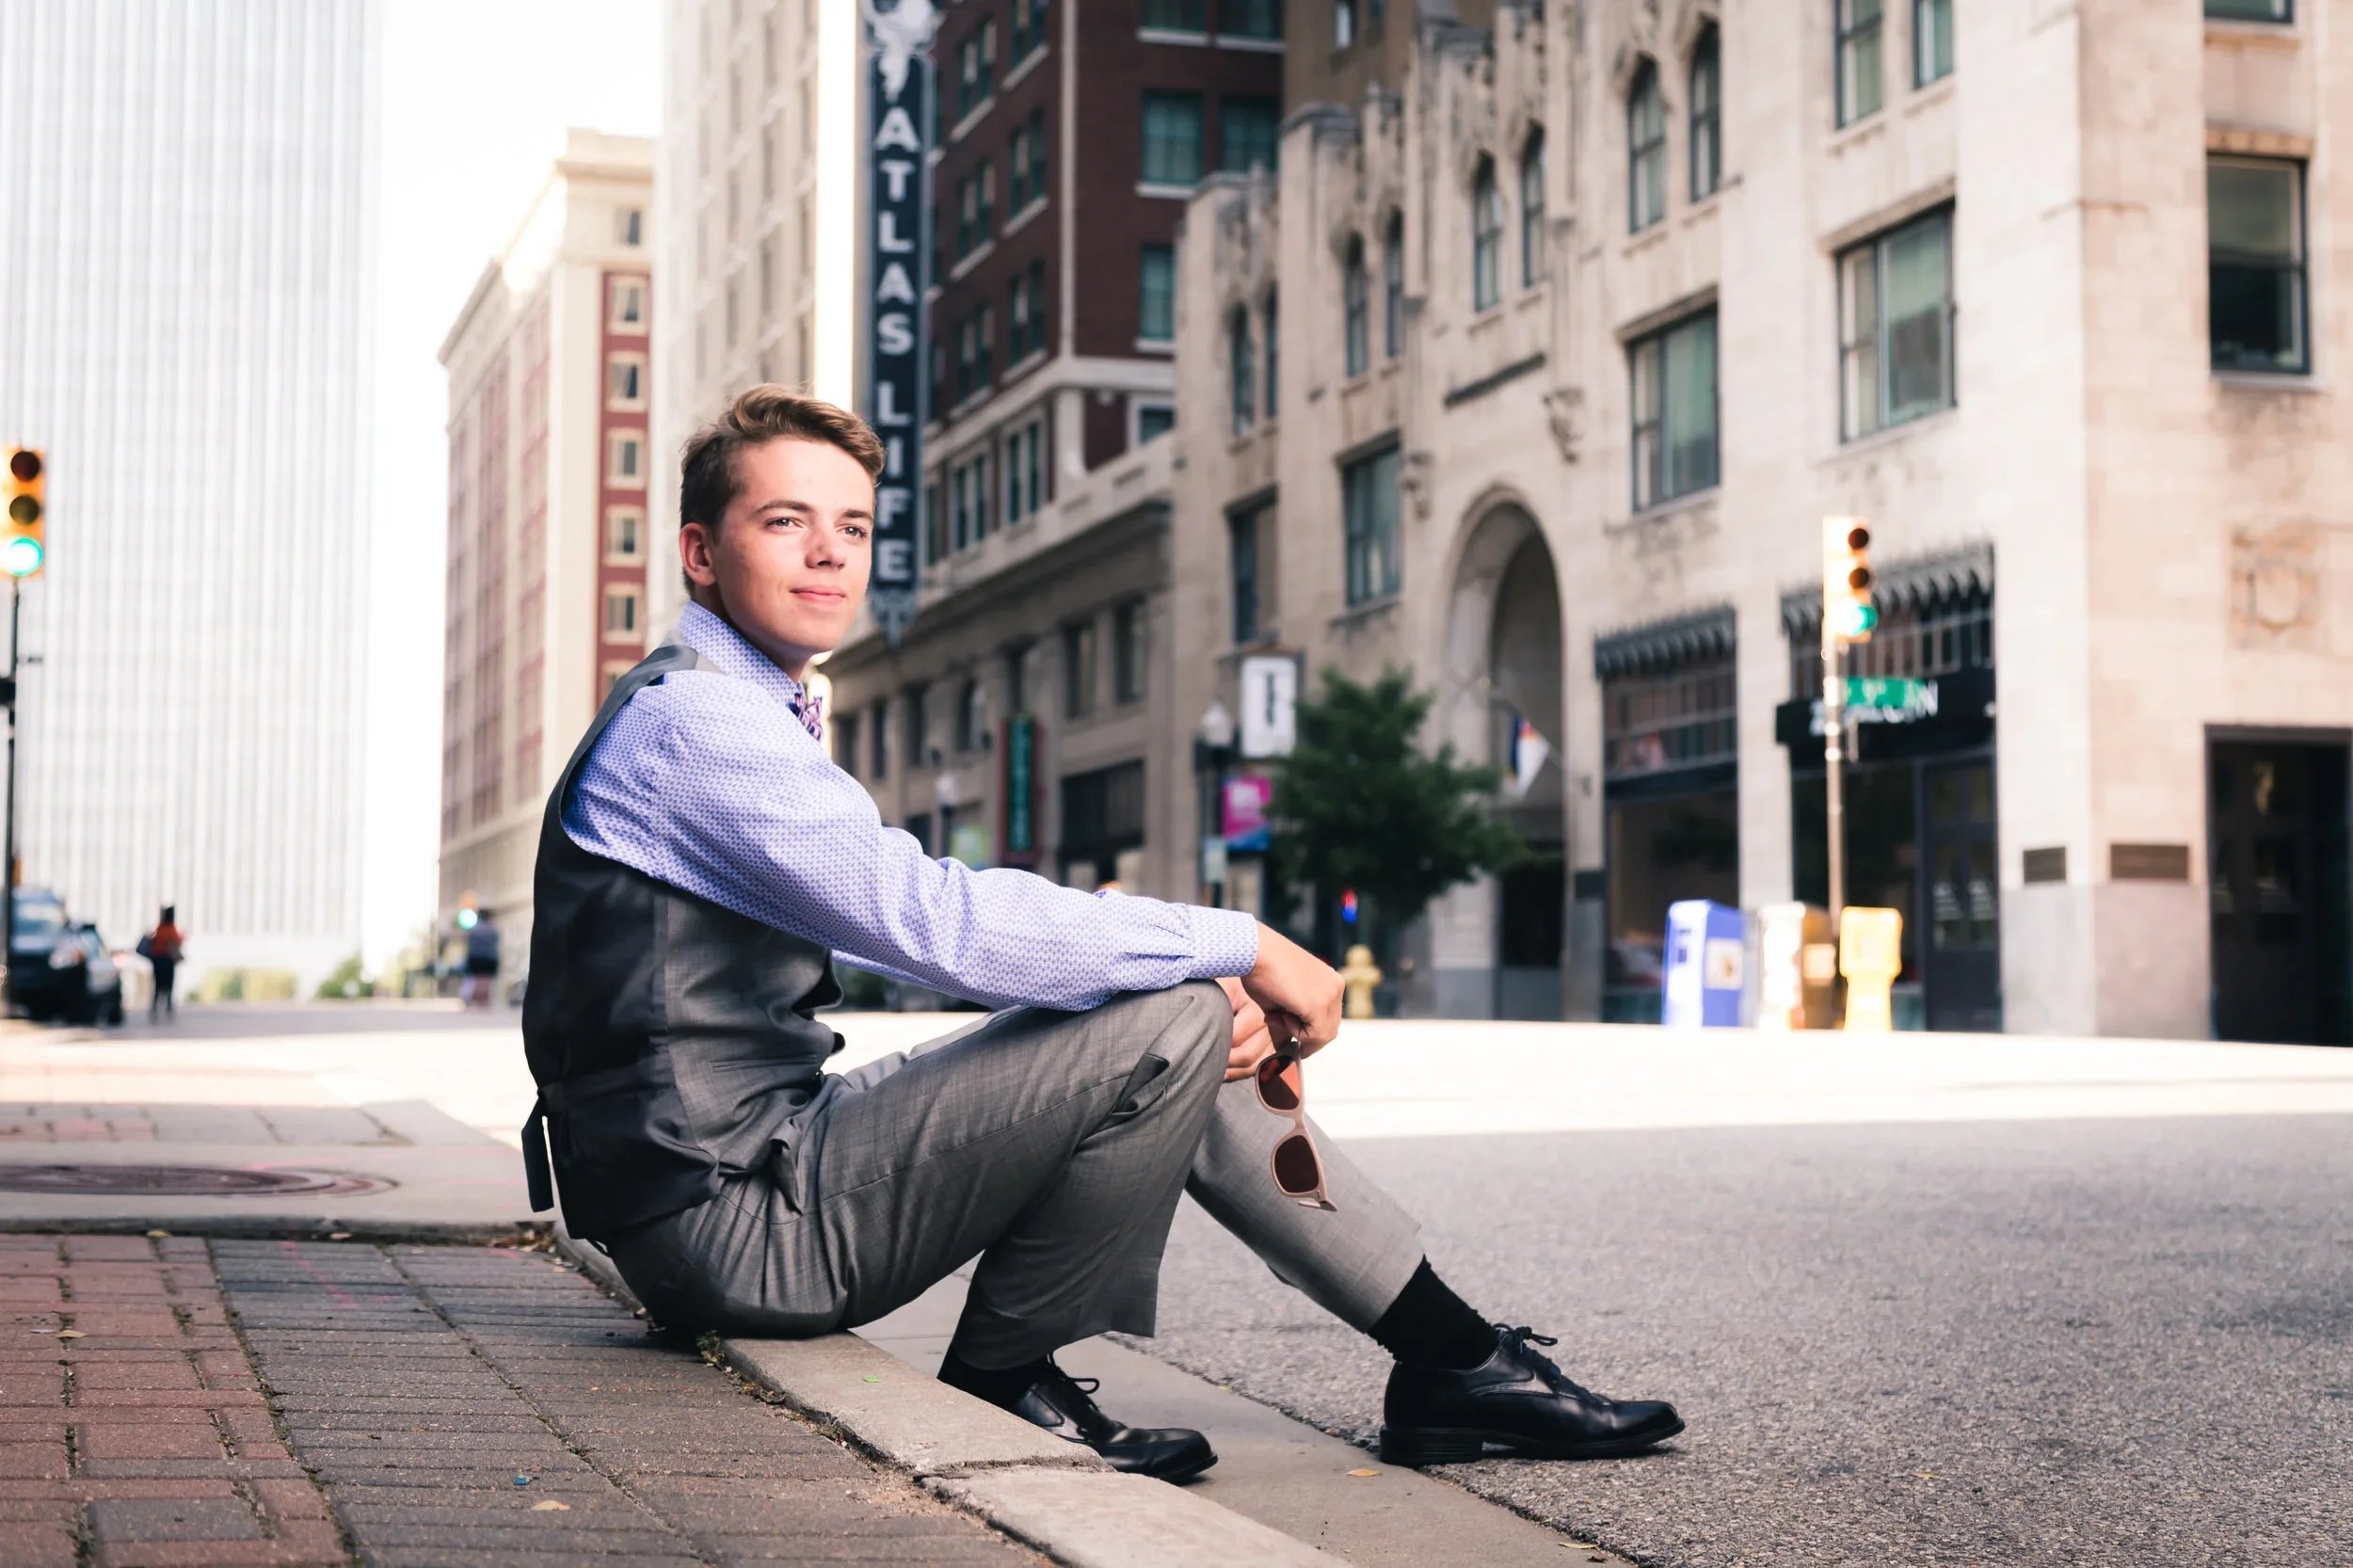
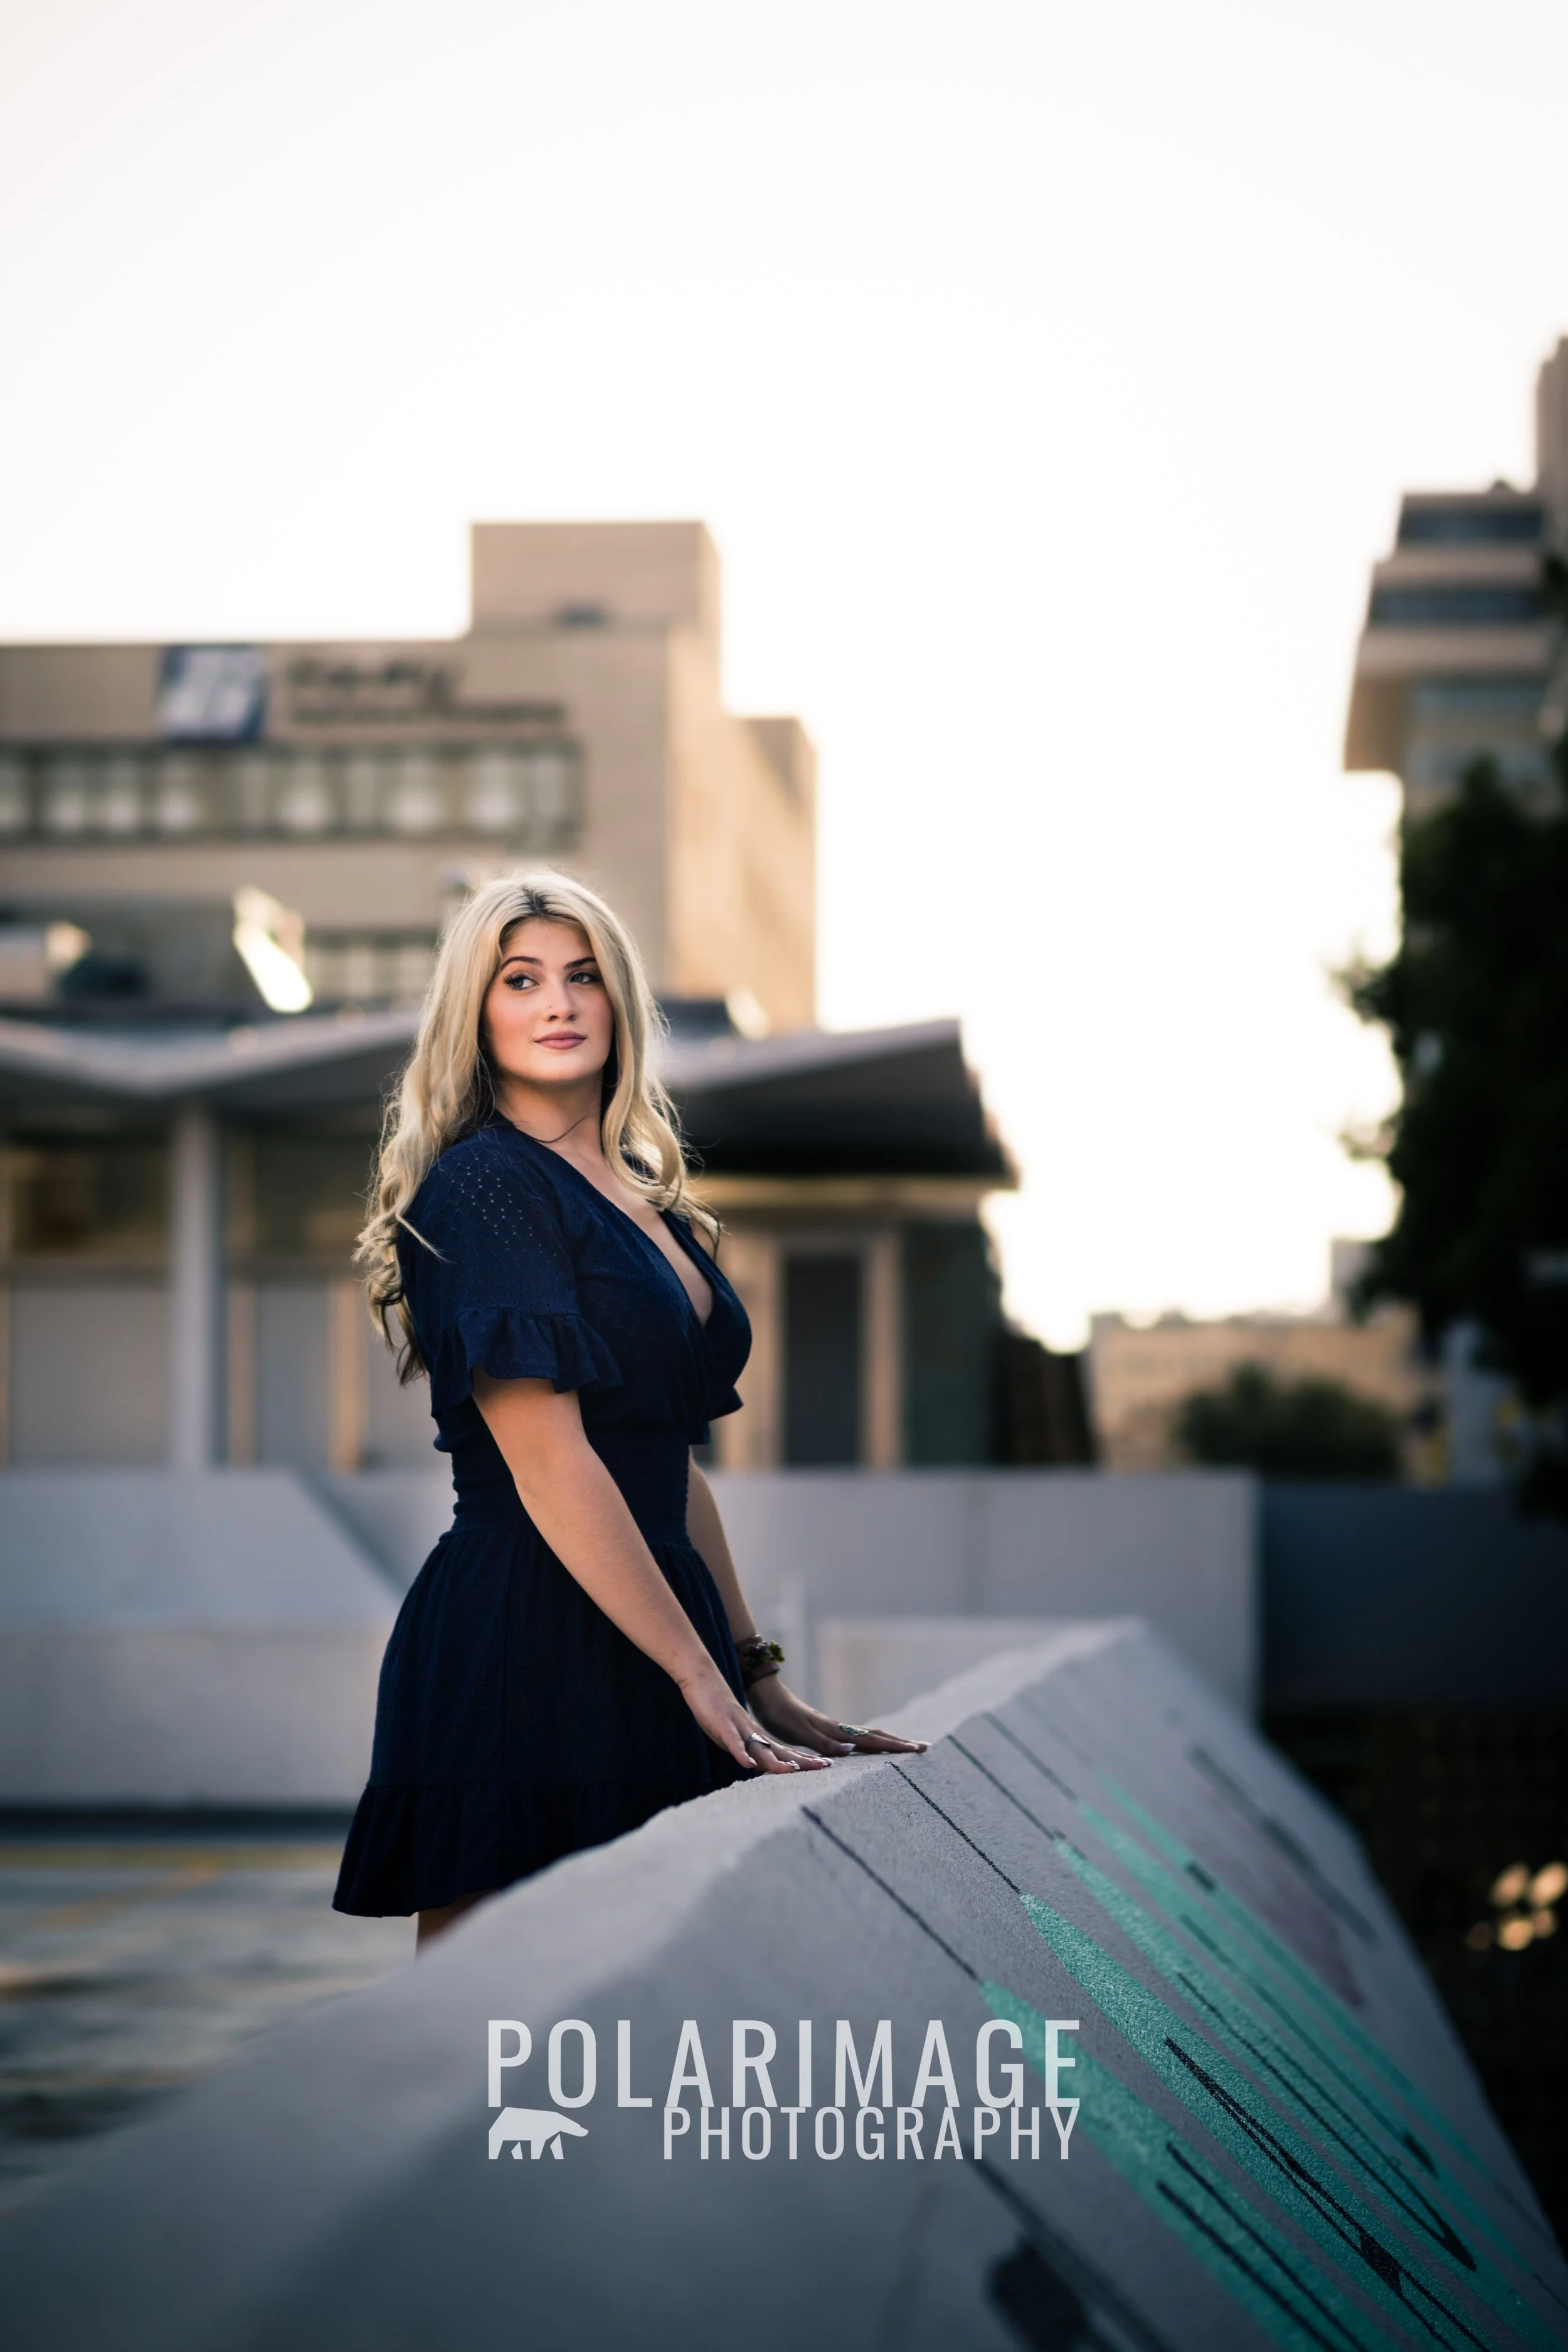
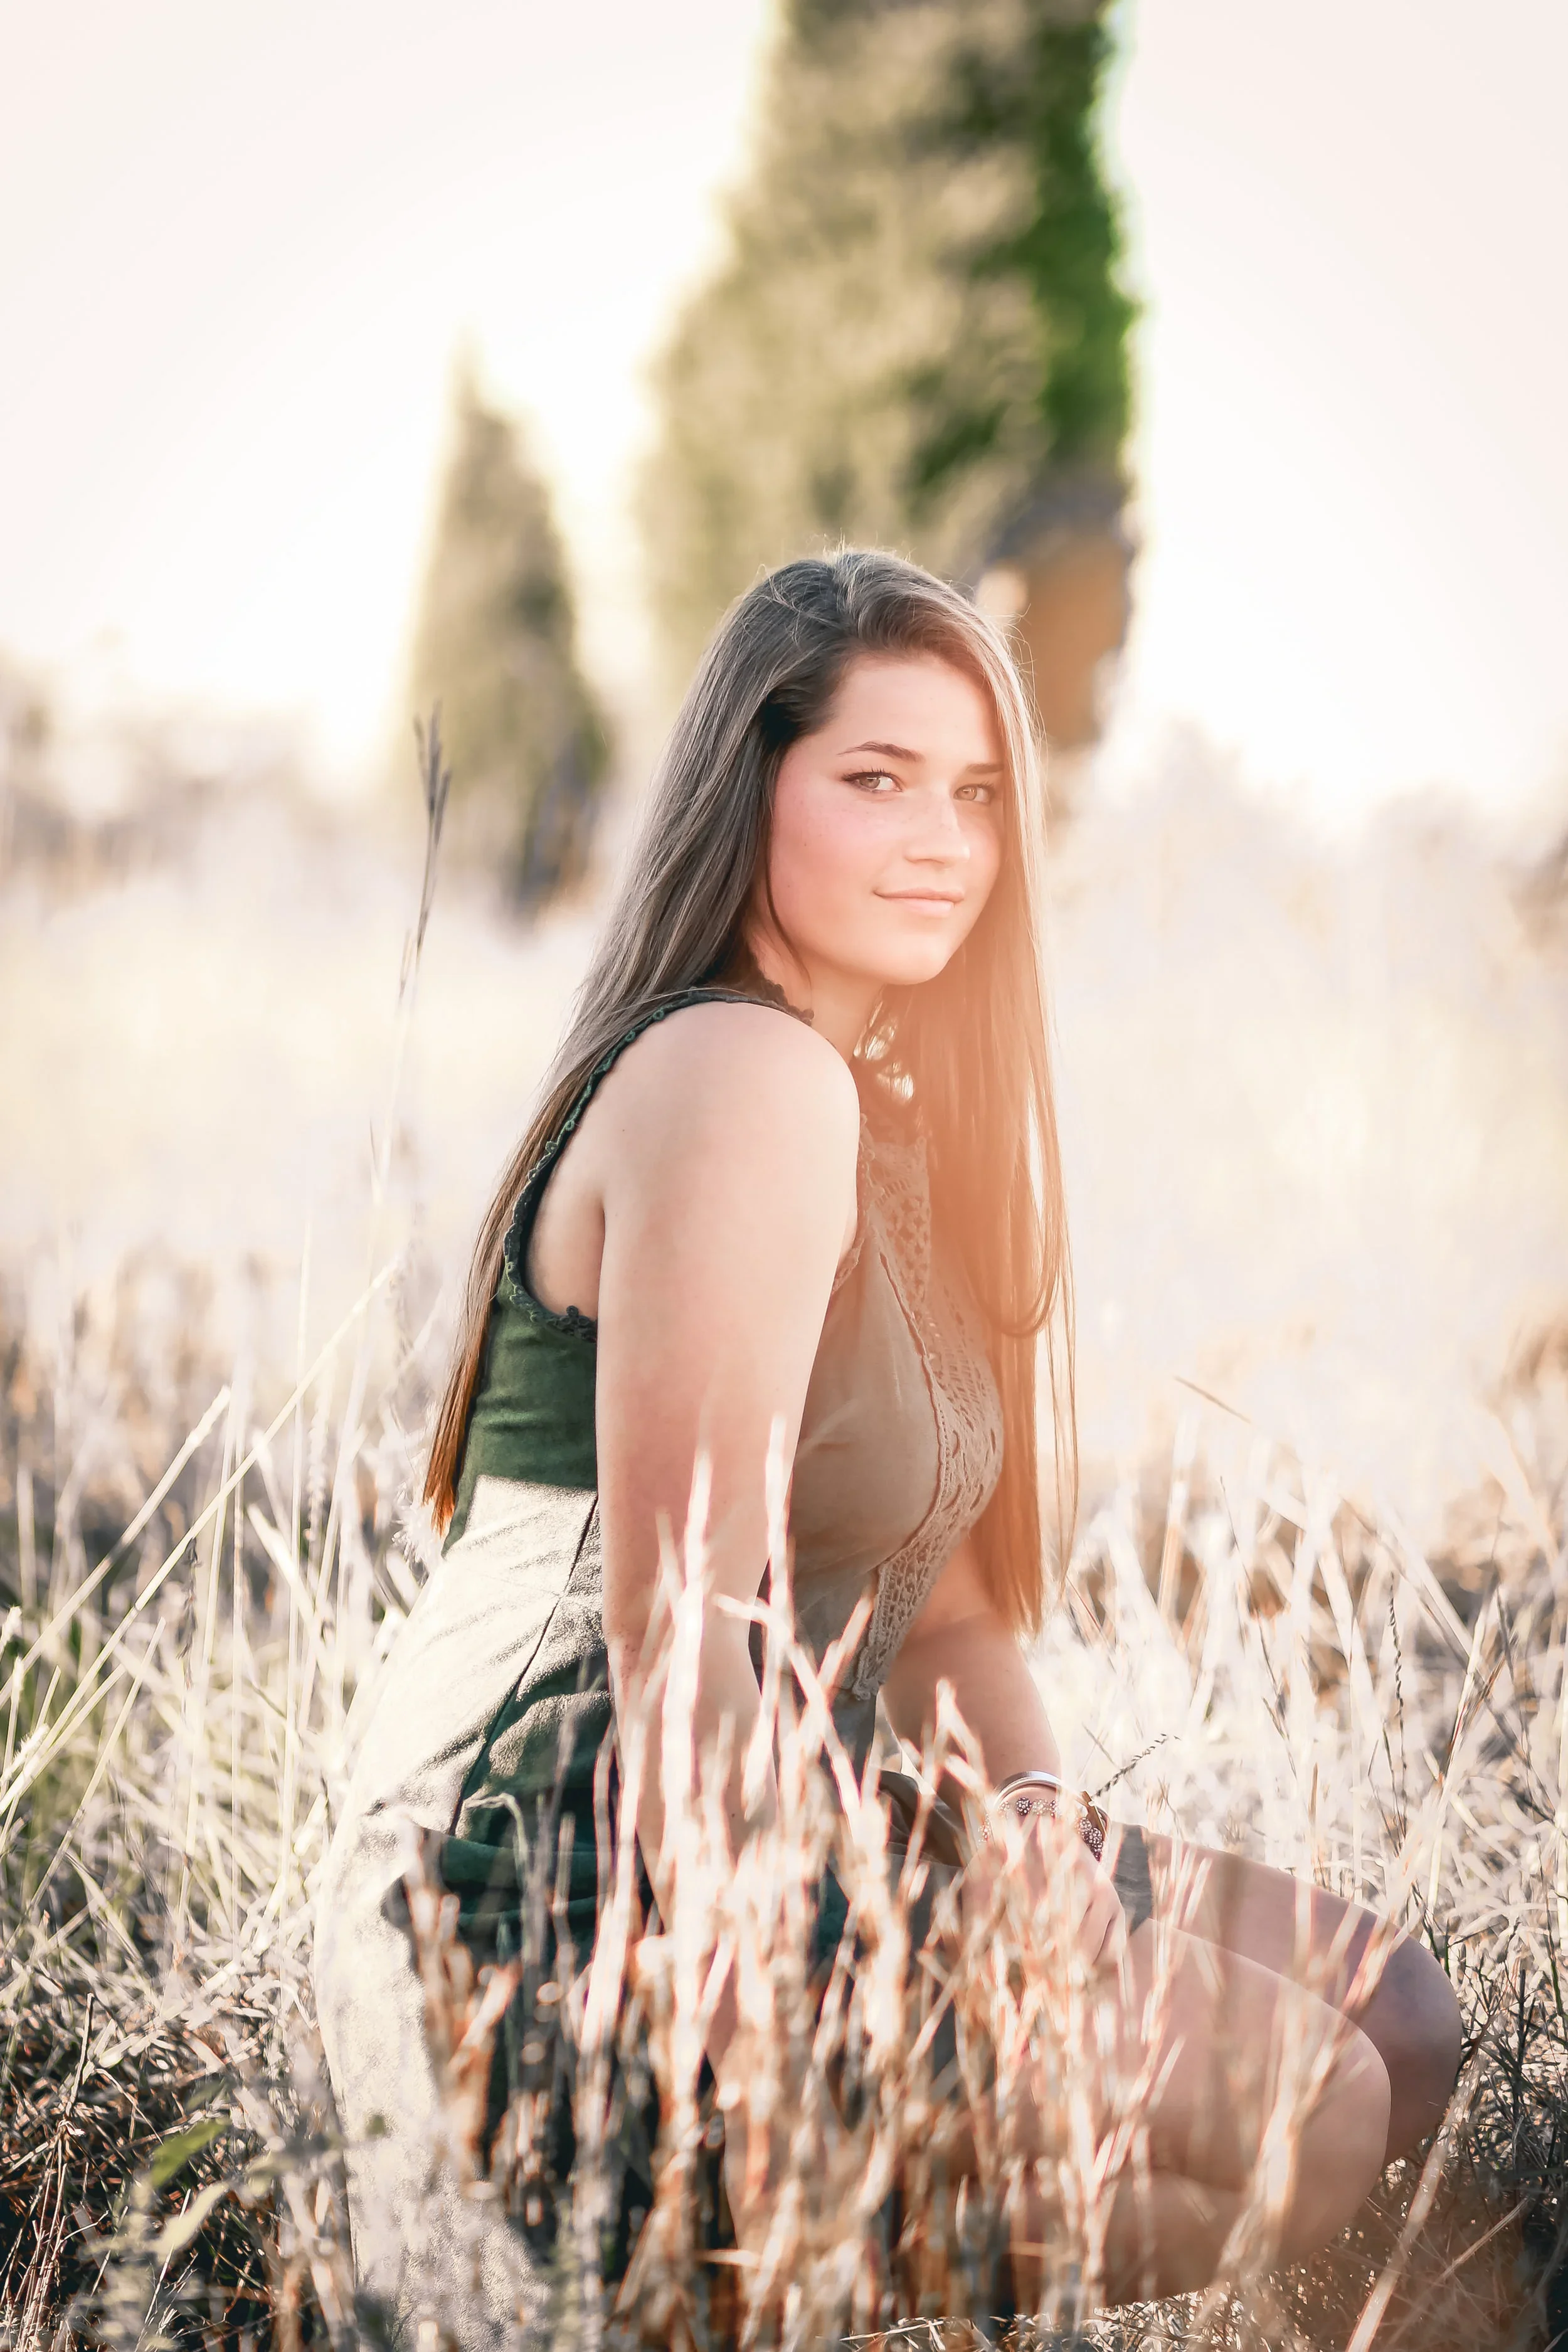
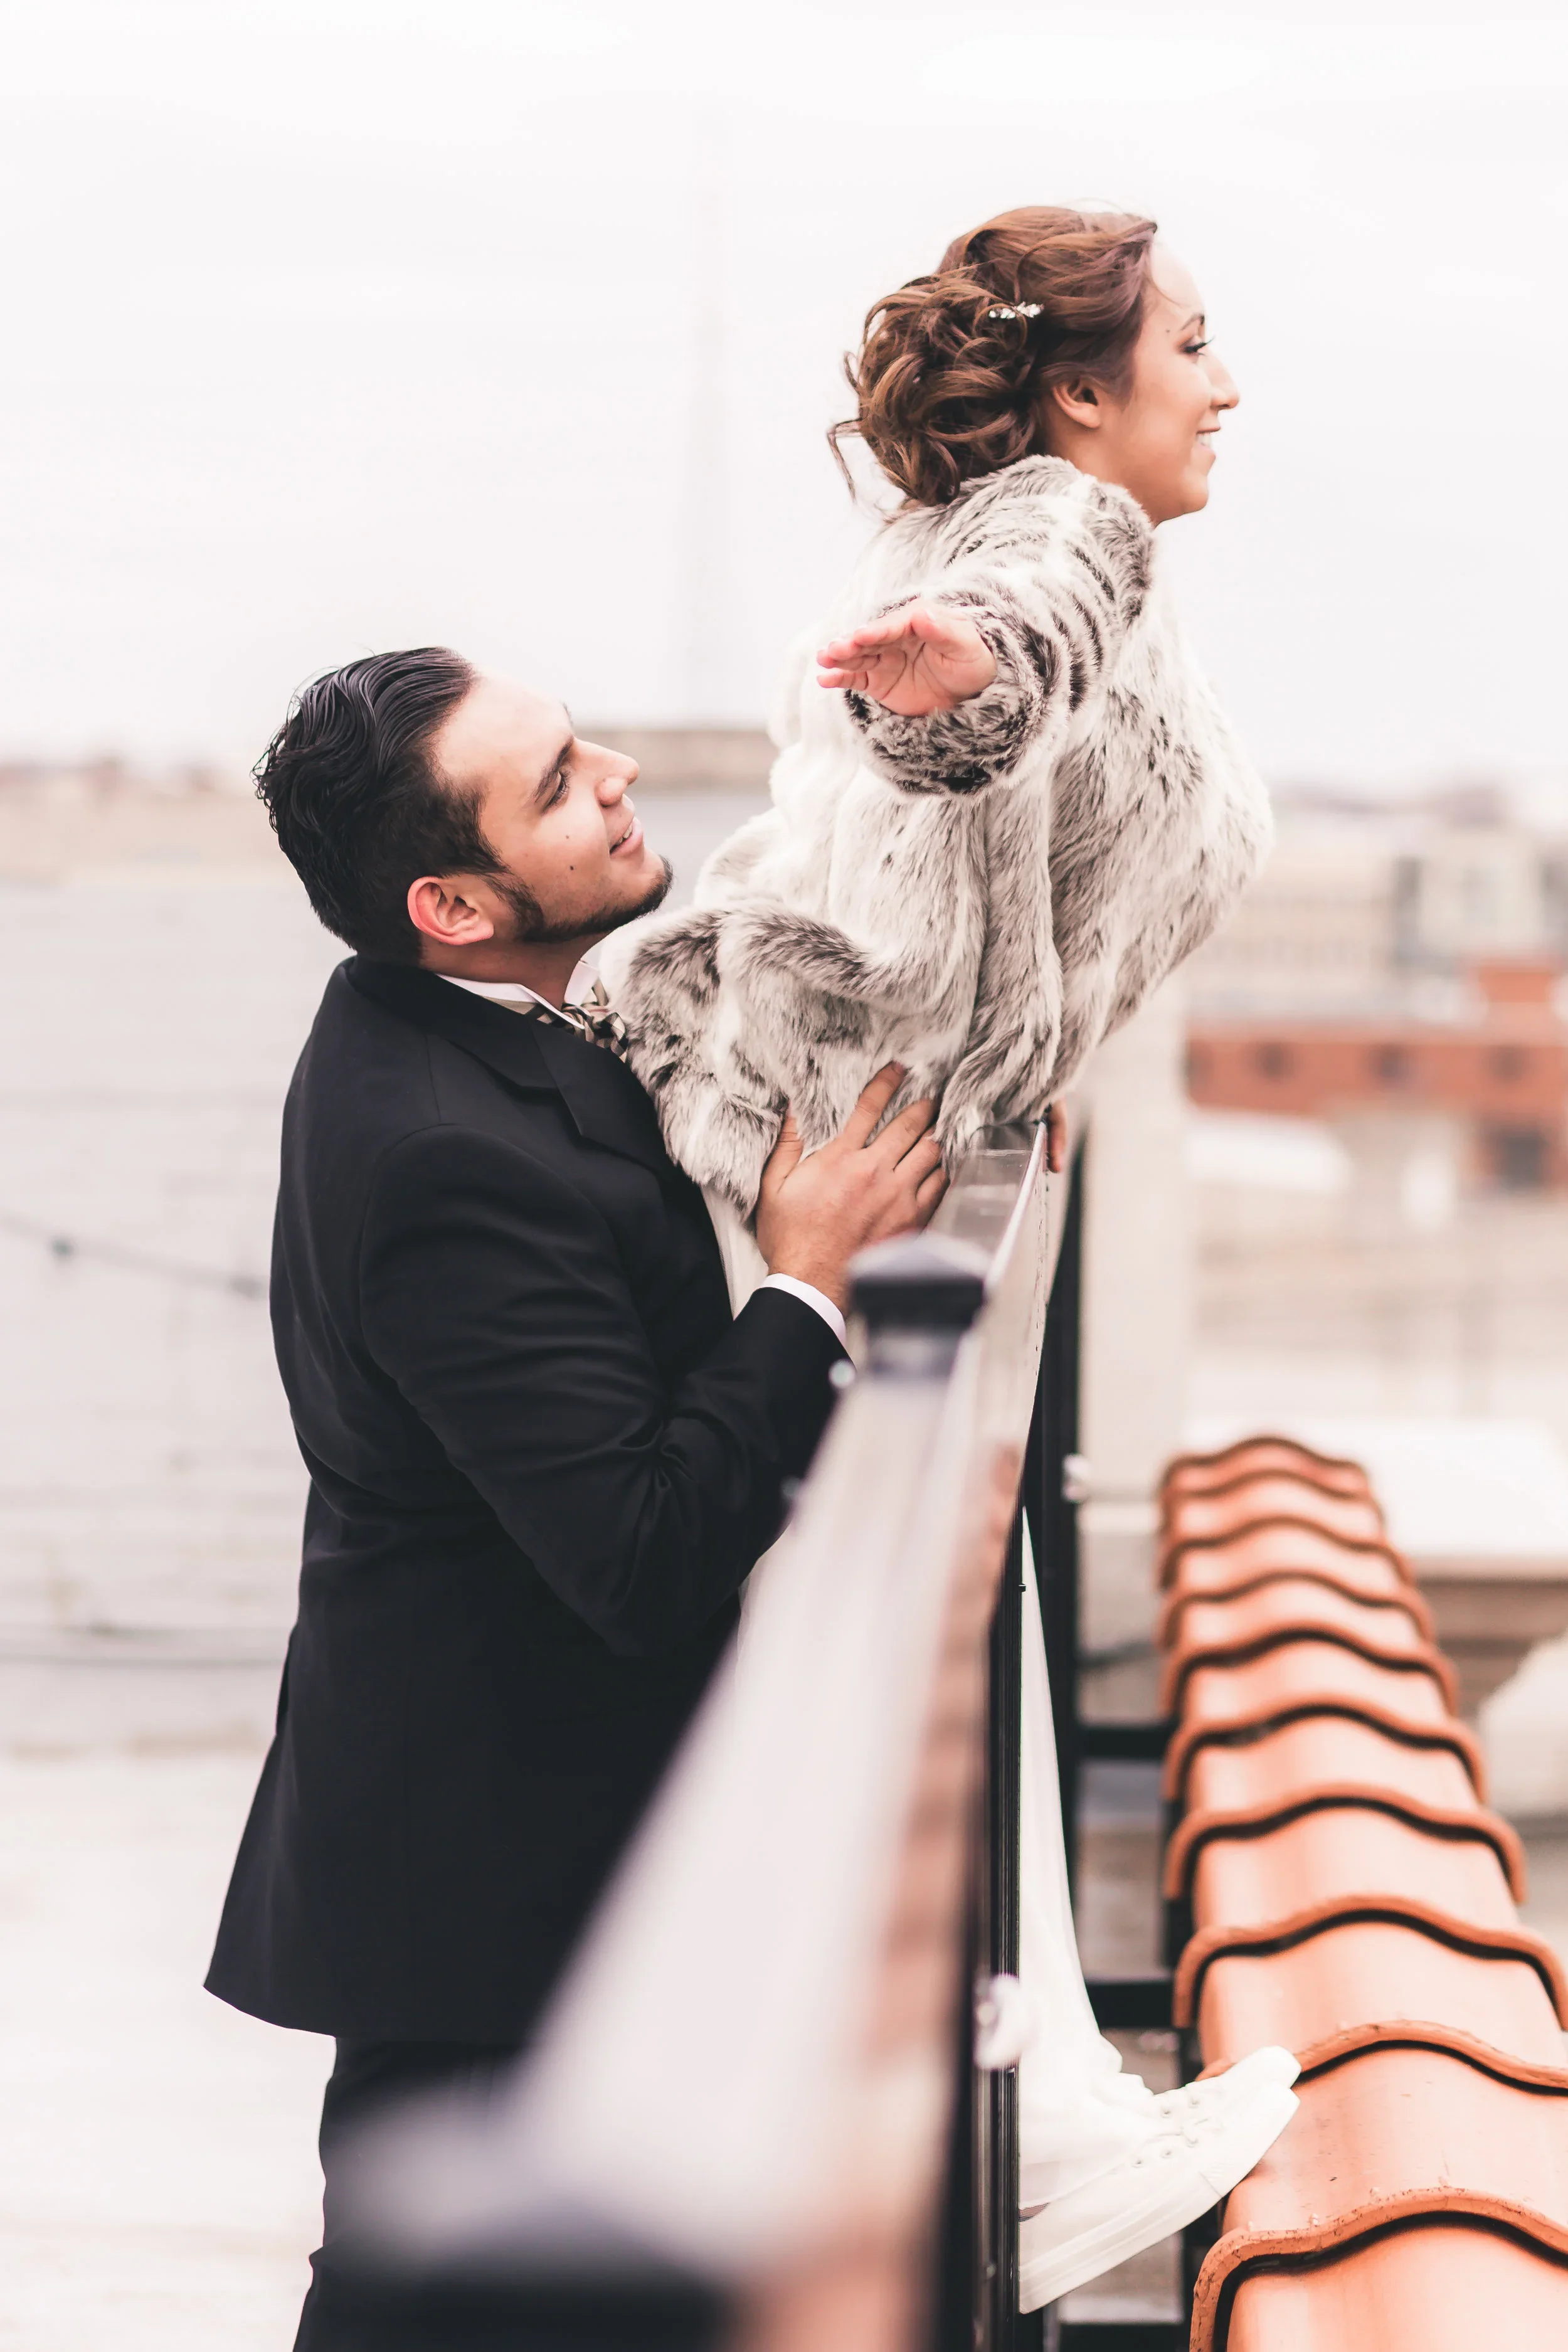
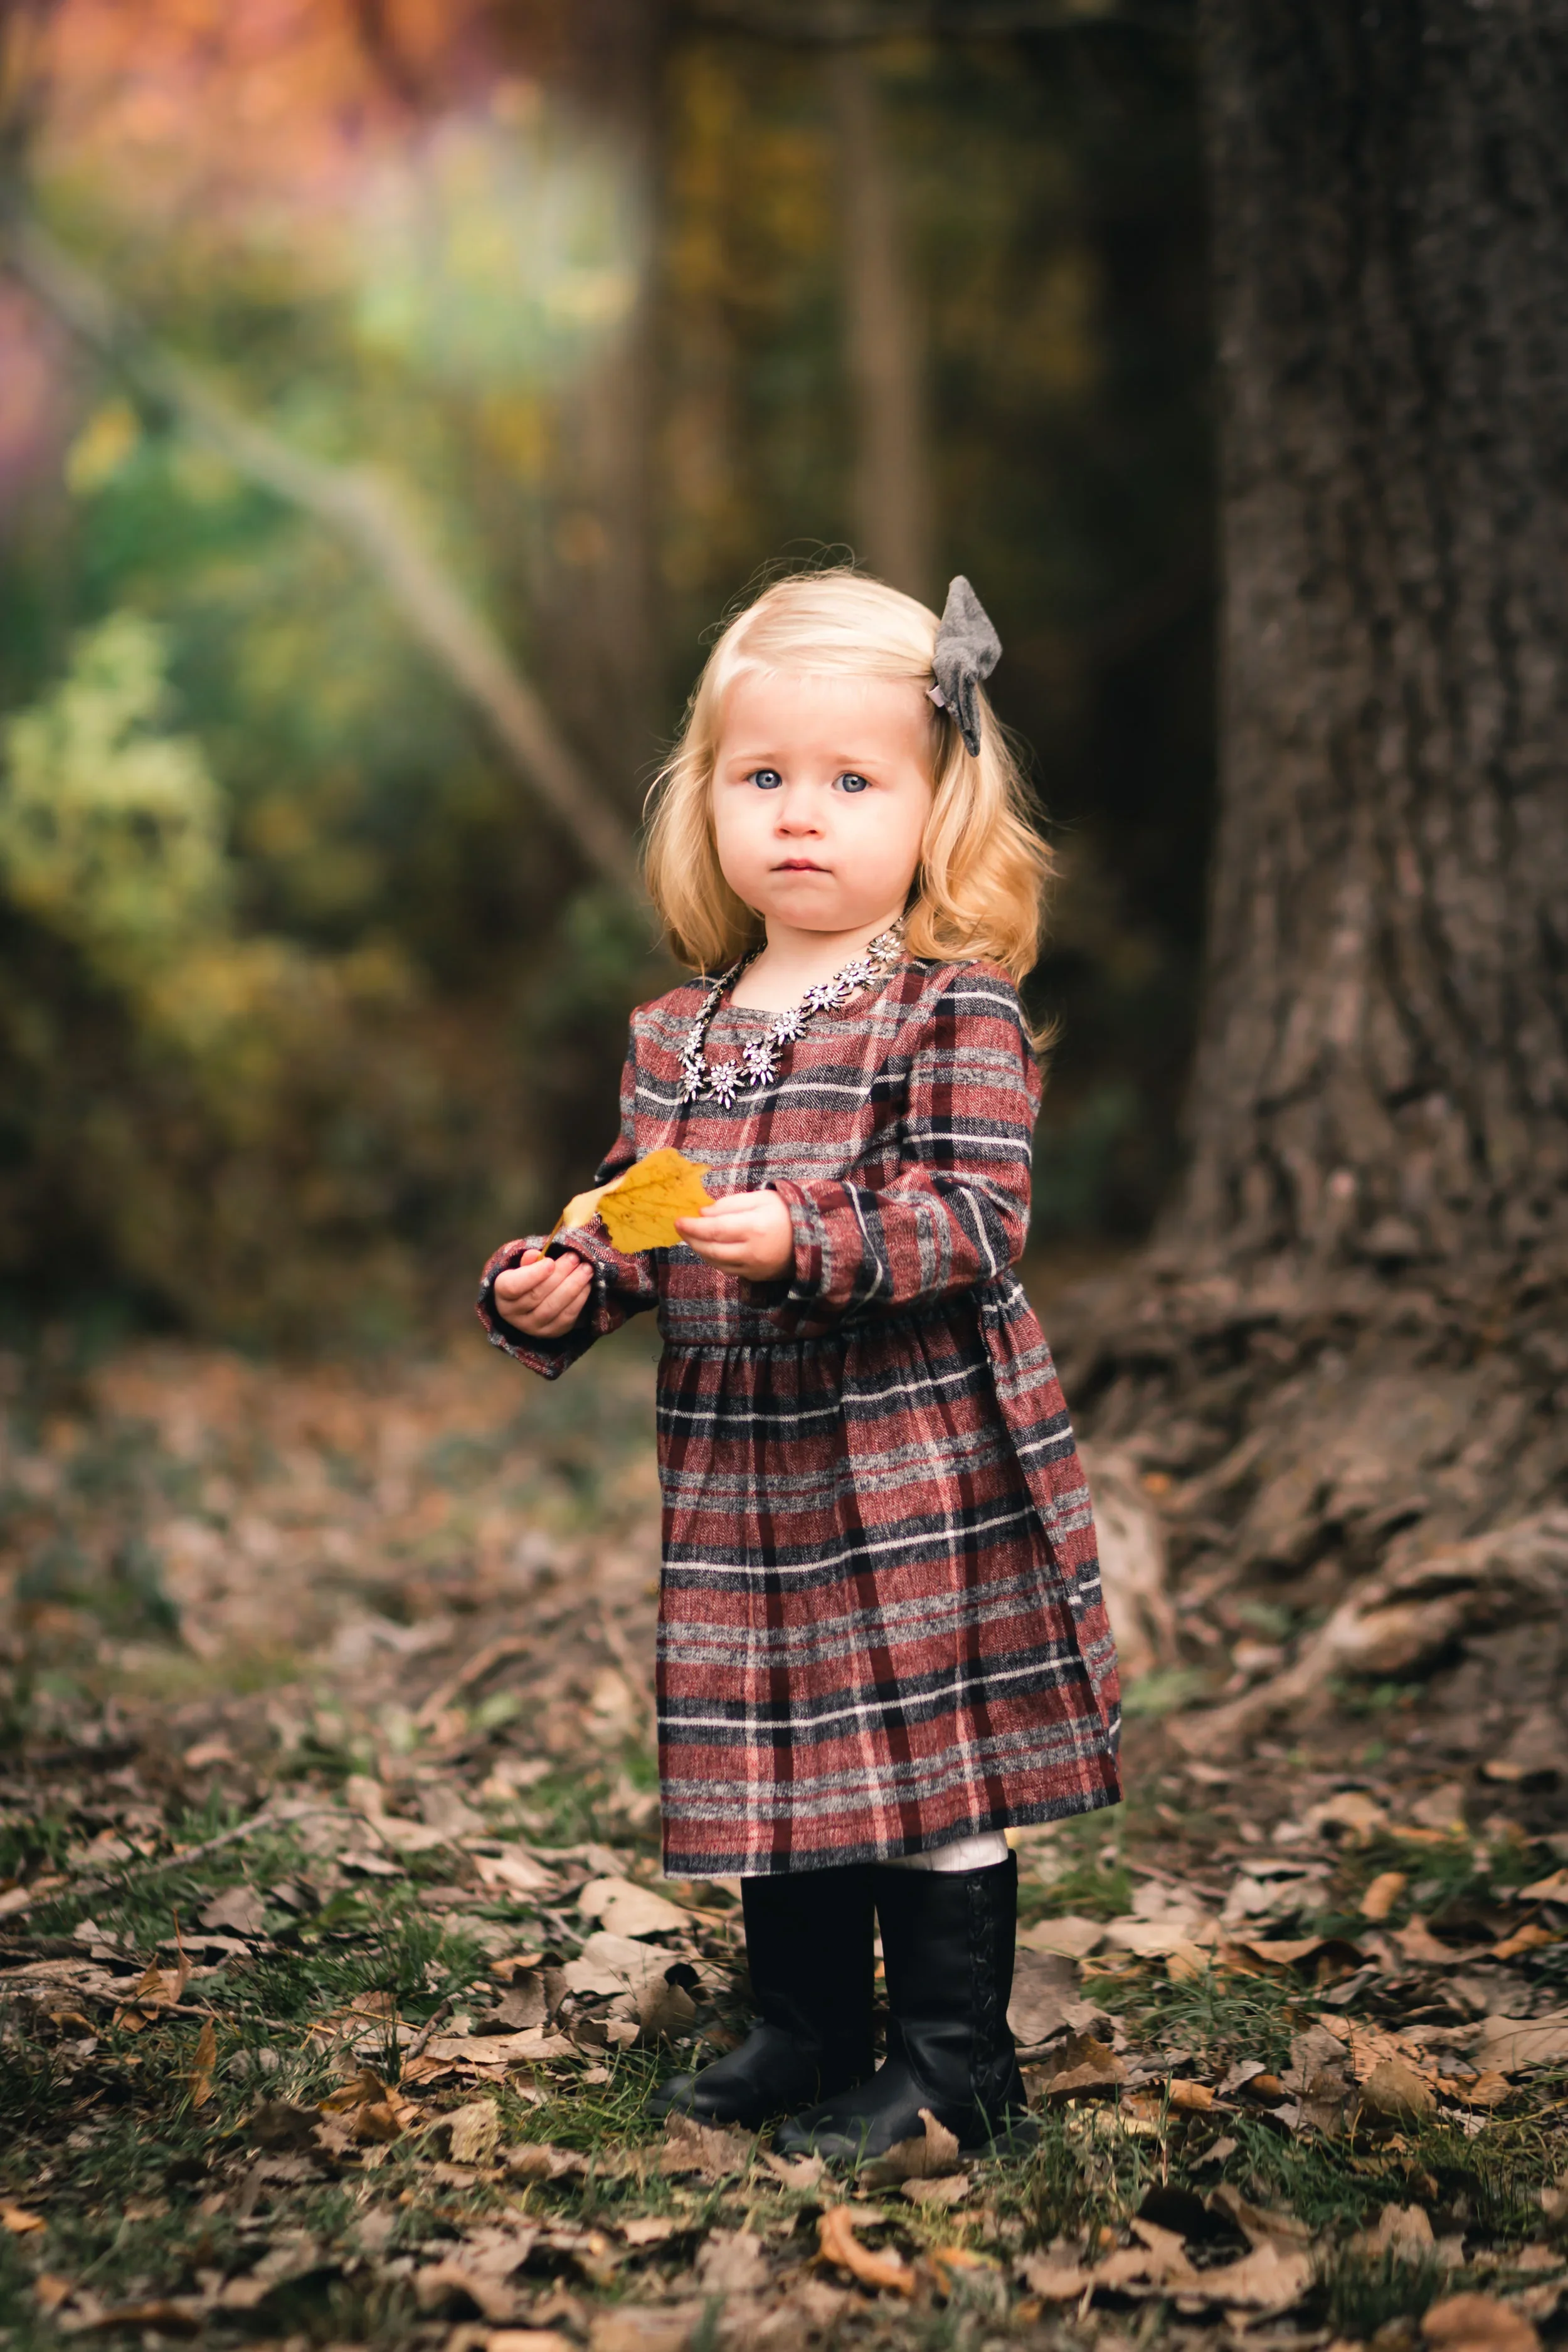
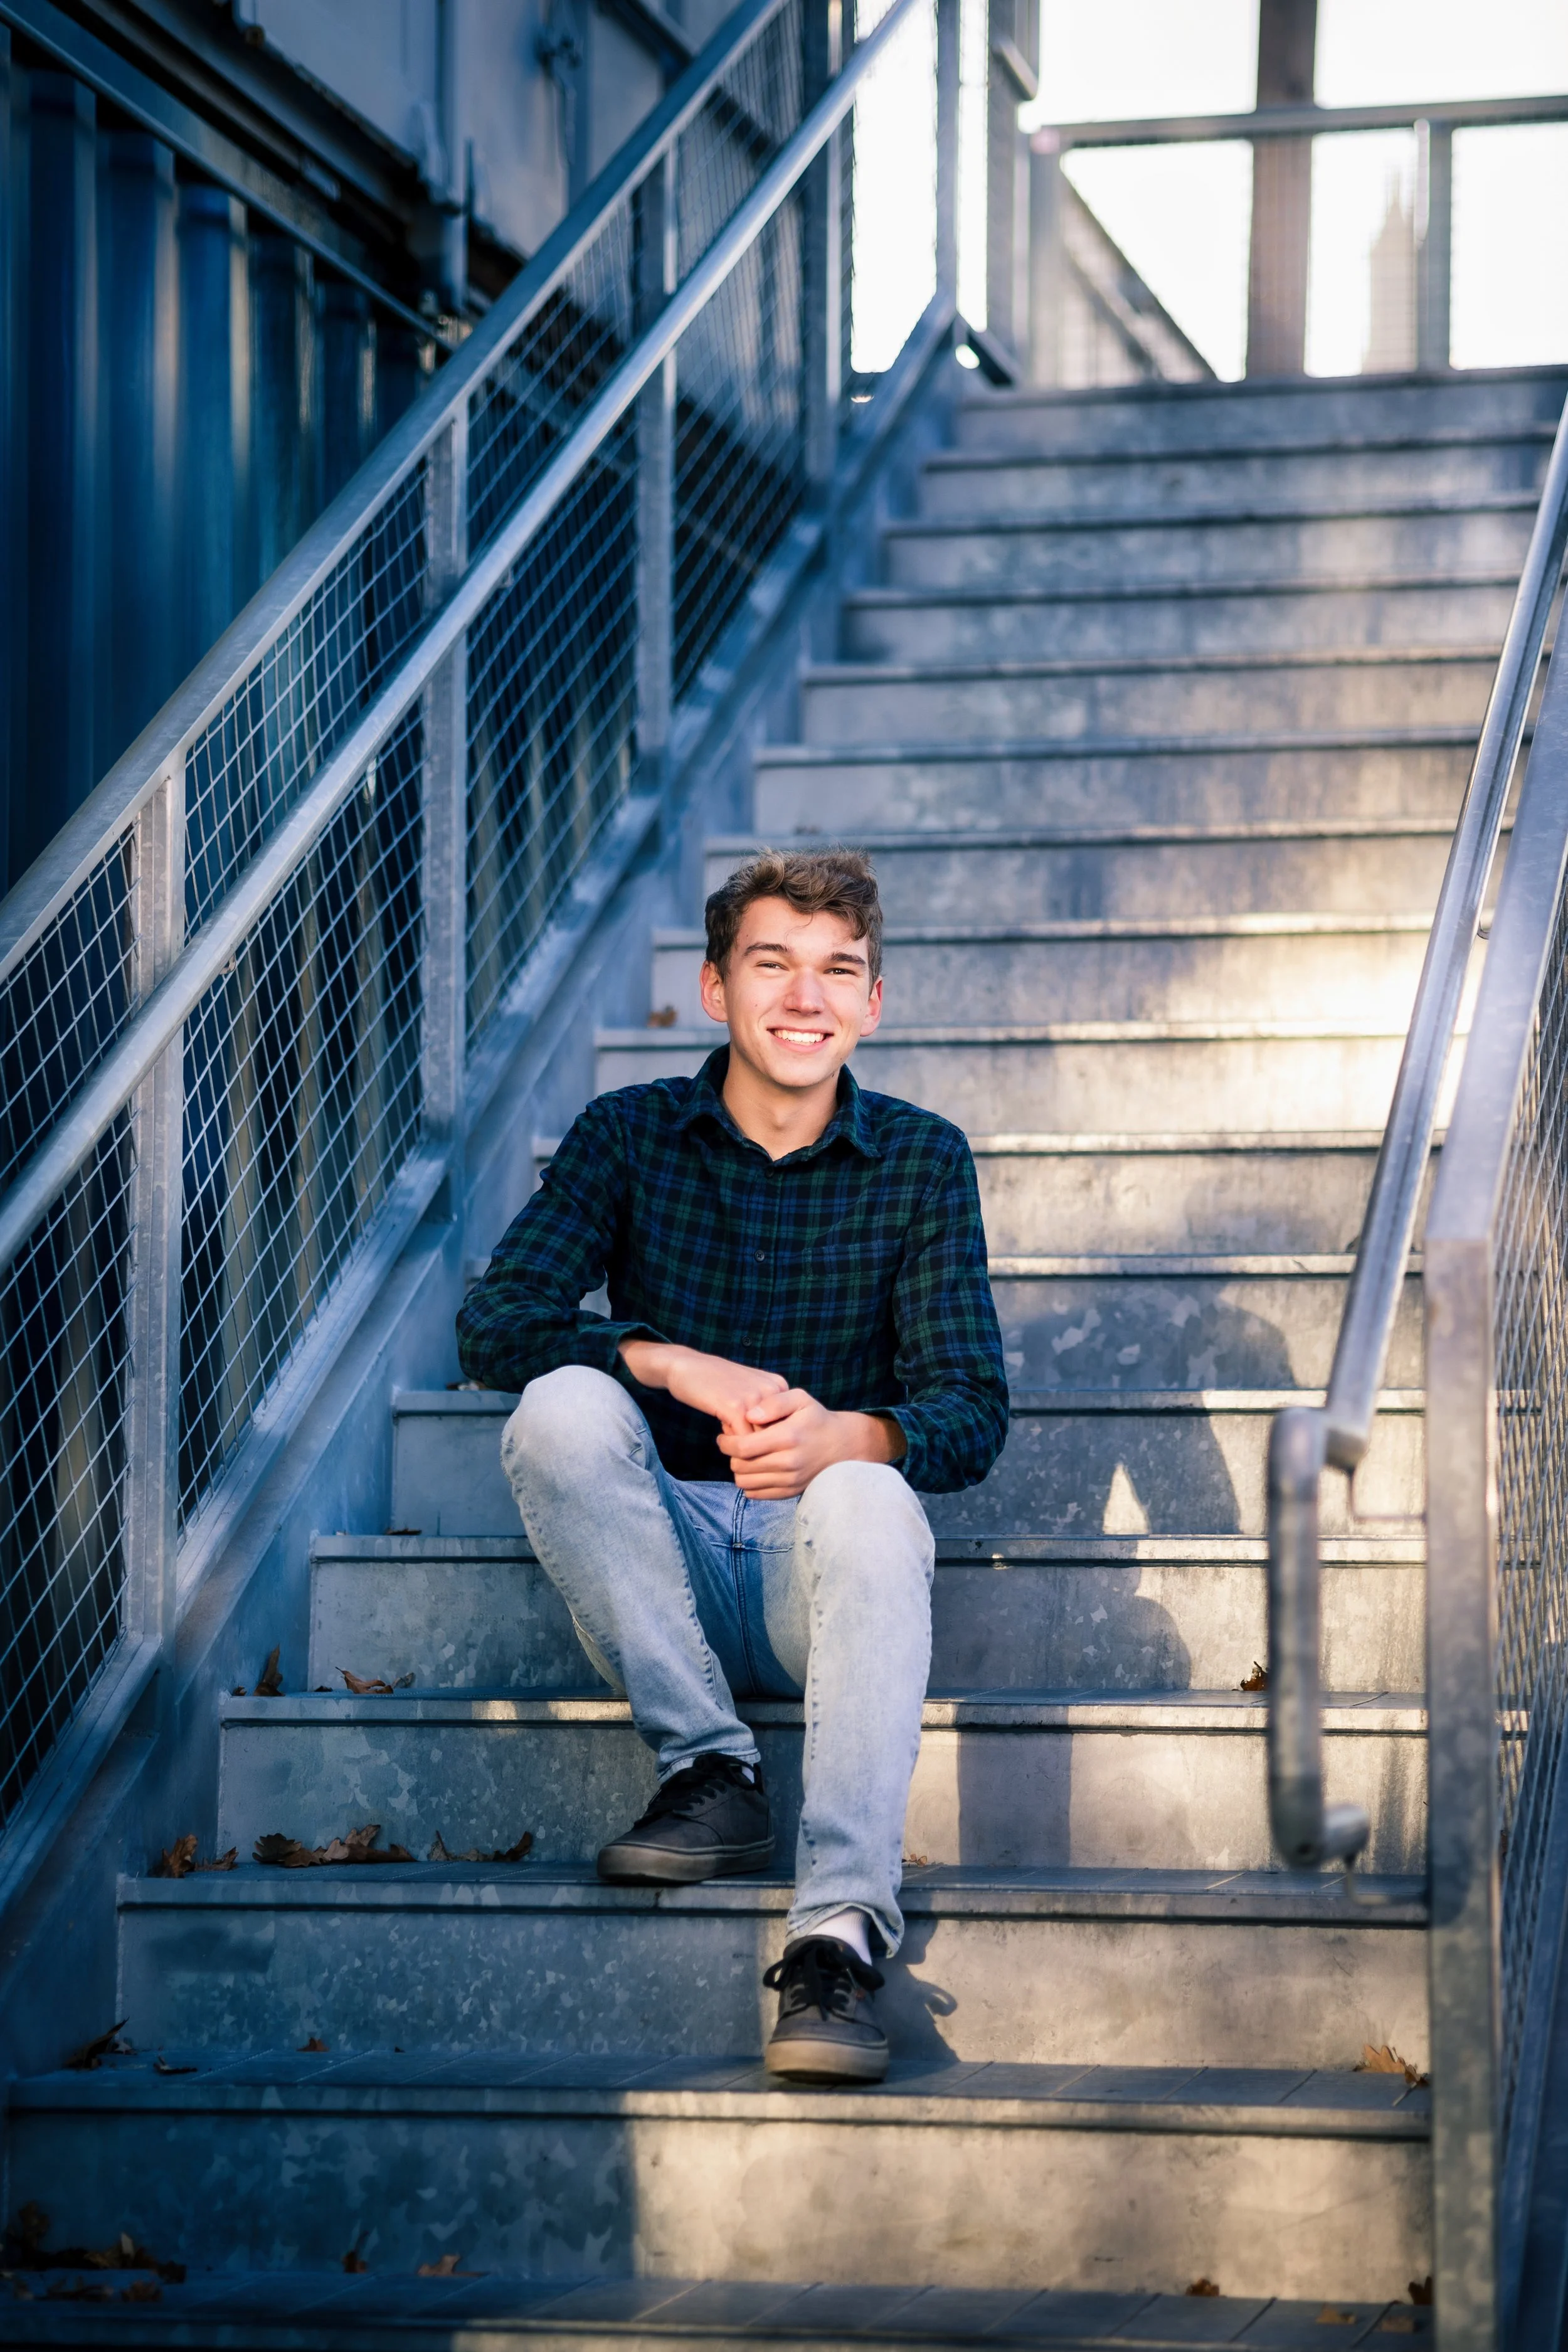
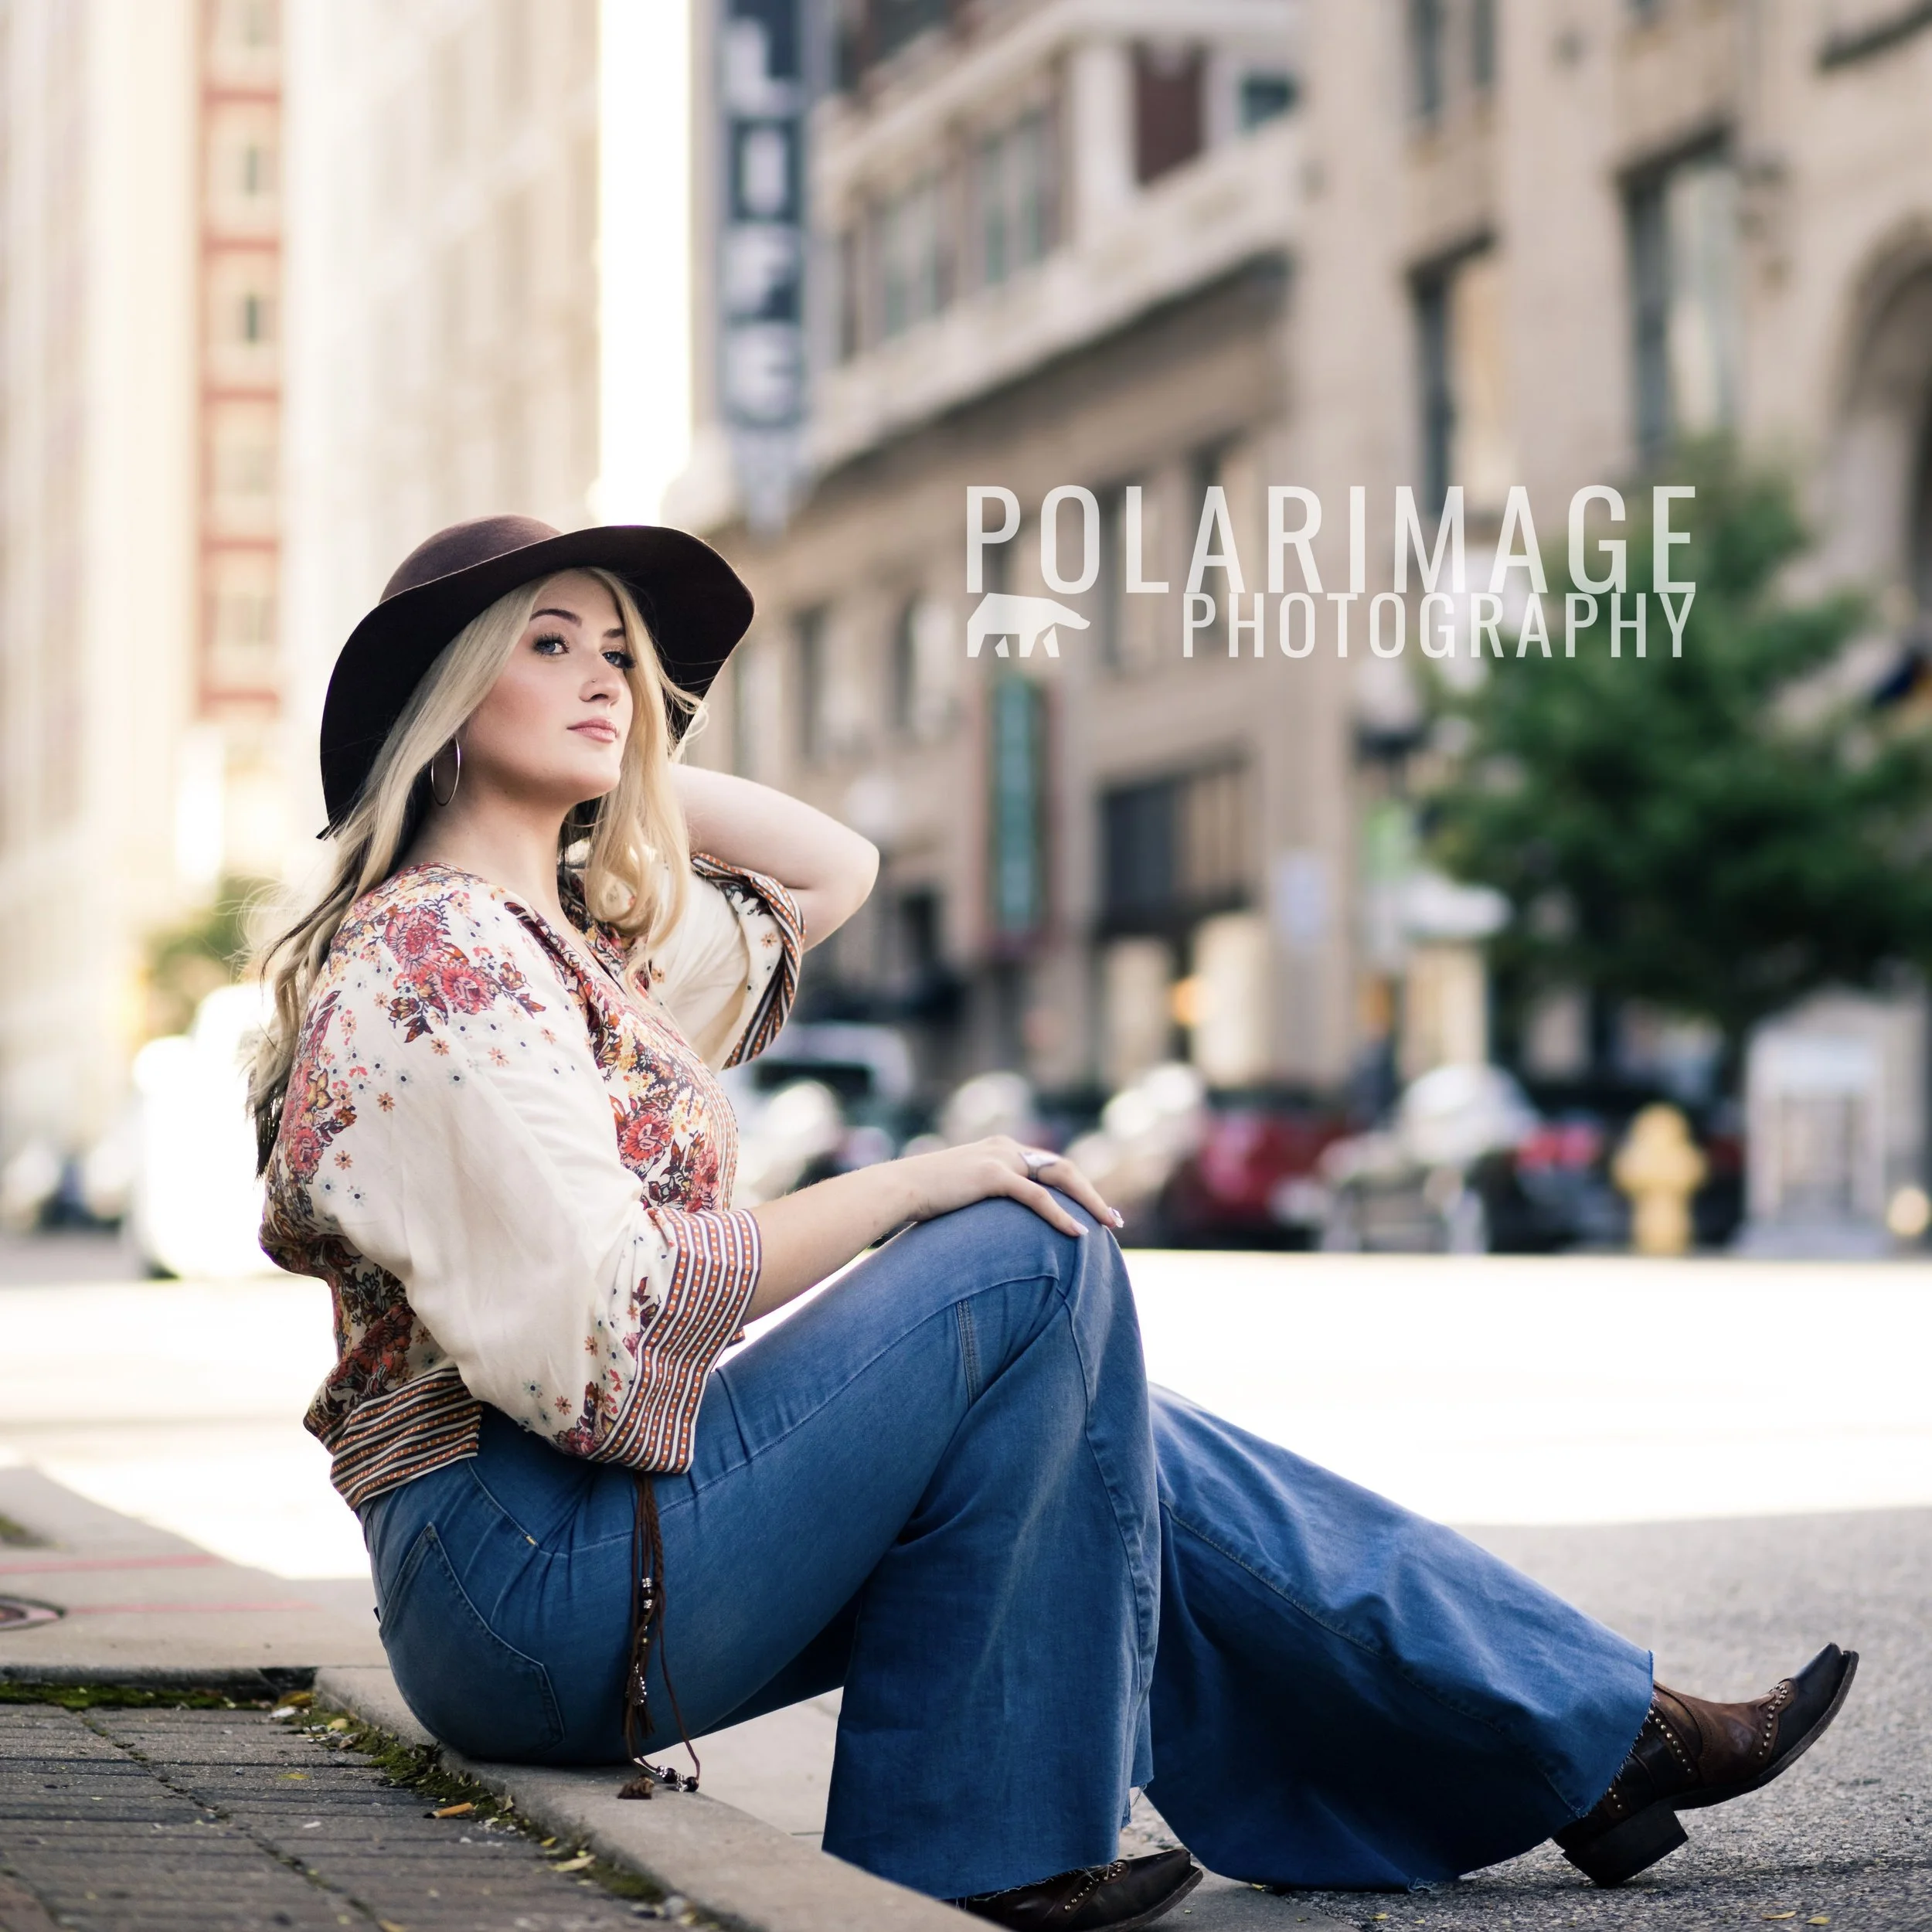
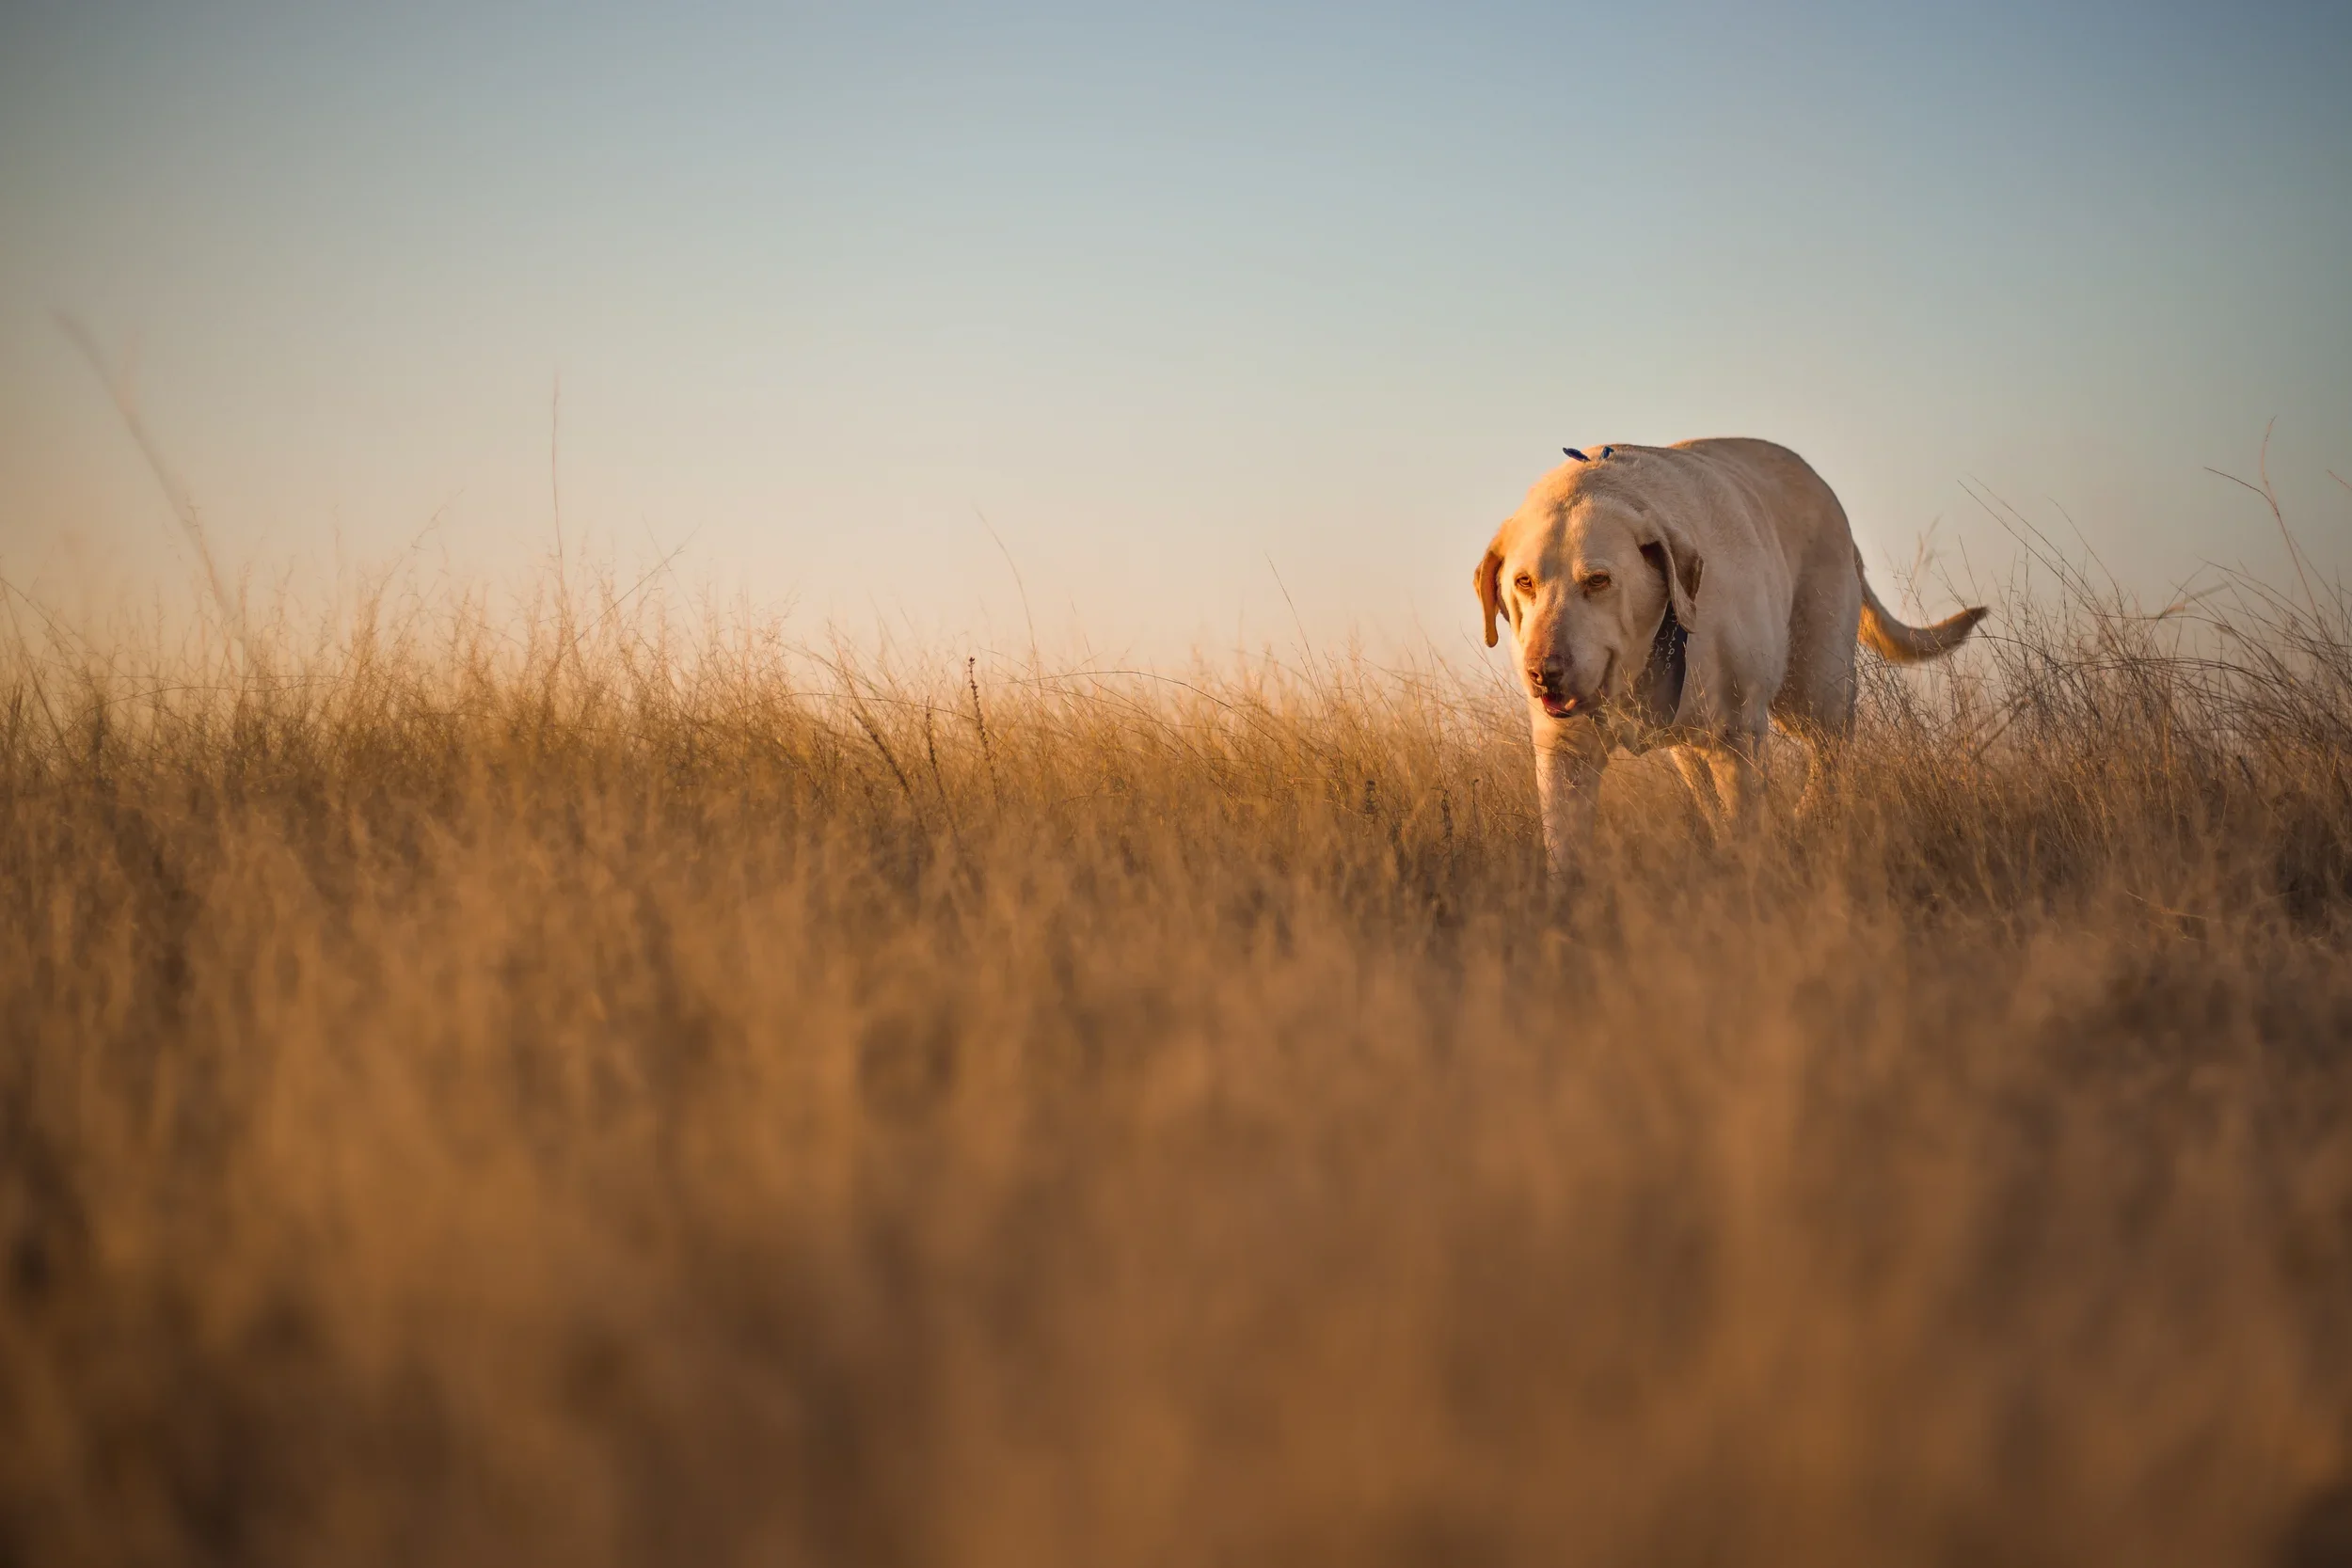
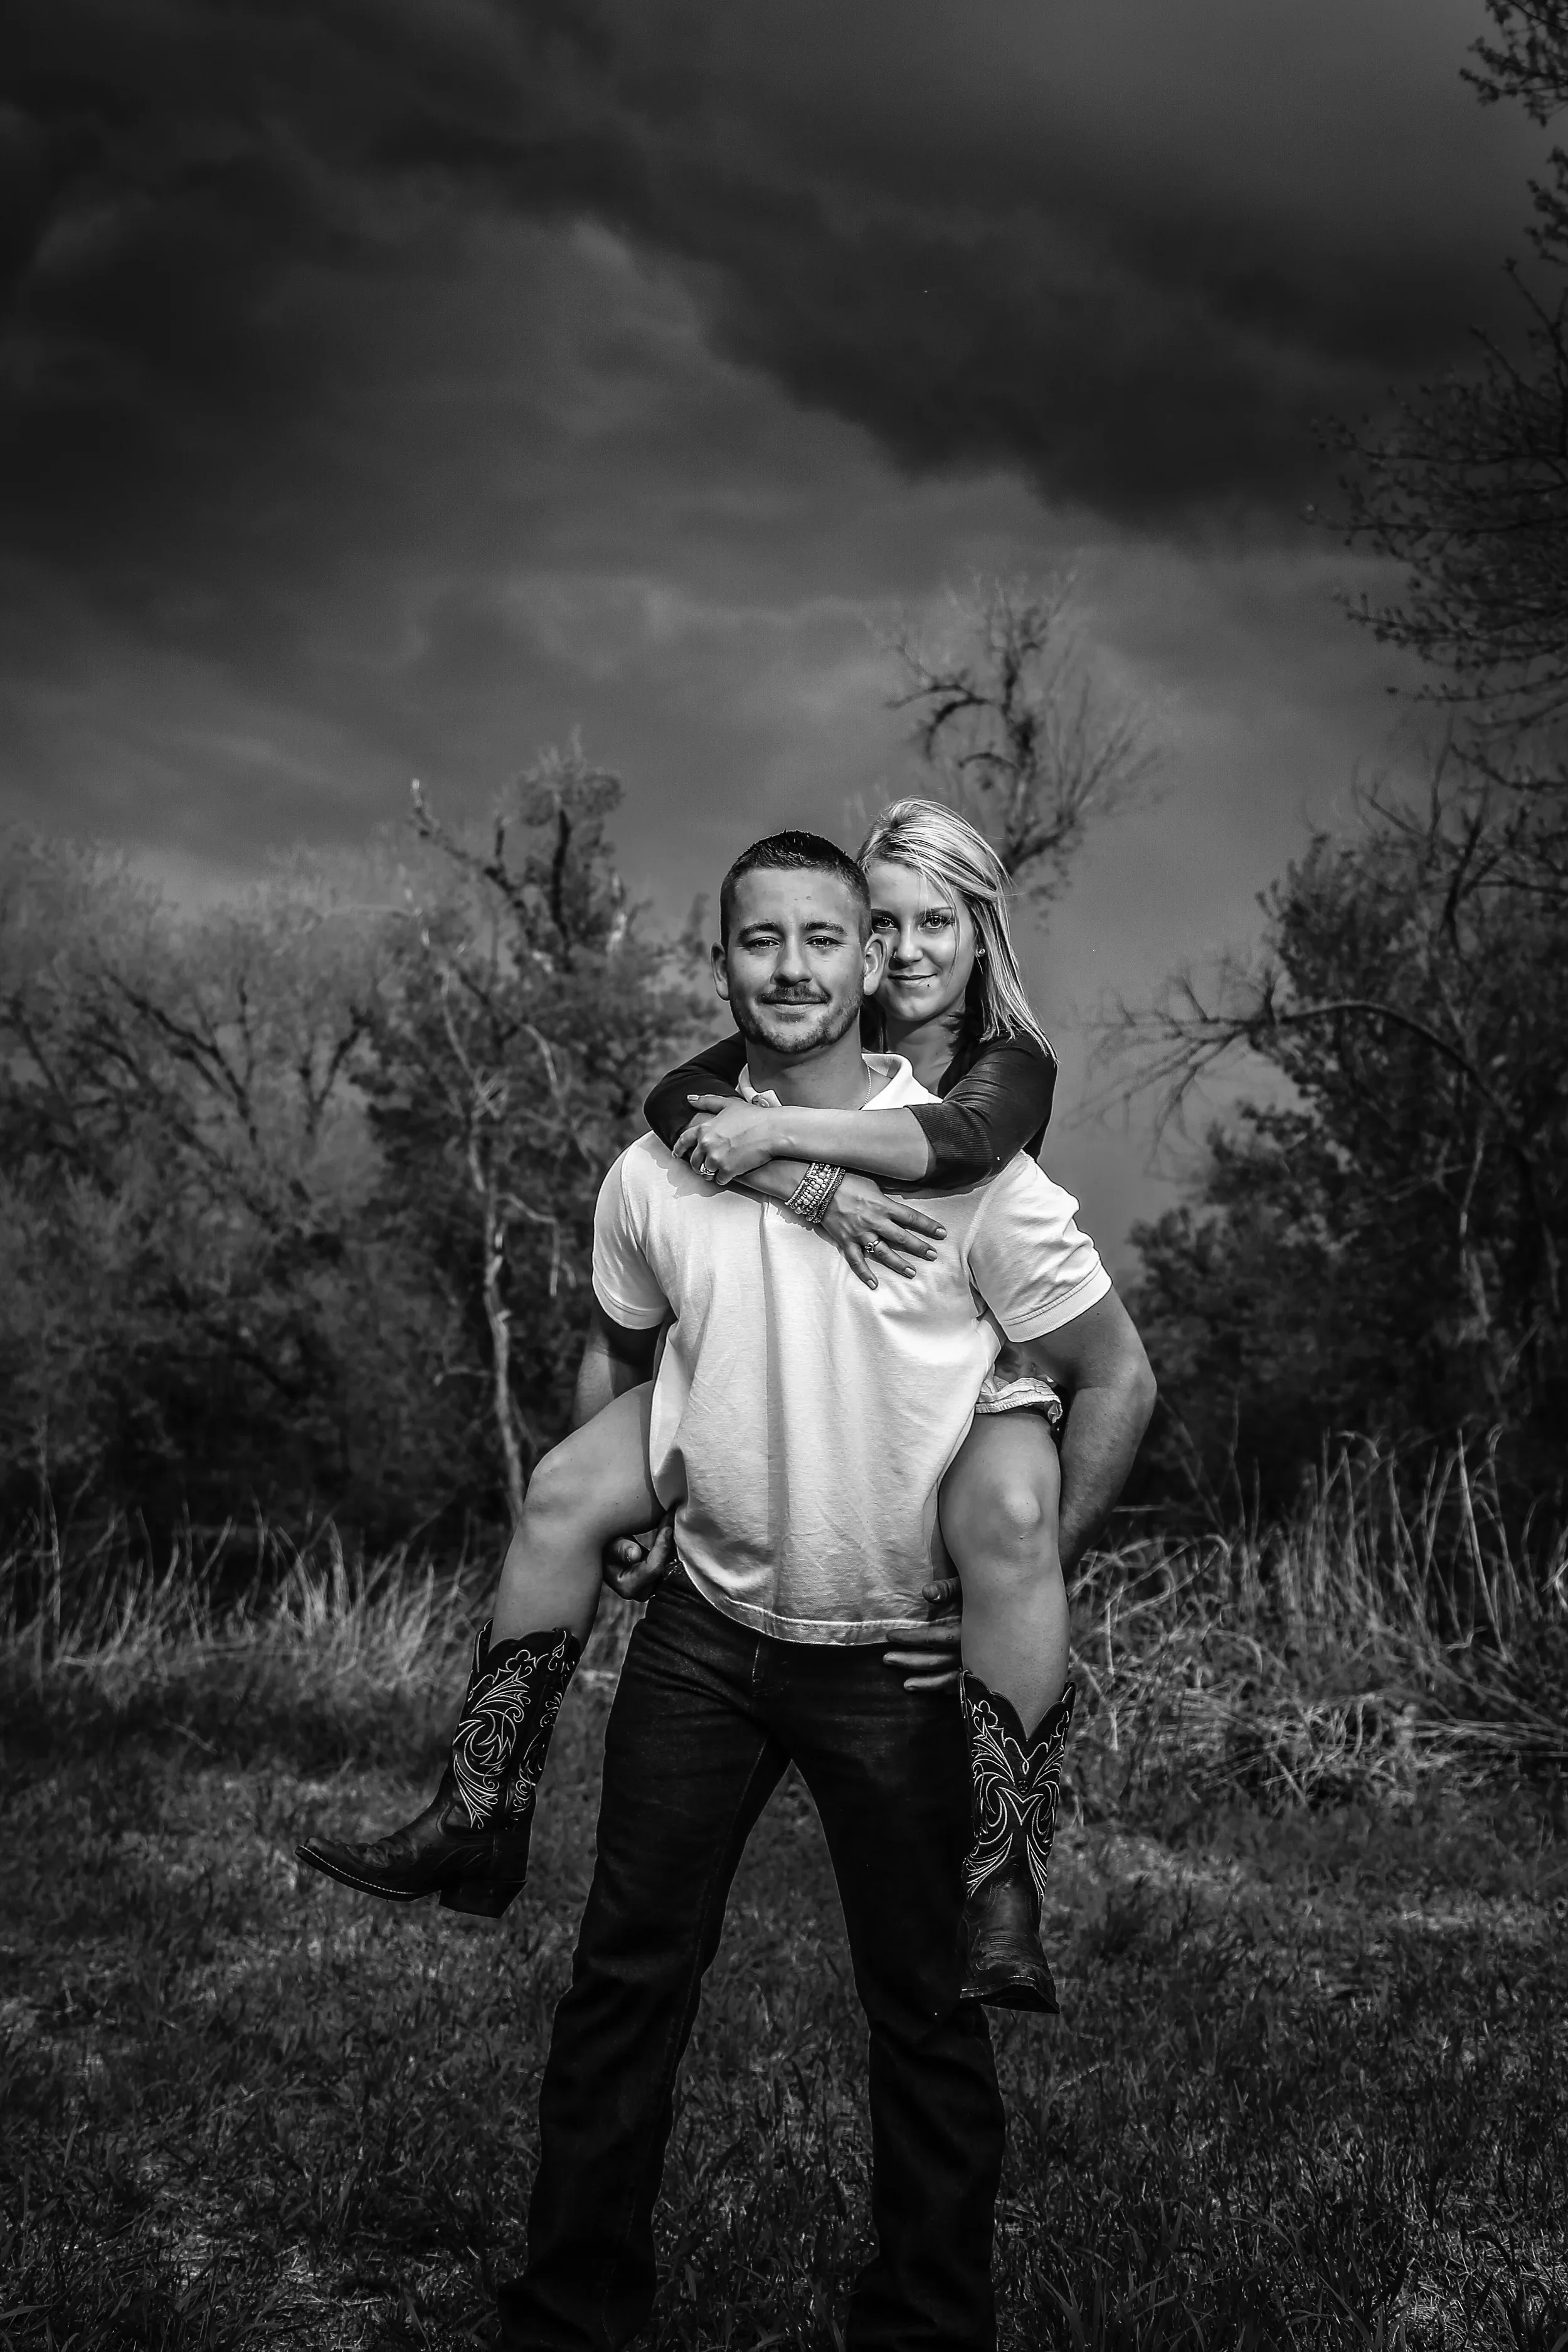
—Below are a few photographs that I captured over the years.—